
Триммеры STIGA BC 760 B 283524008/ST2 - инструкция пользователя по применению, эксплуатации и установке на русском языке. Мы надеемся, она поможет вам решить возникшие у вас вопросы при эксплуатации техники.
Если остались вопросы, задайте их в комментариях после инструкции.
"Загружаем инструкцию", означает, что нужно подождать пока файл загрузится и можно будет его читать онлайн. Некоторые инструкции очень большие и время их появления зависит от вашей скорости интернета.


EN - 11
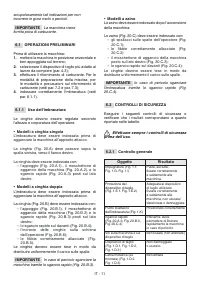
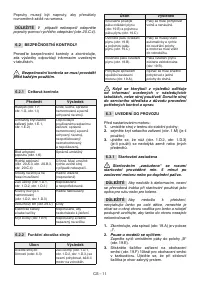
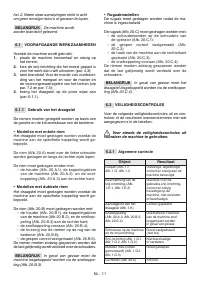
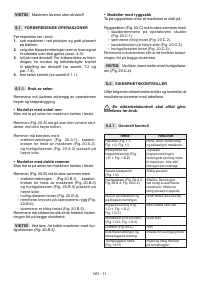
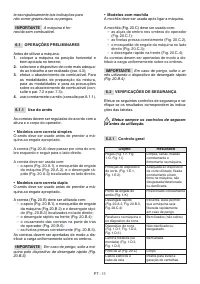
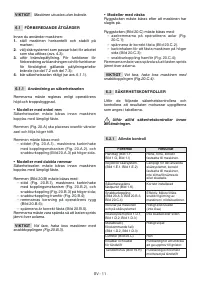
6.2.1
General check
Object
Result
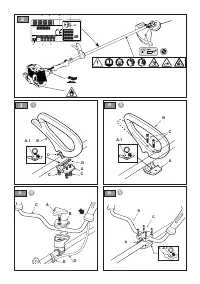
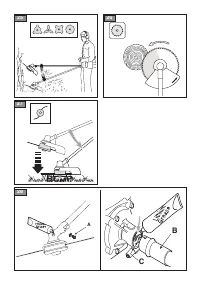
Grips (Fig. 1.F, Fig.
1.G, Fig. 1.I)
Clean, dry and fixed
firmly to the machine.
Cutting means guard.
(Fig. 1.E.1, Fig. 1.E.2)
Suitable for the cutting
means used, correctly
and securely attached to
the machine, not worn/
deteriorated or damaged.
Harness connection
point (Fig. 1.K)
Correctly positioned
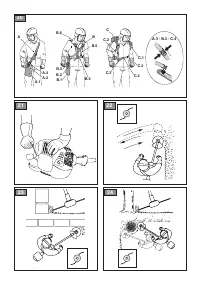
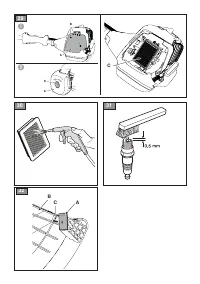
Quick release
(Fig.
20.A.3,
Fig.
20.B.3,
Fig. 20.
C.4)
Efficient. It must allow the
machine to be released
quickly in case of danger.
Screws on the machine
and the cutting means
Correctly tightened
(not loose)
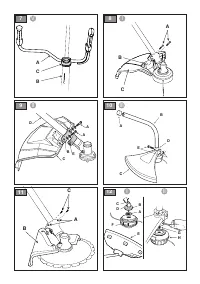
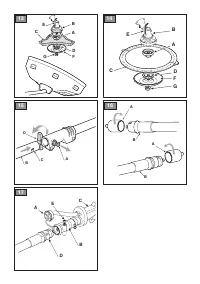
Cutting means (Fig. 1.D.1,
Fig.1.D.2, Fig. 1.D.3
)
Not damaged or worn.
Metal blade (if fitted)
(Fig.1.D.2, Fig. 1.D.3)
Well sharpened
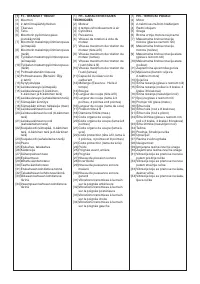
Air filter (Fig.
29
.C)
Clean
Electrical cables and
spark plug cable
In good condition to
avoid causing sparks.
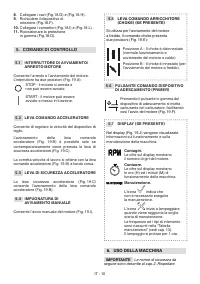
Spark plug cap (Fig.
19
.H)
In good condition
and correctly fitted
on the spark plug
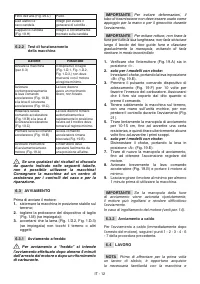
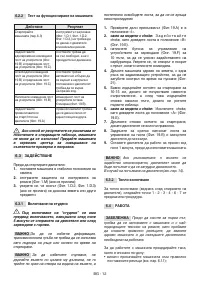
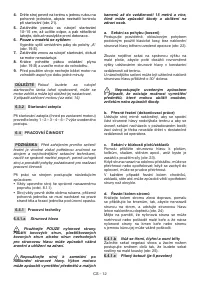
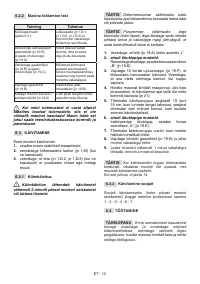
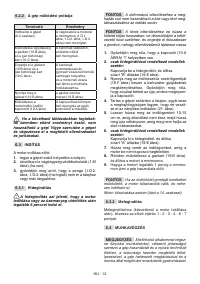
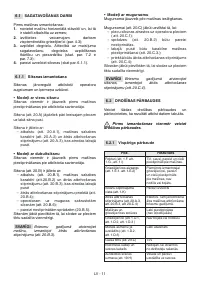
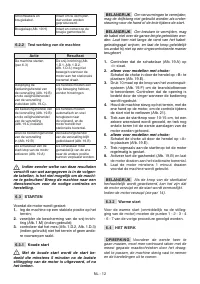
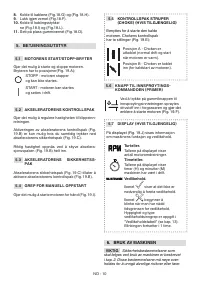
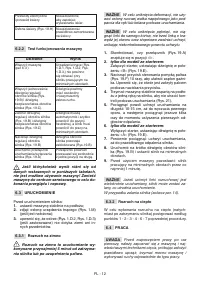
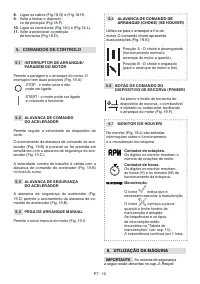
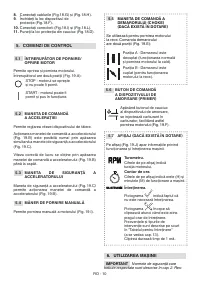
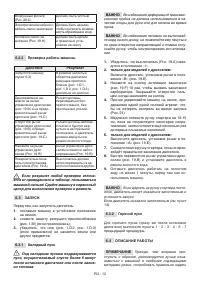
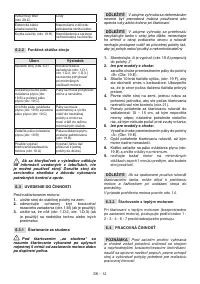
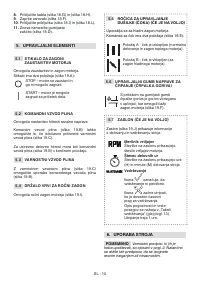
6.2.2 Machine operating test
Action
Result
Start the machine
(section 6.3 );
The cutting means (Fig.
1.D.1, Fig. 1.D.2, Fig.
1.D.3) must not move
when the engine is idling.
Simultaneously activate
the throttle control lever
(Fig. 19.B) and throttle
safety lever (Fig. 19.C).
They must be able
to move freely
without forcing.
Release the throttle
control lever (Fig. 19.B)
and the throttle safety
lever (Fig. 19.C)
The levers must return
automatically and quickly
to the neutral position
and the engine must
return to idle speed.
Press the accelerator
control lever (Fig. 19.B)
The
throttle lever remains
locked (Fig. 19.B)
.
Operate the engine start/
stop switch (Fig.
19
.A)
The switch must
move easily from one
position to another.
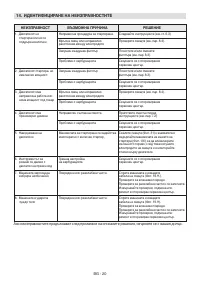
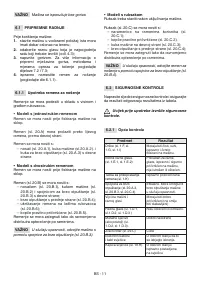
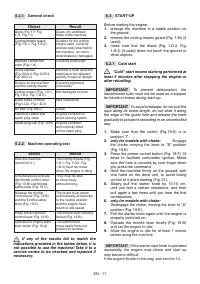
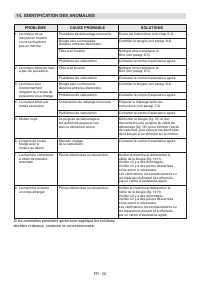
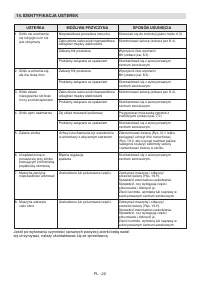
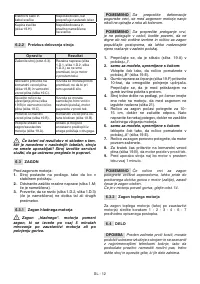
If any of the results fail to match the
indications provided in the tables below, it is
not possible to use the machine! Take it to a
service centre to be checked and repaired if
necessary.
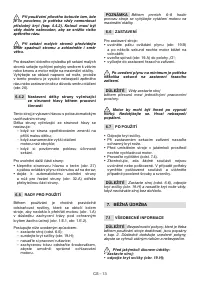
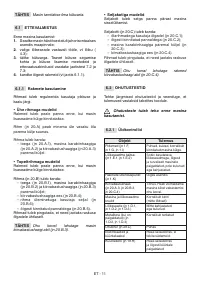
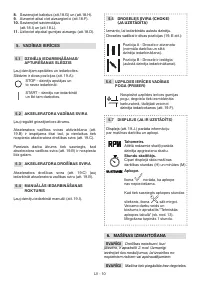
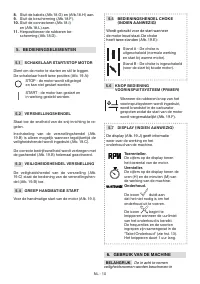
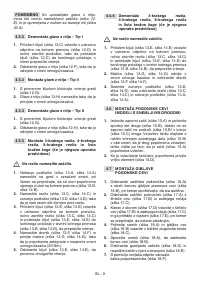
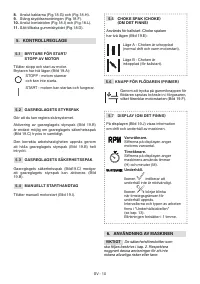
6.3
START-UP
Before starting the engine:
1.
arrange the machine in a stable position on
the ground;
2.
remove the cutting means guard (Fig. 1.M) (if
used);
3.
make sure that the blade (Fig. 1.D.2, Fig.
1.D.3) (if used) does not touch the ground or
other objects.
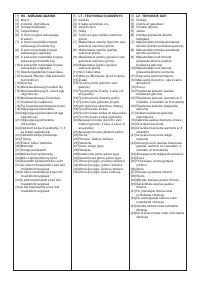
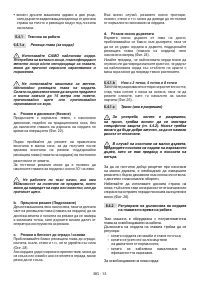
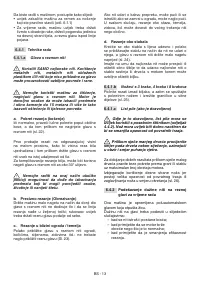
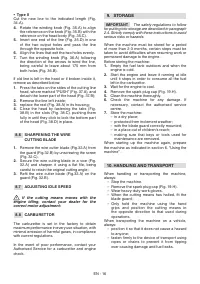
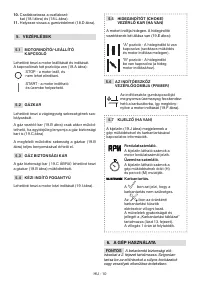
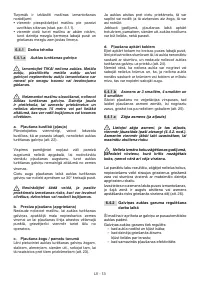
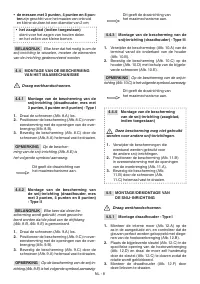
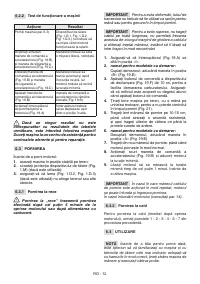
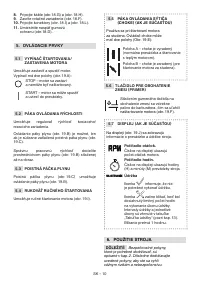
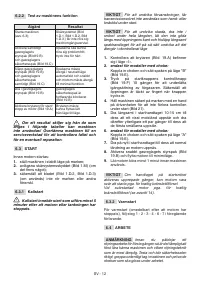
6.3.1 Cold start
"Cold" start means starting performed at
least 5 minutes after stopping the engine or
after refuelling.
IMPORTANT
To prevent deformation, the
transmission tube must not be used as a support
for hands or knees during start-up.
IMPORTANT
To avoid breakage, do not pull the
rope along its entire length, do not slide it along
the edge of the guide hole and release the knob
gradually to prevent it rewinding in an uncontrolled
way
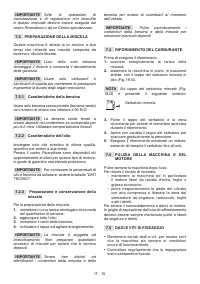
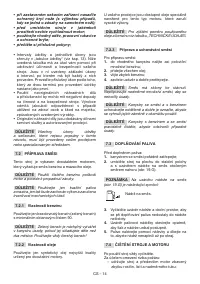
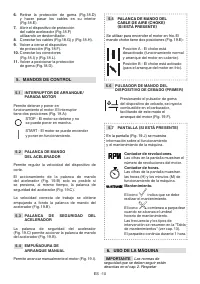
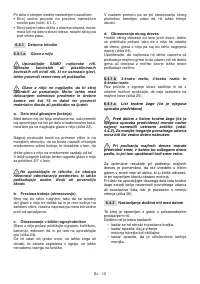
1.
Make sure that the switch (Fig.19.A) is in
position "I".
2.
only for models with choke:
Engage
the choke, moving the lever to "B" position
(Fig. 19.E).
3.
Press the primer control button (Fig. 19.F) 10
times to facilitate carburettor ignition. Make
sure the hole is covered by your finger when
you press the command.
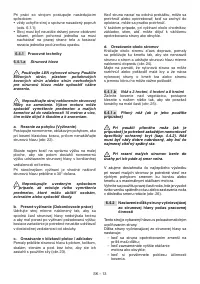
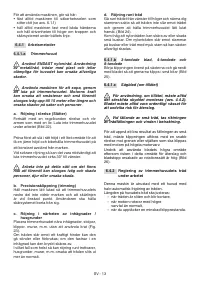
4.
Hold the machine firmly on the ground, with
one hand on the drive unit, to avoid losing
control of it when starting (Fig. 21).
5.
Slowly pull the starter knob by 10-15 cm,
until you feel a certain resistance, and then
pull again a few times until you hear the first
combustions.
6.
only for models with choke:
Disengage the choke, moving the lever to "A"
position (Fig. 19.E).
7.
Pull the starter knob again until the engine is
properly switched on.
8.
Operate the throttle lever briefly (Fig. 19.
B)
and set the engine to idle.
9.
Allow the engine to idle for at least 1 minute
before using the machine.
IMPORTANT
If the starter rope knob is operated
repeatedly, the engine may choke and start up
may become difficult.
If the engine floods in this way, see section 14.


