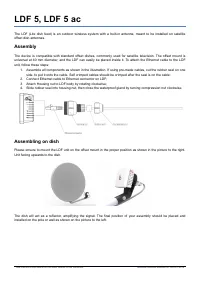
Точки доступа MikroTik LDF 5 ac (RBLDFG-5acD) - инструкция пользователя по применению, эксплуатации и установке на русском языке. Мы надеемся, она поможет вам решить возникшие у вас вопросы при эксплуатации техники.
Если остались вопросы, задайте их в комментариях после инструкции.
"Загружаем инструкцию", означает, что нужно подождать пока файл загрузится и можно будет его читать онлайн. Некоторые инструкции очень большие и время их появления зависит от вашей скорости интернета.

Extension slots and ports
•
Integrated wireless:
LDF 5, 5 GHz, 802.11a/n;
LDF 5 ac, 5 GHz, 802.11a/n/ac.
•
One Ethernet port, supporting automatic cross/straight cable correction (Auto MDI/X), so you can use
either straight or cross-over cables for connecting to other network devices.
Buttons and jumpers
The reset button has three functions:
•
Hold this button during boot time until LED light starts flashing, release the button to reset RouterOS
configuration (total 5 seconds);
•
Keep holding for 5 more seconds, LED turns solid, release now to turn on CAP mode. The device will now
look for a CAPsMAN server (total 10 seconds);
•
Or Keep holding the button for 5 more seconds until LED turns off, then release it to make the
RouterBOARD look for Netinstall servers (total 15 seconds);
Regardless of the above option used, the system will load the backup RouterBOOT loader if the button is pressed
before power is applied to the device. Useful for RouterBOOT debugging and recovery.
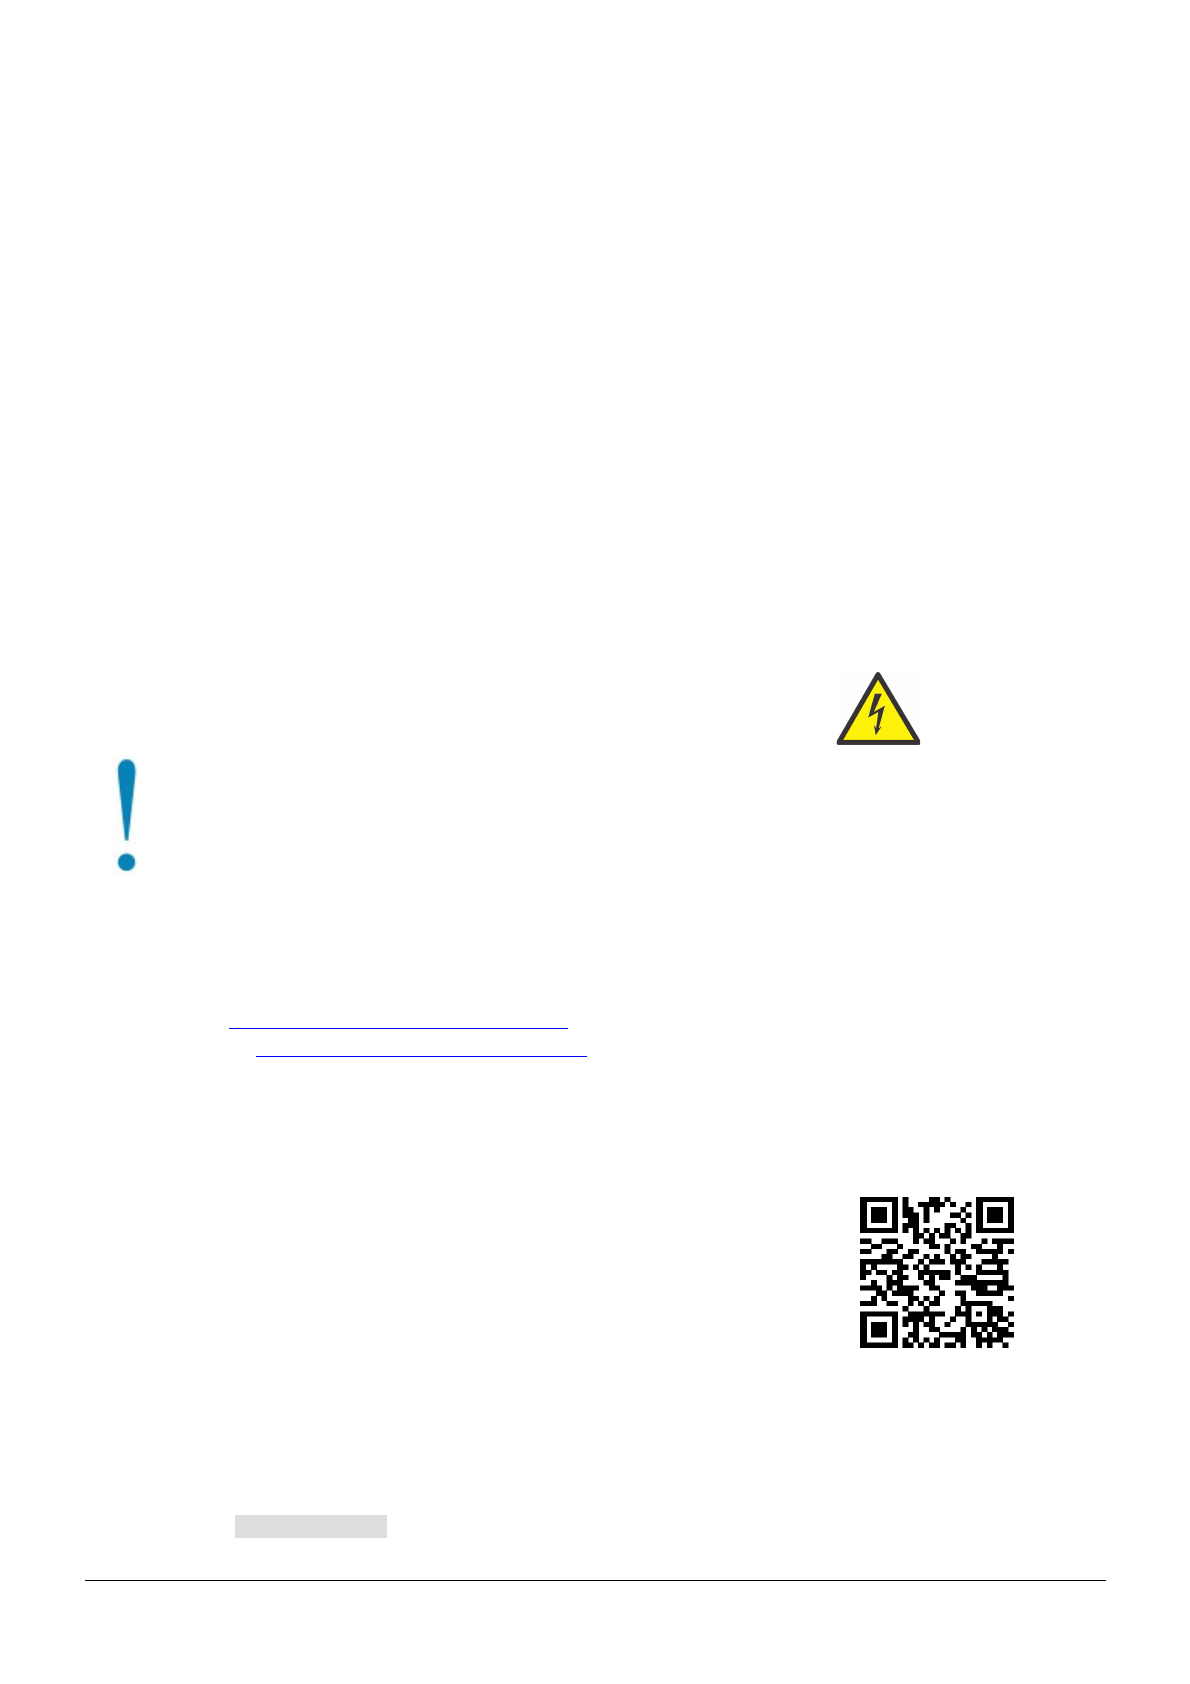
Safety Notice
Electric shock hazard. This equipment is to be serviced by trained personnel only.
Warning:
Operation of this equipment in a residential environment could cause radio interference.
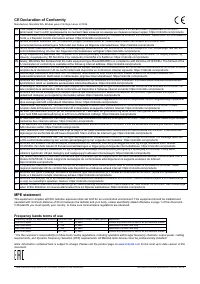
Specifications
For more information about this product, specifications, pictures, downloads and test results please visit our web
page:
•
https://mikrotik.com/product/rbldf_5nd
•
https://mikrotik.com/product/ldf_5_ac
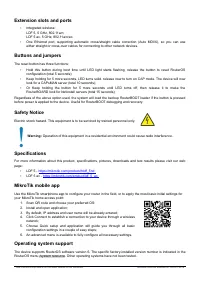
MikroTik mobile app
Use the MikroTik smartphone app to configure your router in the field, or to apply the most basic initial settings for
your MikroTik home access point:
1. Scan QR code and choose your preferred OS;
2. Install and open application;
3. By default, IP address and user name will be already entered;
4. Click Connect to establish a connection to your device through a wireless
network;
5. Choose Quick setup and application will guide you through all basic
configuration settings in a couple of easy steps;
6. An advanced menu is available to fully configure all necessary settings.
Operating system support
The device supports RouterOS software version 6. The specific factory-installed version number is indicated in the
RouterOS menu /system resource. Other operating systems have not been tested.
See mikrotik.com/products for the latest version of this document.
Document #52844 Modified on: 24.OCT.2019
Характеристики

Остались вопросы?Не нашли свой ответ в руководстве или возникли другие проблемы? Задайте свой вопрос в форме ниже с подробным описанием вашей ситуации, чтобы другие люди и специалисты смогли дать на него ответ. Если вы знаете как решить проблему другого человека, пожалуйста, подскажите ему :)
