Точки доступа MikroTik cAP (RBCAP2ND) - инструкция пользователя по применению, эксплуатации и установке на русском языке. Мы надеемся, она поможет вам решить возникшие у вас вопросы при эксплуатации техники.
Если остались вопросы, задайте их в комментариях после инструкции.
"Загружаем инструкцию", означает, что нужно подождать пока файл загрузится и можно будет его читать онлайн. Некоторые инструкции очень большие и время их появления зависит от вашей скорости интернета.

cAP
The cAP is a small AP device with one Ethernet port, it supports powering by PoE and optionally can be managed
by the CAPsMAN management server.
Connecting
•
Connect POE to the Ethernet port, please see
section for instructions on how to connect POE.
•
Set your computer IP configuration to
automatic
(DHCP).
•
The device wireless access point mode is enabled by default.
•
The device will boot up and Wireless network will be available for connecting.
•
Open network connections on your pc, mobile phone or other device and search for MikroTik wireless
network and connect to it.
•
Once connected to the wireless network, open http://192.168.88.1 in your web browser to start
configuration, since there is no password by default, you will be logged in automatically.
•
We recommend clicking the “Check for updates” button and updating your RouterOS software to the latest
version to ensure the best performance and stability.
•
Choose your country, to apply country regulation settings and set up your password in the screen that
loads.
Powering
The device accepts power from the Ethernet port:
•
Ethernet port accepts 12-57 V DC
⎓
(802.3af/at or Passive PoE).
The power consumption under maximum load can reach 4 W.
Connecting to a POE Adapter:
1. Connect the Ethernet cable from the device to the POE port of the POE adapter.
2. Connect an Ethernet cable from your LAN to the LAN port of the POE adapter, please mind arrows for data
and power flow.
3. Connect the power cord to the adapter, and then plug the power cord into a power outlet.
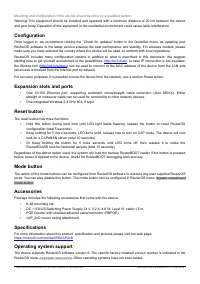
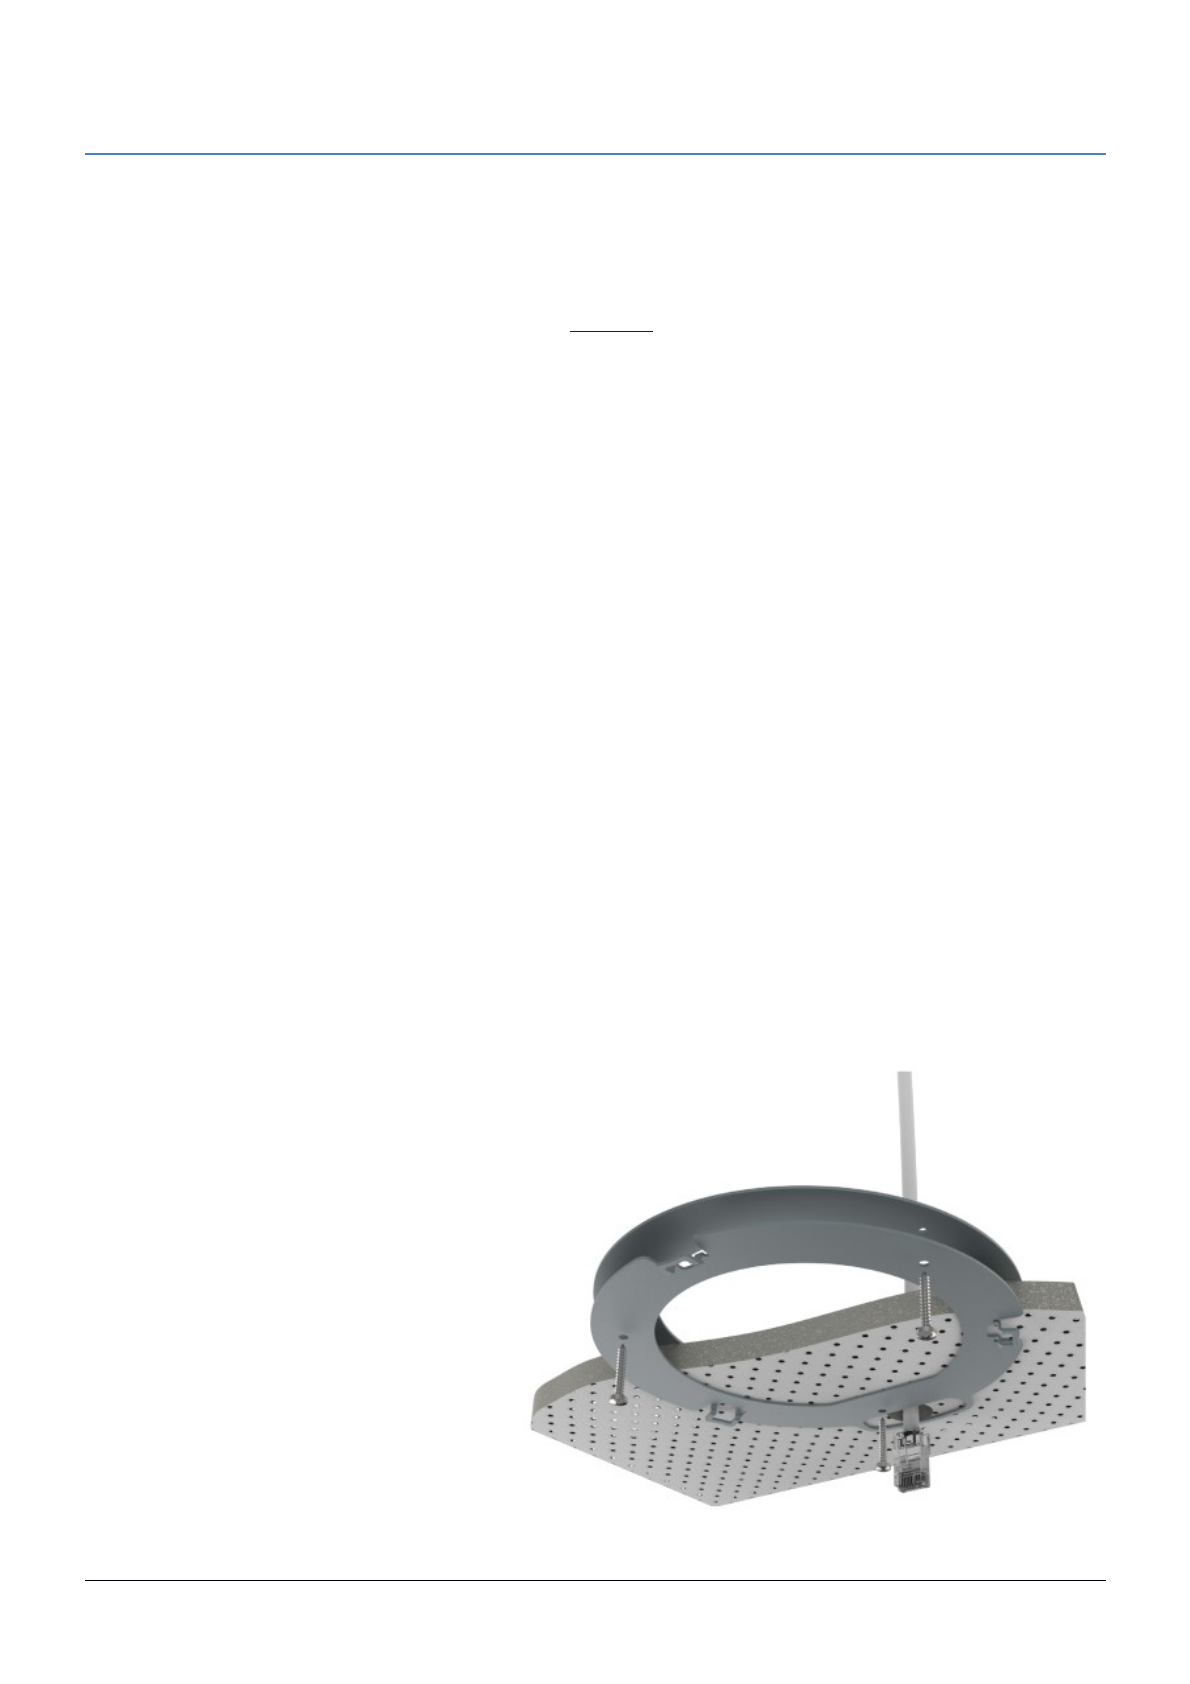
Mounting
It is possible to attach the device to a wall or ceiling, using the provided mounting bracket on the back of the unit.
1. Attach the mounting bracket to the wall
or ceiling with provided three screws.
2. Use 5 mm drill bid if necessary with
provided dowels.
3. Connect needed cables to the device.
4. If needed second mounting bracket can
be used for additional support when
working on thin ceilings or walls,
provided screw length is 20 mm.
5. Attach the second mount to the other
side of the ceiling and secure with
screws through the first mount.
6. Attach the device to the mounting
bracket and turn clockwise until the
device secures in place.
We recommend using Cat5/6 cable for our
devices. The IP rating scale for this device is
IPX0.
See mikrotik.com/products for the latest version of this document.
Document #50148 Modified on: 17.JUN.2019
Характеристики

Остались вопросы?Не нашли свой ответ в руководстве или возникли другие проблемы? Задайте свой вопрос в форме ниже с подробным описанием вашей ситуации, чтобы другие люди и специалисты смогли дать на него ответ. Если вы знаете как решить проблему другого человека, пожалуйста, подскажите ему :)
