Телевизоры Supra STV-LC40T900FL - инструкция пользователя по применению, эксплуатации и установке на русском языке. Мы надеемся, она поможет вам решить возникшие у вас вопросы при эксплуатации техники.
Если остались вопросы, задайте их в комментариях после инструкции.
"Загружаем инструкцию", означает, что нужно подождать пока файл загрузится и можно будет его читать онлайн. Некоторые инструкции очень большие и время их появления зависит от вашей скорости интернета.


21
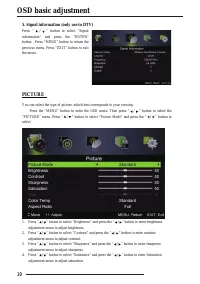
5. Press “ / ” button to select “Hue’’ and press the “ / ” button to enter hue adjustment menu
to adjust hue.
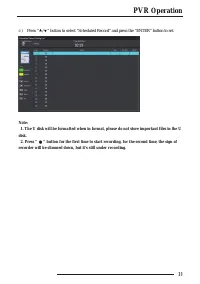
Note:
The 'hue' item is used in NTSC mode only.
6. Press “ / ” button to select “Sharpness” and press the “ / ” button to enter sharpness
adjustment menu to adjust sharpness.
7. Press “ / ” button to select “Color Temp” and press the “ / ” button to select mode
:
Standard
,
Cool
,
Warm..
8. Press “ / ” button to select “Aspect Ratio” and press the “ / ” button to select.
9. Press “ / ” button to select “Advanceed Settings” and press the “ ” button to enter
Advanceed Settings adjustment menu to adjust.
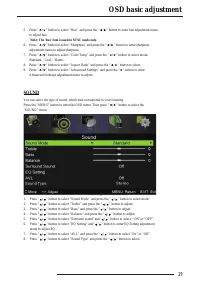
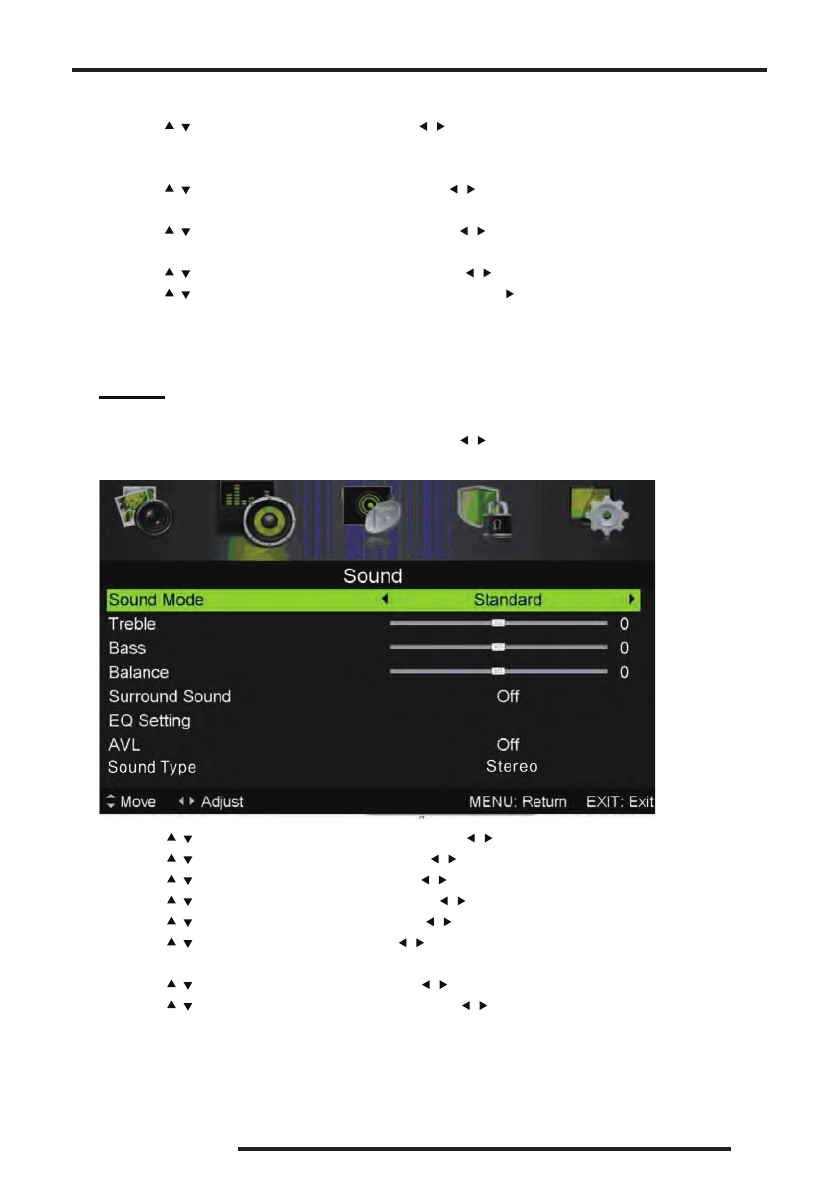
SOUND
You can select the type of sound, which best corresponds to your listening.
Press the “MENU” button to enter the OSD menu. Then press “ / ” button to select the
“SOUND” menu.
1. Press “ / ” button to select “Sound Mode” and press the “ / ” button to select mode.
2. Press “ / ” button to select “Treble” and press the “ / ” button to adjust.
3. Press “ / ” button to select “Bass” and press the “ / ” button to adjust.
4. Press “ / ” button to select “Balance” and press the “ / ” button to adjust.
5. Press “ / ” button to select “Surround sound’’and“ / ” button to select
“
ON”or “OFF”.
6. Press “ / ” button to select “EQ Setting’’and“ / ” button to enter EQ Setting adjustment
menu to adjust EQ..
7. Press “ / ” button to select “AVL” and press the “ / ” button to select “On” or “Off”.
8. Press “ / ” button to select “Sound Type” and press the “ / ” button to select.
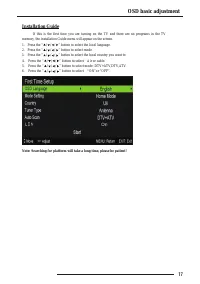
OSD basic adjustment
Содержание
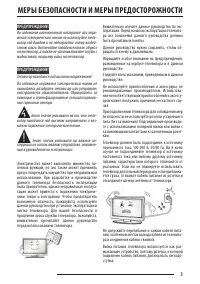
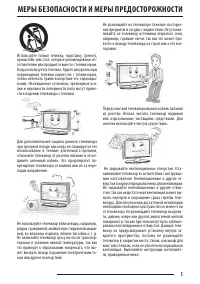
- 3 МЕРЫ БЕЗОПАСНОСТИ И МЕРЫ ПРЕДОСТОРОЖНОСТИ
- 6 КОМПЛЕКТАЦИЯ; телевизора сохраните оригинальную упаковку.
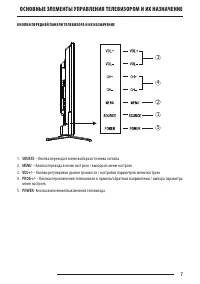
- 7 SOURCE; – Кнопка перехода в меню выбора источника сигнала; MENU; – Кнопка перехода в меню настроек / выхода из меню настроек; POWER; КНОПКИ ПЕРЕДНЕЙ ПАНЕЛИ ТЕЛЕВИЗОРА И ИХ НАЗНАЧЕНИЕ; ОСНОВНЫЕ ЭЛЕМЕНТЫ УПРАВЛЕНИЯ ТЕЛЕВИЗОРОМ И ИХ НАЗНАЧЕНИЕ
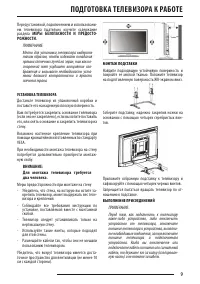
- 9 МЕРЫ БЕЗОПАСНОСТИ И ПРЕДОСТО-; УСТАНОВКА ТЕЛЕВИЗОРА; ПОДГОТОВКА ТЕЛЕВИЗОРА К РАБОТЕ
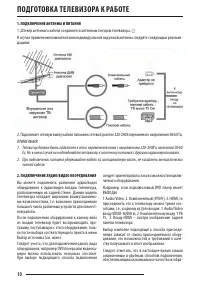
- 10 ПОДКЛЮЧЕНИЕ АНТЕННЫ И ПИТАНИЯ
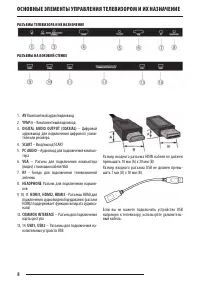
- 11 ПОДКЛЮЧЕНИЕ SCART; ПОДКЛЮЧЕНИЕ HDMI; FG; ПОДКЛЮЧЕНИЕ К КОМПОЗИТНОМУ ВИДЕОВХОДУ; FG; ПОДКЛЮЧЕНИЕ К КОМПОНЕНТНОМУ ВИДЕОВХОДУ; FG; СОЕДИНЕНИЕ С ПК; штыревой разъем вставляйте без усилий,
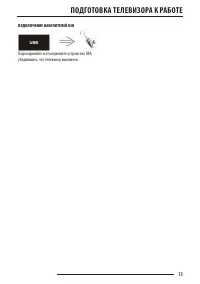
- 12 ПОДКЛЮЧЕНИЕ USB УСТРОЙСТВ; ПОДКЛЮЧЕНИЕ НАУШНИКОВ; HEADPHONE некоторые другие акустические; ПОДКЛЮЧЕНИЕ АУДИОСИСТЕМЫ
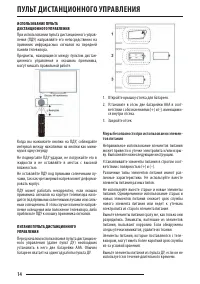
- 14 ПУЛЬТ ДИСТАНЦИОННОГО УПРАВЛЕНИЯ; ИСПОЛЬЗОВАНИЕ ПУЛЬТА; Меры безопасности при использовании элемен-
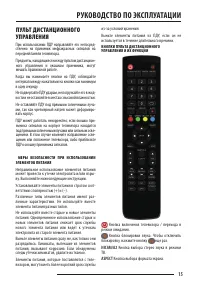
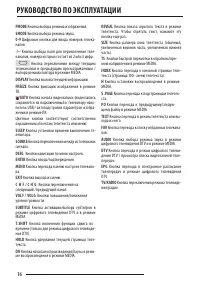
- 15 РУКОВОДСТВО ПО ЭКСПЛУАТАЦИИ; ПУЛЬТ ДИСТАНЦИОННОГО; МЕРЫ БЕЗОПАСНОСТИ ПРИ ИСПОЛЬЗОВАНИИ; ASPECT
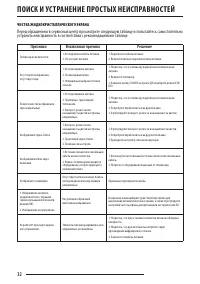
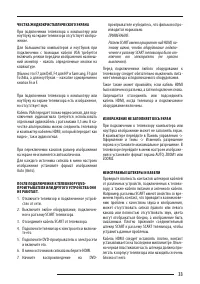
- 32 ЧИСТКА ЖИДКОКРИСТАЛЛИЧЕСКОГО ЭКРАНА; ПОИСК И УСТРАНЕНИЕ ПРОСТЫХ НЕИСПРАВНОСТЕЙ; Признаки
- 33 ченное к разъему SCART телевизора было от-; ИЗОБРАЖЕНИЕ НЕ ЗАПОЛНЯЕТ ВЕСЬ ЭКРАН
- 35 быть также вызваны низким качеством ка-
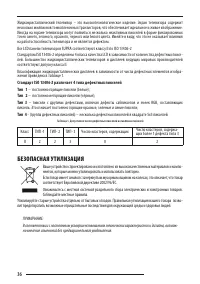
- 36 Тип 2; БЕЗОПАСНАЯ УТИЛИЗАЦИЯ; но внесение изменений без предварительного уведомления.
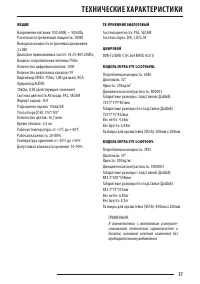
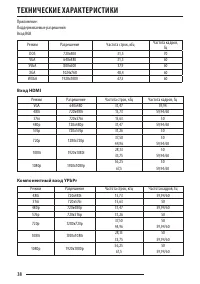
- 37 ствованием технических характеристик и; ТЕХНИЧЕСКИЕ ХАРАКТЕРИСТИКИ
- 38 Вход HDMI
- 39 ИНФОРМАЦИЯ О СЕРТИФИКАЦИИ


