Телевизоры Samsung PS-42 B451B2 - инструкция пользователя по применению, эксплуатации и установке на русском языке. Мы надеемся, она поможет вам решить возникшие у вас вопросы при эксплуатации техники.
Если остались вопросы, задайте их в комментариях после инструкции.
"Загружаем инструкцию", означает, что нужно подождать пока файл загрузится и можно будет его читать онлайн. Некоторые инструкции очень большие и время их появления зависит от вашей скорости интернета.


English - 1
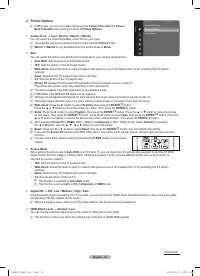
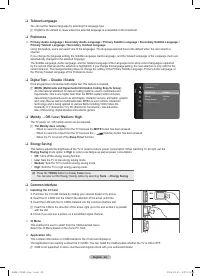
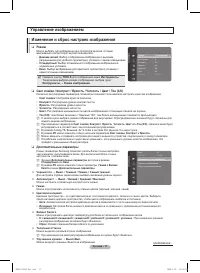
Picture Options
In
PC
mode, you can only make changes to the
Colour Tone,
Size
and
Screen
Burn Protection
from among the items in
Picture Options
.
Colour Tone
→
→
Cool / Normal / Warm1 / Warm
You can select the most comfortable colour tone to your eyes.
The adjusted values are stored according to the selected
Picture
mode.
Warm1
or
Warm
is only activated when the picture mode is
Movie
.
Size
You can select the picture size which best corresponds to your viewing requirements.
Auto Wide
: Sets the picture in Auto Wide format.
16:
: Sets the picture to the 16:9 aspect ratio.
Wide Zoom
: Select this menu to view 4:3 aspect ratio pictures over a 16:9 aspect ratio TV by stretching the 4:3 picture
vertically.
Zoom
: Stretches the 16:9 aspect ratio picture vertically.
4:3
: Sets the picture to the 4:3 aspect ratio.
Screen Fit
: Displays the full native HD signal that cannot be viewed using a normal TV.
The picture size options may vary depending on the input source.
The items available may differ depending on the selected mode.
In
PC
Mode, only
16:
and
4:3
mode can be adjusted.
Settings can be adjusted and stored for each external device you have connected to an input of the TV.
Temporary image retention may occur when viewing a static image on the set for more than two hours.
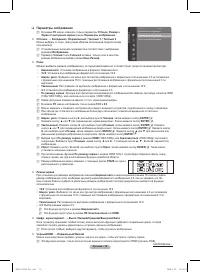
Wide Zoom
: Press the ► button to select
Position
, then press the
ENTER
E
button.
Press the ▲ or ▼ button to move the screen up / down. Then press the
ENTER
E
button.
Zoom
: Press the ► button to select
Position
, then press the
ENTER
E
button. Press the ▲ or ▼ button to move the picture
up and down. Then press the
ENTER
E
button. Press the ► button to select
Size
, then press the
ENTER
E
button. Press the
▲ or ▼ button to magnify or reduce the picture size in the vertical direction. Then press the
ENTER
E
button.
After selecting
Screen Fit
in
HDMI
(1080i / 1080p) or
Component
(1080i / 1080p) mode: Select
Position
by pressing
the ◄ or ►button. Use the ▲, ▼, ◄ or ► button to move the picture.
Reset
: Press the ◄ or ► button to select
Reset
, then press the
ENTER
E
button. You can initialize the setting.
If you use the
Screen Fit
function with HDMI 720p input, 1 line will be cut at the top, bottom, left and right as in the overscan
function.
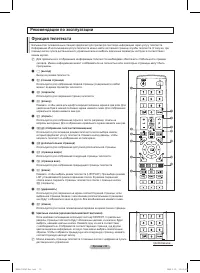
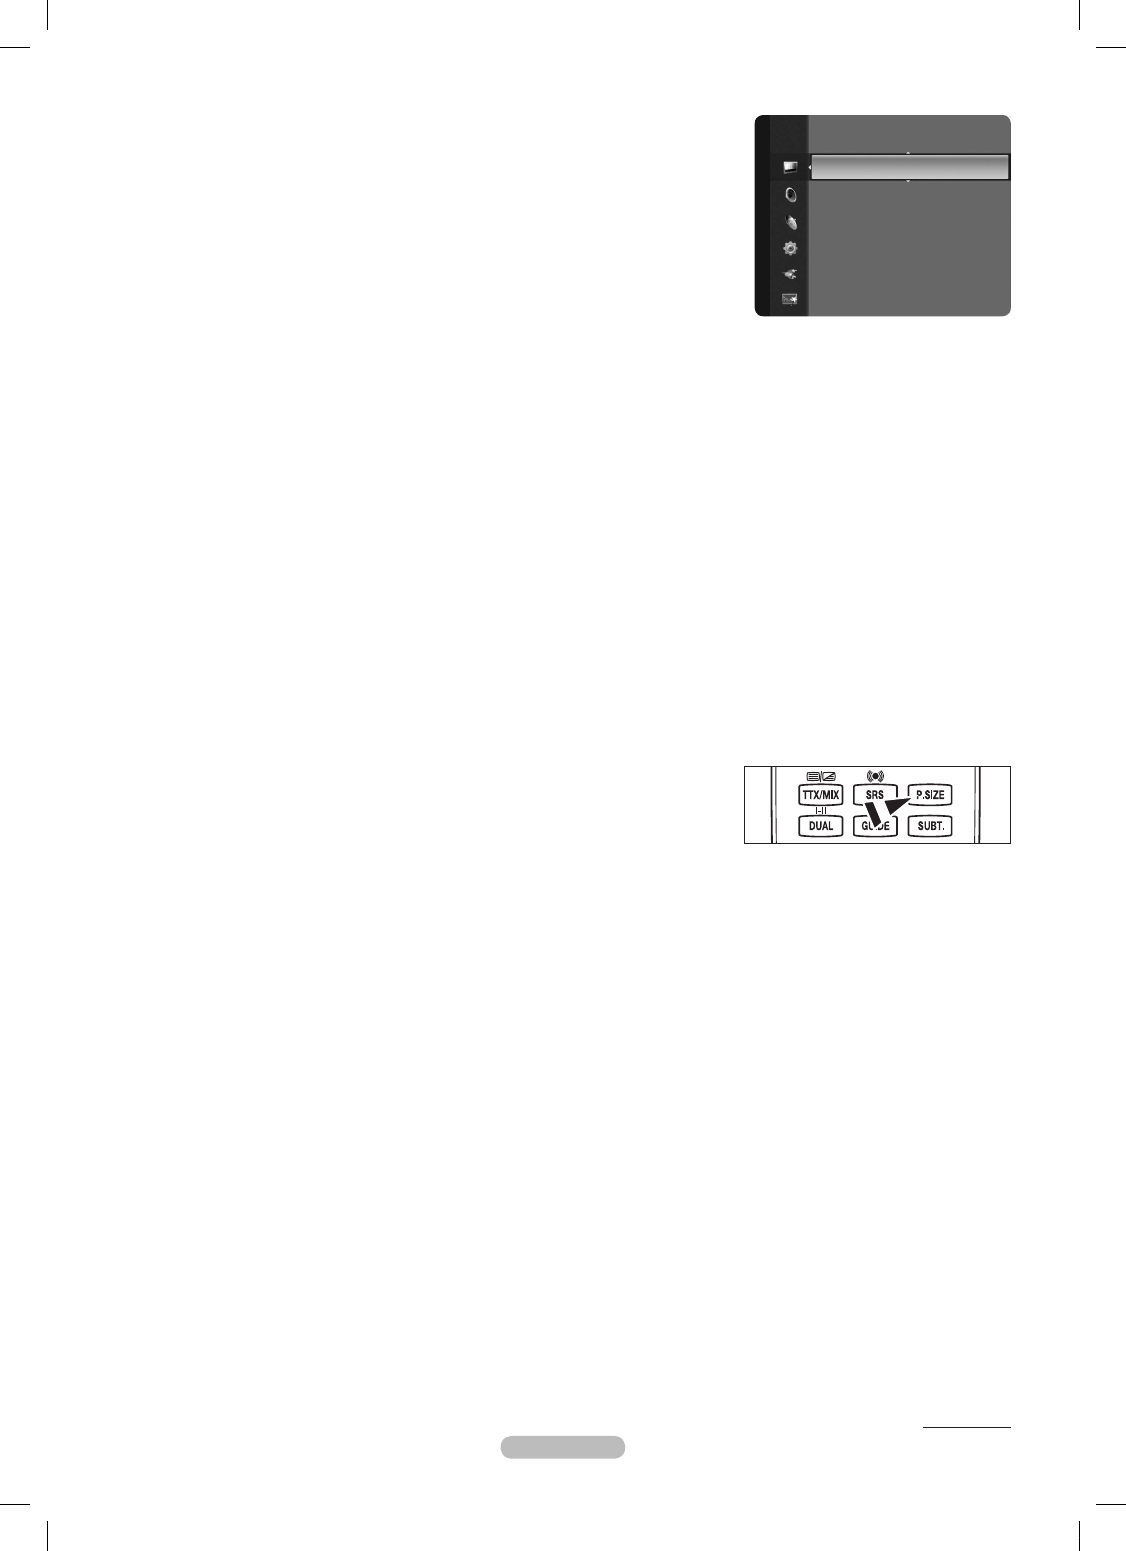
You can select these options simply by pressing the
P.SIZE
button on the remote
control.
Screen Mode
When setting the picture size to
Auto Wide
in a 16:9 wide TV, you can determine the picture size you want to see the 4:3 WSS
(Wide Screen Service) image or nothing. Each individual European country requires different picture size so this function is
intended for users to select it.
16:
: Sets the picture to the 16:9 aspect ratio.
Wide Zoom
: Select this menu to view 4:3 aspect ratio pictures over a 16:9 aspect ratio TV by stretching the 4:3 picture
vertically.
Zoom
: Stretches the 16:9 aspect ratio picture vertically.
4:3
: Selects the screen mode as 4:3.
This function is available in
Auto Wide
mode.
This function is not available in
PC
,
Component
or
HDMI
mode.
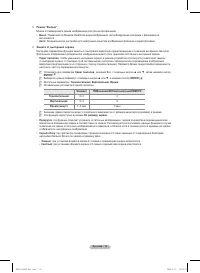
Digital NR
→
→
Off / Low / Medium / High / Auto
If the broadcast signal received by your TV is weak, you can activate the Digital Noise Reduction feature to help reduce any static
and ghosting that may appear on the screen.
When the signal is weak, select one of the other options until the best picture is displayed.
HDMI Black Level
→
→
Normal / Low
You can directly select the black level on the screen to adjust the screen depth.
This function is active only when the external input connects to HDMI (RGB signals).
❑
N
N
N
•
•
•
•
•
•
N
N
N
N
N
N
N
N
N
O
•
•
•
•
N
N
N
N
Continued...
Tint (G/R)
: G50/R50
Advanced Settings
Picture Options
►
Picture Reset
Pi
ct
u
re
BN68-01936F-Eng-1.indd 18
2009-02-25 오후 9:19:57
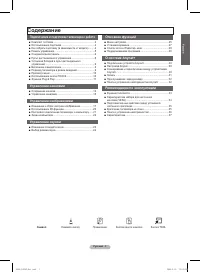
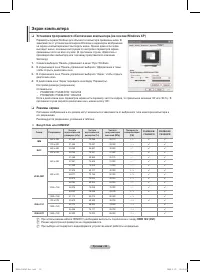
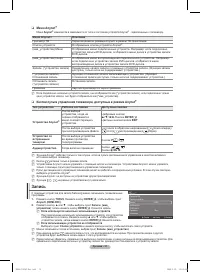
Содержание
- 38 Инструкции по эксплуатации; функционировать неправильно.
- 39 Содержание; Символ
- 40 Предупреждение
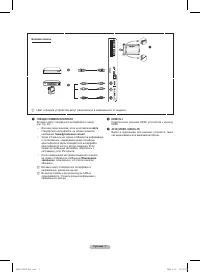
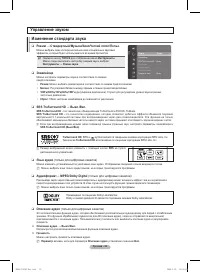
- 41 Панель управления
- 42 Соединительная панель
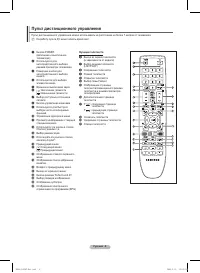
- 44 Пульт дистанционного управления; Функции телетекста
- 48 продолжение...
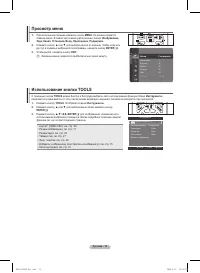
- 51 Управление каналами; Меню инструментов списка каналов (в меню Все каналы/
- 52 Меню параметров списка каналов (в меню
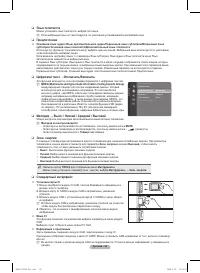
- 56 Использование 3D-функции; Подключения; звуковой карте компьютера.; Настроить разрешение компьютера; ) и сохраняется значение; Формат; трехмерных изображений, или программное обеспечение 3D.
- 57 Настройка подключения телевизора к компьютеру
- 58 Экран компьютера; Режимы экрана
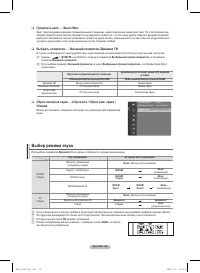
- 59 Изменение стандарта звука; Эквалайзер; Управление звуком
- 60 Выбор режима звука
- 61 Меню настройки; Изменение PIN; Описание функций
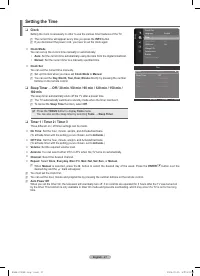
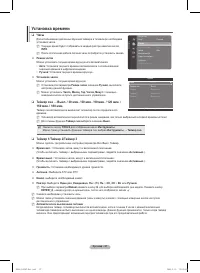
- 63 Установка времени; Часы
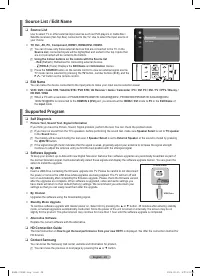
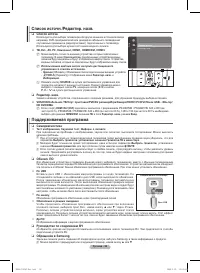
- 64 Поддерживаемая программа; Самодиагностика
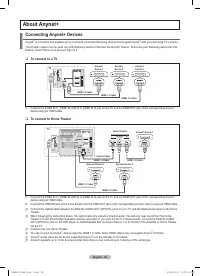
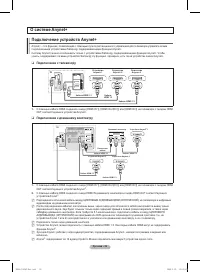
- 65 Подключение устройств Anynet+; Подключение к телевизору; Подключение к домашнему кинотеатру; OUT соответствующего устройства Anynet+
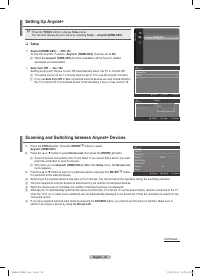
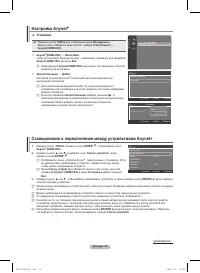
- 66 Сканирование и переключение между устройствами Anynet+; Установка
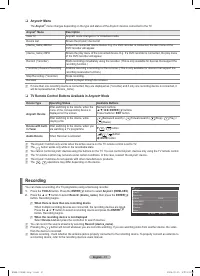
- 67 Кнопки пульта управления телевизора, доступные в режиме Anynet+; Запись
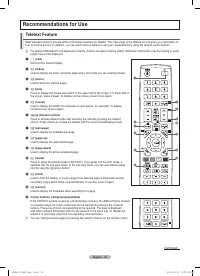
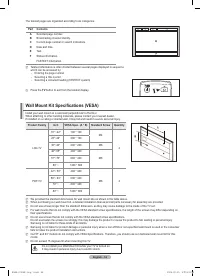
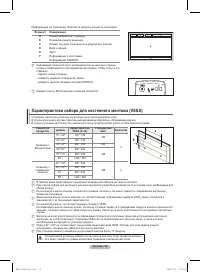
- 70 Характеристики набора для настенного монтажа (VESA)
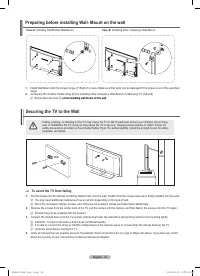
- 71 Крепление телевизора на стене; Вариант A; Вариант B
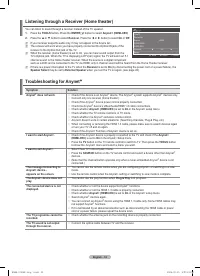
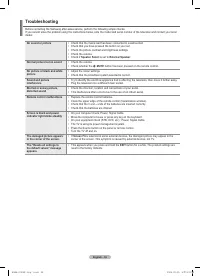
- 72 Поиск и устранение неисправностей
- 73 Характеристики


