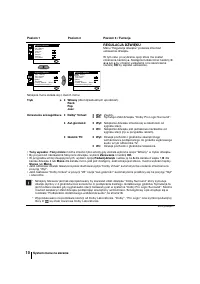
Телевизоры кинескопные Sony KV-29LS40K - инструкция пользователя по применению, эксплуатации и установке на русском языке. Мы надеемся, она поможет вам решить возникшие у вас вопросы при эксплуатации техники.
Если остались вопросы, задайте их в комментариях после инструкции.
"Загружаем инструкцию", означает, что нужно подождать пока файл загрузится и можно будет его читать онлайн. Некоторые инструкции очень большие и время их появления зависит от вашей скорости интернета.


18
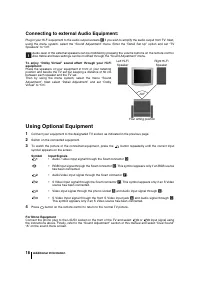
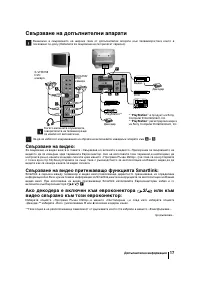
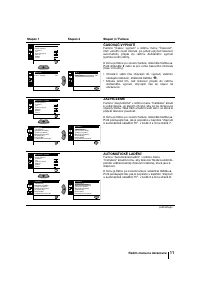
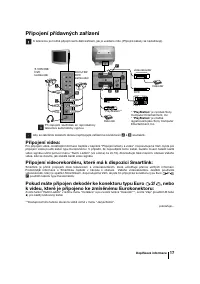
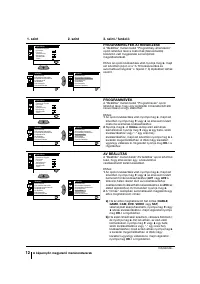
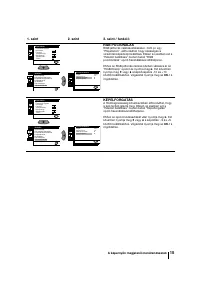
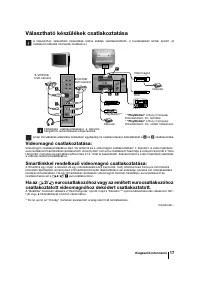
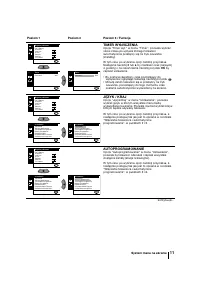
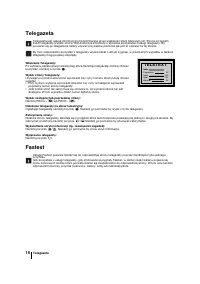
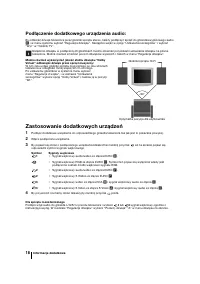
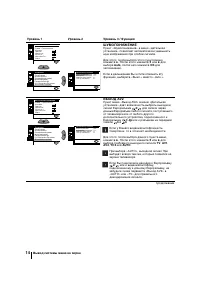
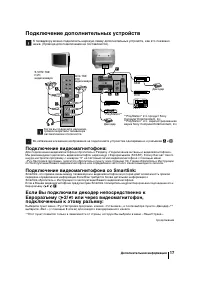
Connecting to external Audio Equipment:
Plug in your Hi-Fi equipment to the audio output sockets
E
if you wish to amplify the audio output from TV. Next,
using the menu system, select the “Sound Adjustment” menu. Enter the “Detail Set Up” option and set “TV
Speakers” to “Off”.
Audio level of the external speakers can be modified by pressing the volume buttons on the remote control.
Also treble and bass settings can be modified through the “Sound Adjustment” menu.
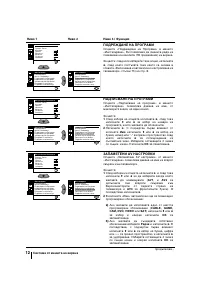
To enjoy “Dolby Virtual” sound effect through your Hi-Fi
equipment:
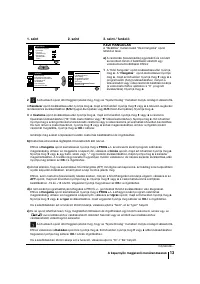
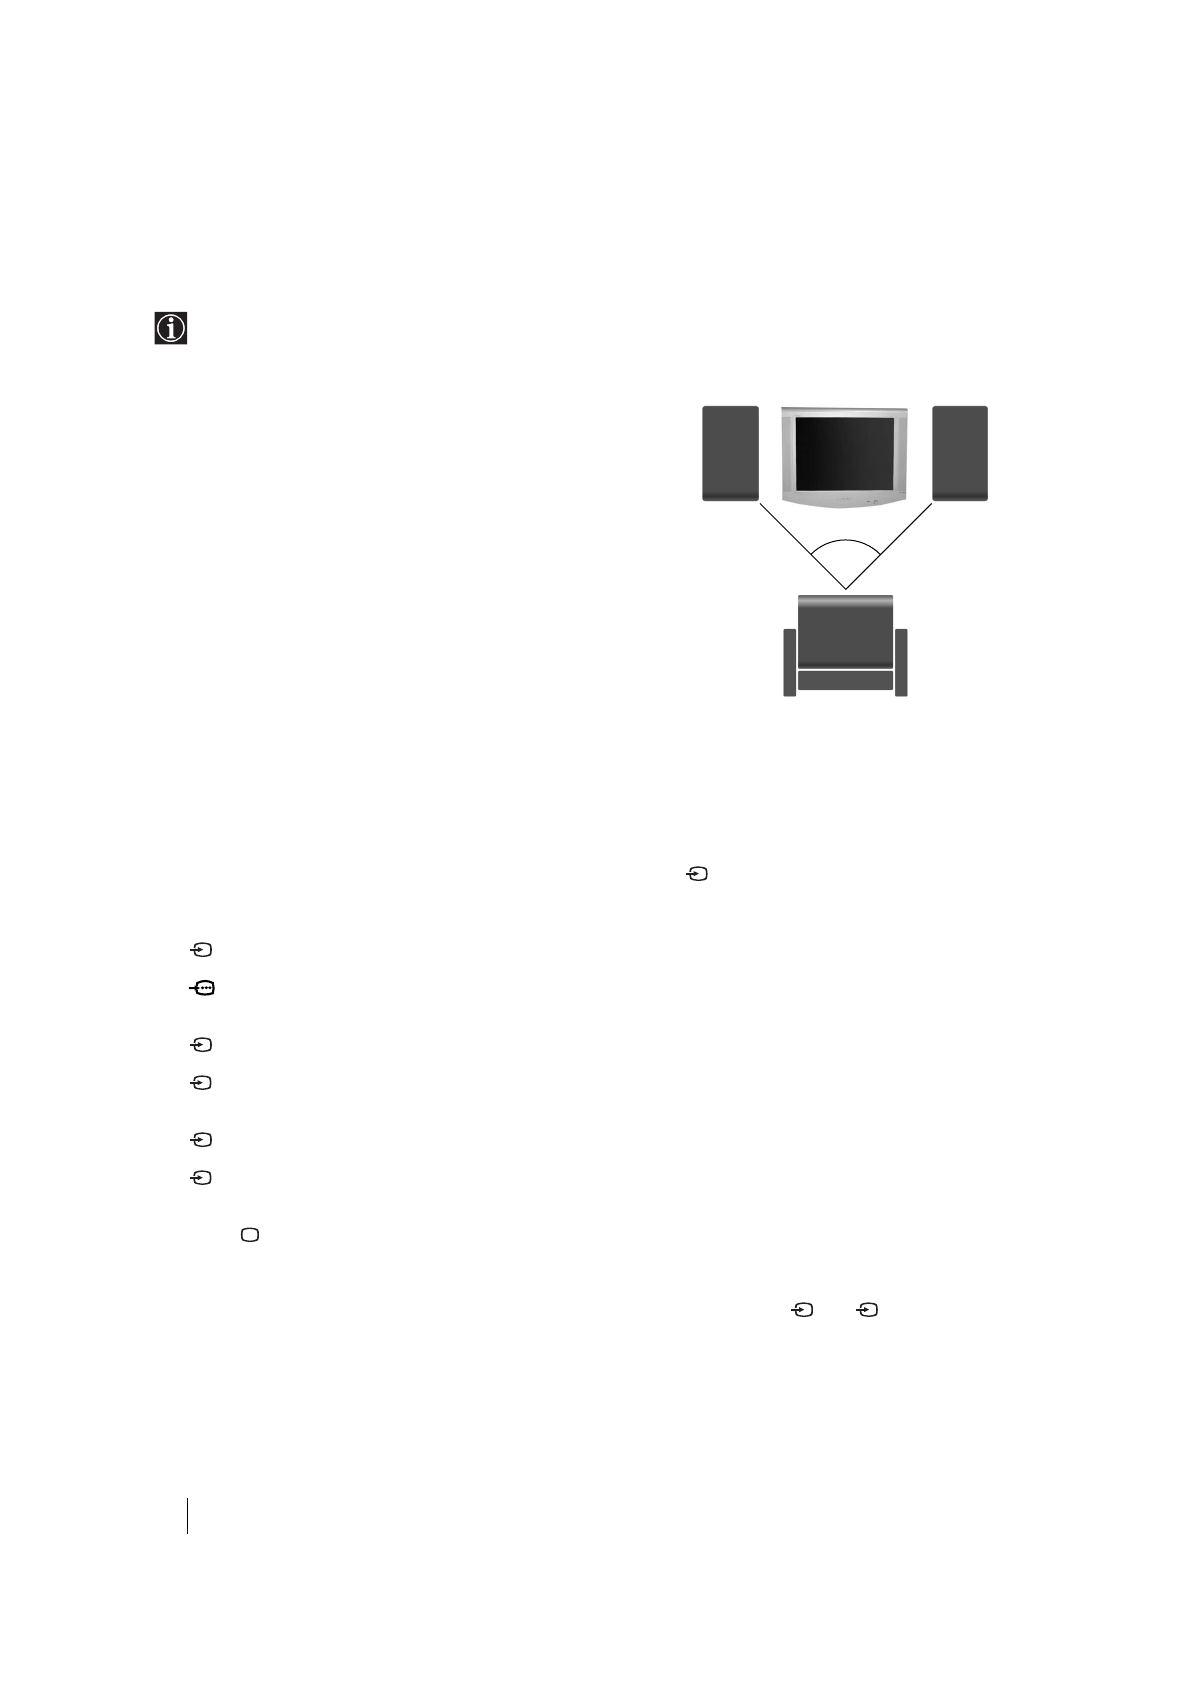
Place the speakers of your equipment in front of your listening
position and beside the TV set but keeping a distance of 50 cm
between each speaker and the TV set.
Then by using the menu system, select the menu “Sound
Adjustment”. Next select “Detail Adjustment” and set “Dolby
Virtual” to “On”.
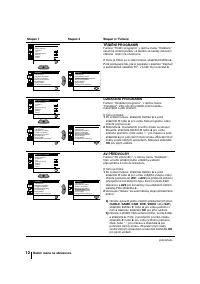
Additional Information
Left Hi-Fi
Speaker
Right Hi-Fi
Speaker
Your sitting position
~50º
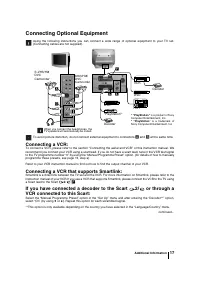
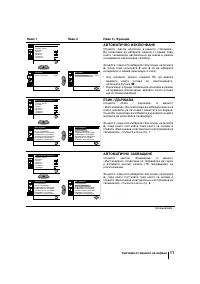
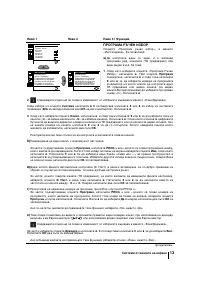
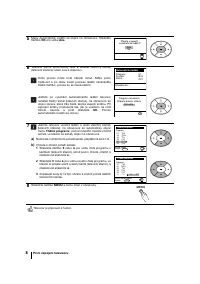
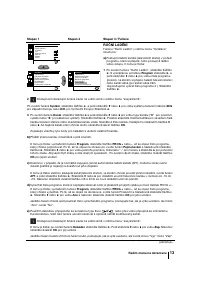
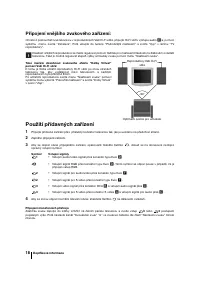
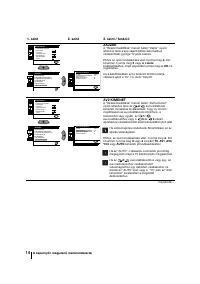
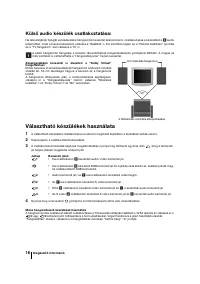
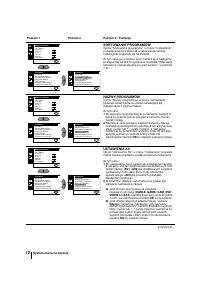
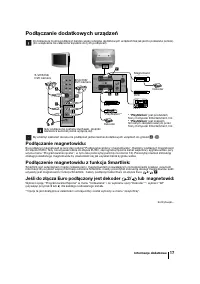
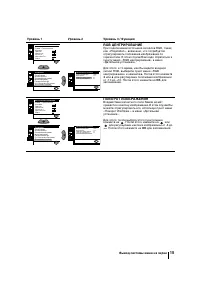
Using Optional Equipment
1
Connect your equipment to the designated TV socket, as indicated in the previous page.
2
Switch on the connected equipment.
3
To watch the picture of the connected equipment, press the
button repeatedly until the correct input
symbol appears on the screen.
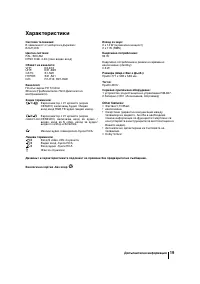
Symbol
Input Signals
1
• Audio / video input signal through the Scart connector
D
• RGB input signal through the Scart connector
D
. This symbol appears only if an RGB source
has been connected.
2
• Audio/video input signal through the Scart connector
F
.
2
• S Video Input signal through the Scart connector
F
. This symbol appears only if an S Video
source has been connected.
3
• Video input signal through the phono socket
B
and Audio input signal through
C
.
3
• S Video Input signal through the front S Video input jack
A
and Audio signal through
C
.
This symbol appears only if an S Video source has been connected.
4
Press
button on the remote control to return to the normal TV picture.
For Mono Equipment
Connect the phono plug to the L/G/S/I socket on the front of the TV and select
3
or
3
input signal using
the instructions above. Finally, refer to the “Sound Adjustment” section of this manual and select “Dual Sound”
“A” on the sound menu screen.
S
S
S
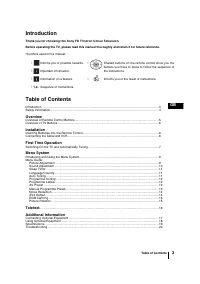
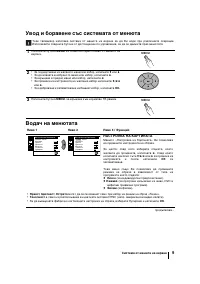
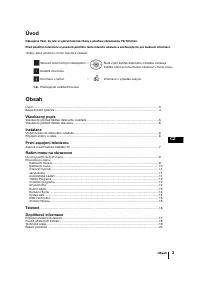
Содержание
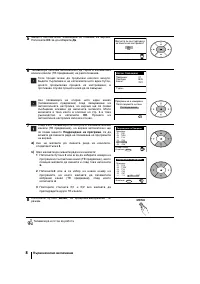
- 103 Введение; Оглавление
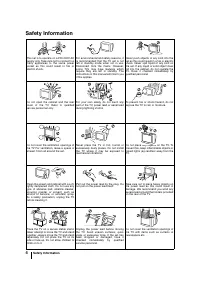
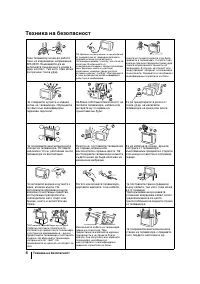
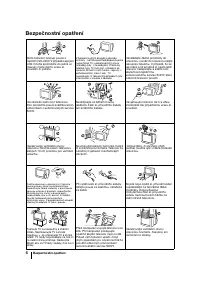
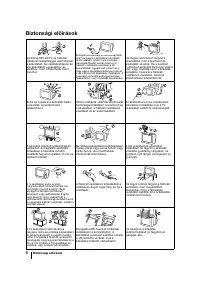
- 104 бщие правила техники безопасности; Общие правила техники безопасности
- 105 Общее описание
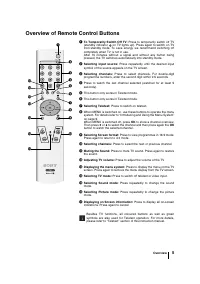
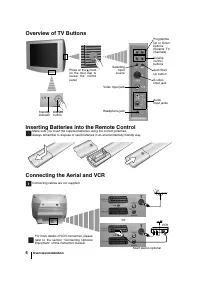
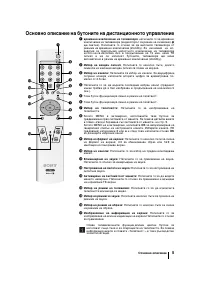
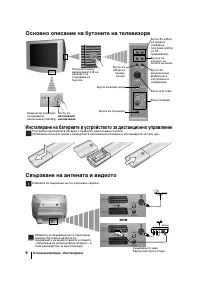
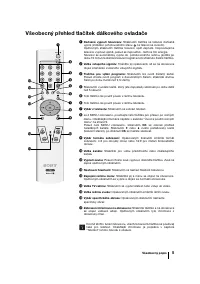
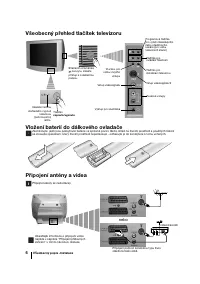
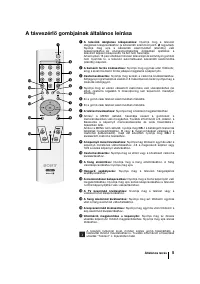
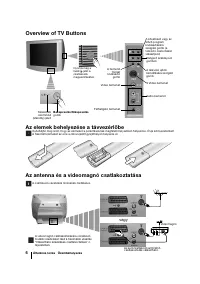
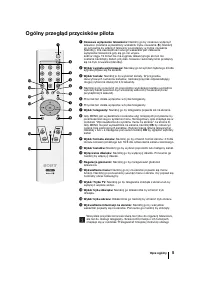
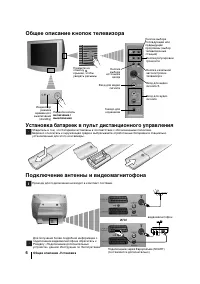
- 106 Общее описание кнопок телевизора; Общее описание -Установка; Установка батареек в пульт дистанционного управления; Подключение антенны и видеомагнитофона
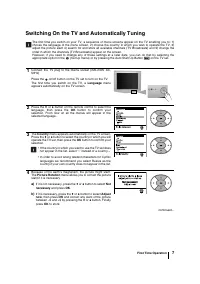
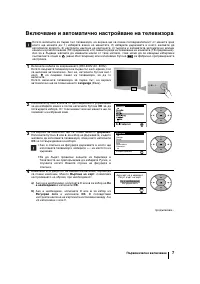
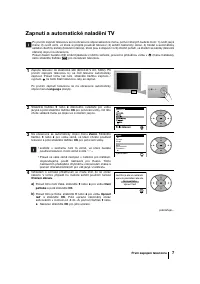
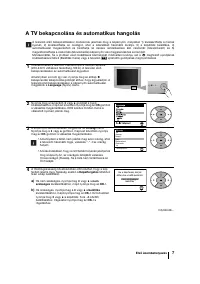
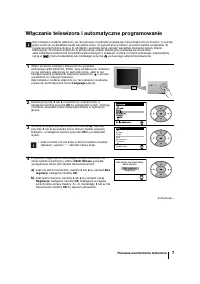
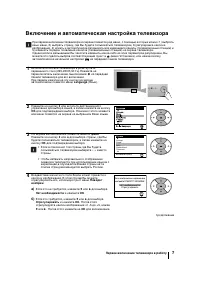
- 107 Включение и автоматическая настройка телевизора; Первое включение телевизора в работу
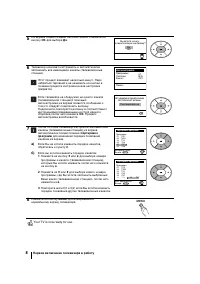
- 108 Your TV is now ready for use.
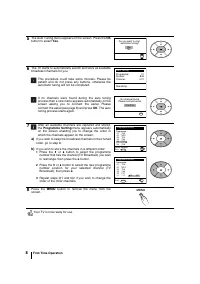
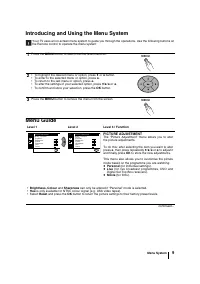
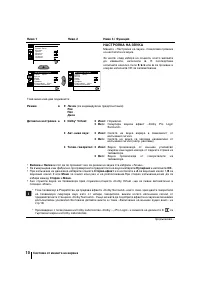
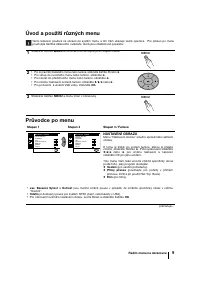
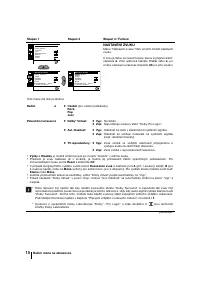
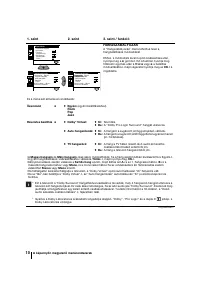
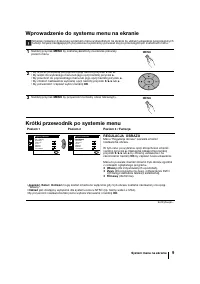
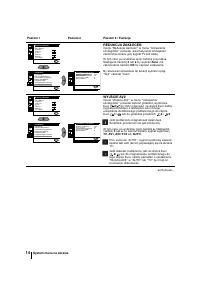
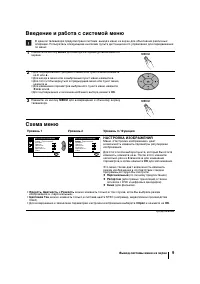
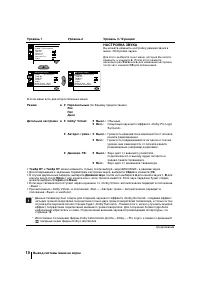
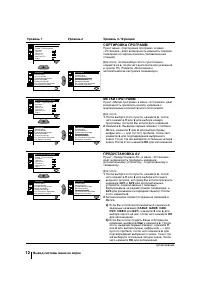
- 109 Введение и работа с системой меню; Вывод системы меню на экран; Схема меню; Уровень; НАСТРОЙКА ИЗОБРАЖЕНИЯ
- 110 НАСТРОЙКА ЗВУКА
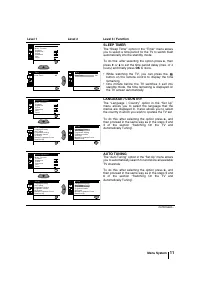
- 111 ТАЙМЕР ВЫКЛЮЧЕНИЯ
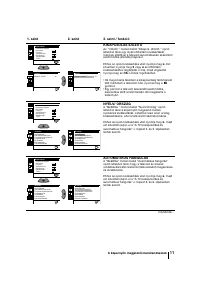
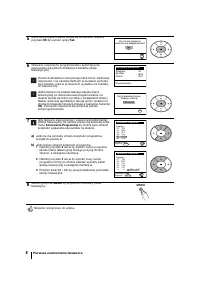
- 112 СОРТИРОВКА ПРОГРАММ
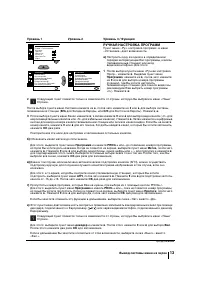
- 113 РУЧНАЯ НАСТРОЙКА ПРОГРАММ
- 114 ШУМОПОНИЖЕНИЕ; ВЫХОД AV2
- 115 RGB ЦЕНТРИРОВАНИЕ; ПОВОРОТ ИЗОБРАЖЕНИЯ
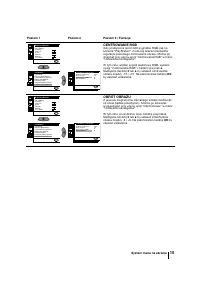
- 117 Подключение дополнительных устройств; Дополнительная информация
- 118 Подключение внeшнeй звyкoвocпpoизвoдящeй aппapaтypы:; Использование дополнительных устройств
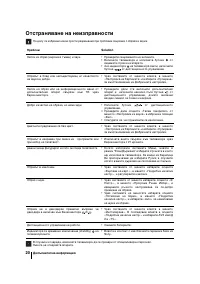
- 119 пецификации
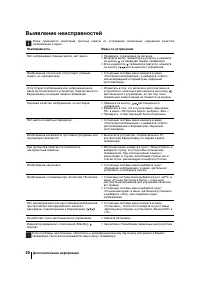
- 120 Выявление неисправностей; Неисправность


