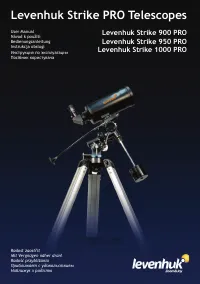
Телескопы Levenhuk Strike 950 PRO - инструкция пользователя по применению, эксплуатации и установке на русском языке. Мы надеемся, она поможет вам решить возникшие у вас вопросы при эксплуатации техники.
Если остались вопросы, задайте их в комментариях после инструкции.
"Загружаем инструкцию", означает, что нужно подождать пока файл загрузится и можно будет его читать онлайн. Некоторые инструкции очень большие и время их появления зависит от вашей скорости интернета.


12
7
8
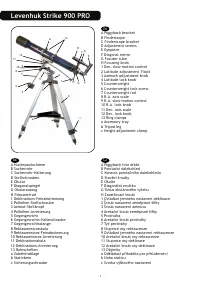
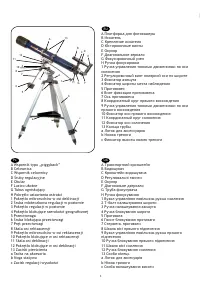
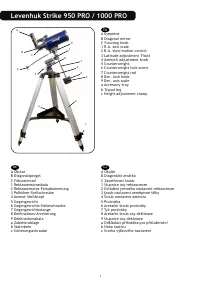
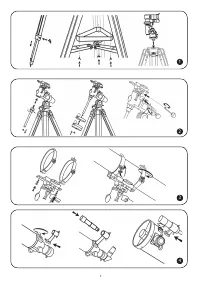
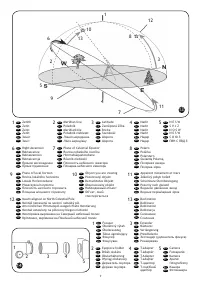
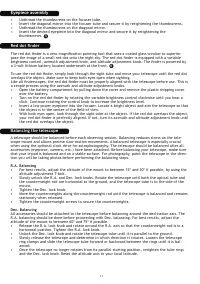
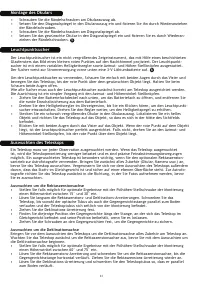
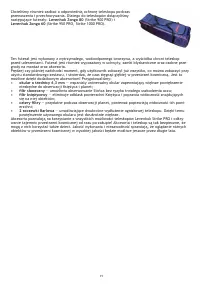
Operating the mount
The mount has controls for both conventional altitude (up-down) and azimuth (left-right) directions of
motion. These two adjustments are suggested for large direction changes and for terrestrial viewing.
To adjust azimuth, loosen the big knob under the mount base and rotate the mount head about the
azimuth axis. Use the altitude adjustment T-bolts to set the required altitude.
In addition, the EQ2 mount has R.A. (hour angle) and Dec. controls for polar-aligned astronomical
observing. Loosen the lock knobs to make large direction changes. Use the slow-motion controls for fine
adjustment after the lock knobs have both been locked. An additional scale is included for the altitude
axis. This allows polar alignment at your local latitude.
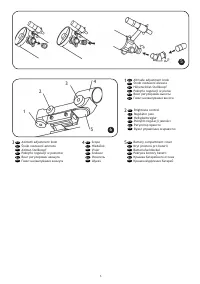
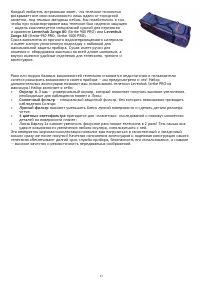
Barlow lens
A Barlow lens increases the magnifying power of an eyepiece, while reducing the field of view. It
expands the cone of the focused light before it reaches the focal point, so that the telescope’s focal
length appears longer to the eyepiece. In addition to increasing magnification, the benefits of using
a Barlow lens include improved eye relief, and reduced spherical aberration of the eyepiece. For this
reason, a Barlow plus a lens often outperform a single lens producing the same magnification. And the
best advantage is that a Barlow lens can potentially double the number of eyepieces in your collec-
tion.
Focusing
Slowly rotate the focus knobs under the focuser one way or the other until the image in the eyepiece is
sharp. The image usually has to be finely refocused over time, due to small variations caused by tem-
perature changes, flexures, etc. This often happens with short focal ratio telescopes, particularly when
they haven’t yet reached outside temperature. Refocusing is almost always necessary when you change
an eyepiece, add or remove a Barlow lens.
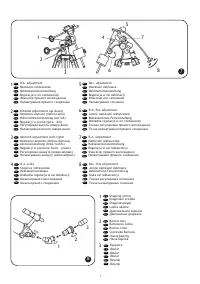
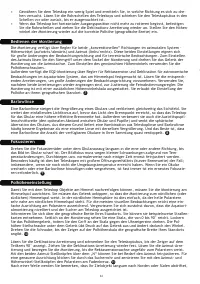
Polar adjustment
In order for your telescope to track objects in the sky you have to align your mount. This means tilting
the head over so that it points to the North (or South) celestial pole. For people in the Northern
Hemisphere this is rather easy as the bright star Polaris is very near the North Celestial Pole. For casual
observing, rough polar alignment is adequate. Make sure your equatorial mount is leveled and the
finderscope is aligned with the telescope before beginning.
Look up your latitude on a map, road maps are good for this purpose. Now look at the side of your
mount head, there you will see a scale running from 0 to 90°. Loosen the mount latch slightly rota-
ting the lock handle counterclockwise. A thumbscrew located underneath the mount head pushes the
latch plate, thus changing the angle. Turn the screw until the pointer on the latitude scale is set at the
latitude of your observation site.
Loosen the Dec. lock knob and rotate the telescope tube until the pointer on the setting circle reads
90°. Retighten the Dec. lock knob. Loosen the azimuth lock knob and move the mount so that the R.A.
axis points roughly at Polaris. Use the two azimuth adjustment knobs above the “N” to make fine ad-
justments in azimuth if needed. For more accurate alignment, look through the finderscope and center
the Polaris on the crosshairs using the azimuth and latitude adjustment knobs.
After a while you will notice your target drifting slowly North or South depending on the direction of
the pole relative to Polaris. To keep the target in the center of the view, turn only the R.A. slow-mo-
tion control.
After your telescope is polar aligned, no further adjustments in the azimuth and latitude of the mount
should be made in the observing session, nor should you move the tripod. Only movements in R.A. and
DEC axis should be made in order to keep an object in the field.
In the Southern Hemisphere you must align the mount to the SCP by locating its position with star
patterns, without the convenience of a nearby bright star. The closest star is the faint 5.5-mag. Sigma
Octantis which is about one degree away. Two sets of pointers which help to locate the SCP are α and
β Crucis (in the Southern Cross) and a pointer running at a right angle to a line connecting α and β
Centauri.
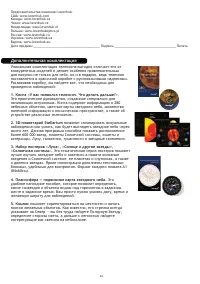
Tracking celestial objects
9
10
11
When observing through a telescope, astronomical objects appear to move slowly through the tele-
scope’s field of view. When the mount is correctly polar aligned, you only need to turn the R.A.
slow-motion control to follow or track objects as they move through the field.
If the object is too faint you may want to use setting circles on an equatorial mount. Setting circles al-
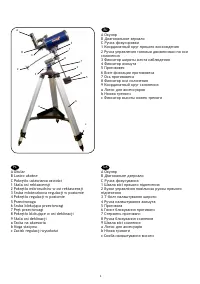
Содержание
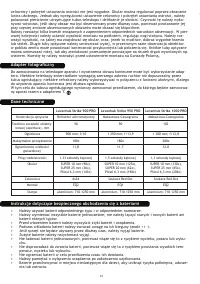
- 42 Телескопы Levenhuk Strike 950 PRO; Сборка монтировки и трубы телескопа
- 43 Балансировка по оси прямого восхождения; Установка окуляра
- 44 Использование монтировки; широты вашей местности.; Линза Барлоу; фокусировка при смене окуляра или установке/снятии линзы Барлоу.; Установка полярной оси; найдите и центрируйте Полярную звезду, глядя в искатель.
- 45 Отслеживание небесных тел; для наблюдений в Южном полушарии.
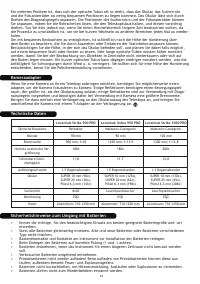
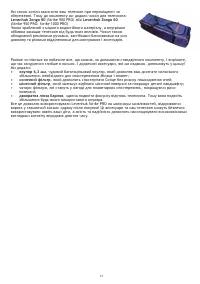
- 46 Адаптер для камеры; фотографировании близко расположенных объектов.; Технические характеристики; Использование элементов питания; воспламениться или взорваться.
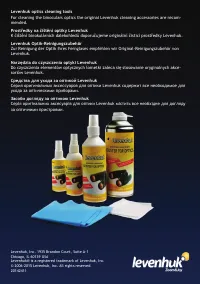
- 47 Выключайте прибор после использования.; Уход и хранение; ОПАСНО ДЛЯ ЗРЕНИЯ И МОЖЕТ ПРИВЕСТИ К СЛЕПОТЕ!; для чистки оптики компании Levenhuk.; Международная гарантия; пожизненная
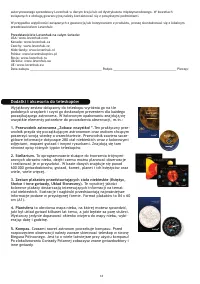
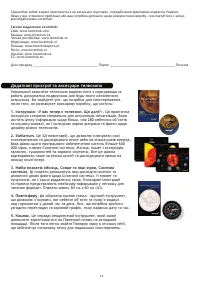
- 48 Дополнительная комплектация; Планисфера — подвижная карта звездного неба.
- 60 ухода за оптическими приборами.; Засоби догляду за оптикою Levenhuk; за оптичними пристроями.; Levenhuk® is a registered trademark of Levenhuk, Inc.


