
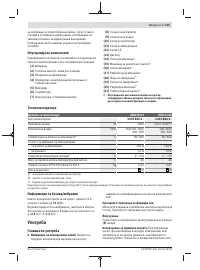
Технические фены Bosch GHG 23-66 - инструкция пользователя по применению, эксплуатации и установке на русском языке. Мы надеемся, она поможет вам решить возникшие у вас вопросы при эксплуатации техники.
Если остались вопросы, задайте их в комментариях после инструкции.
"Загружаем инструкцию", означает, что нужно подождать пока файл загрузится и можно будет его читать онлайн. Некоторые инструкции очень большие и время их появления зависит от вашей скорости интернета.


14
| English
u
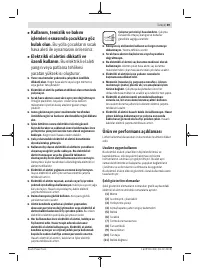
If you reduce the temperature, it takes a little while
for the power tool to cool down.
The lowest airflow setting is suitable for cooling down a
heated workpiece or for drying paint. It is also suitable for
cooling down the power tool before putting it down or chan-
ging the attachment nozzles.
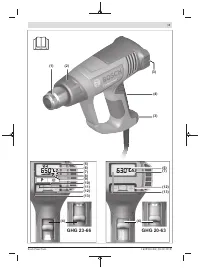
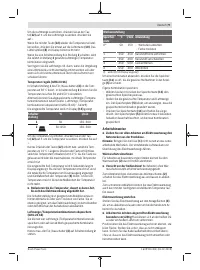
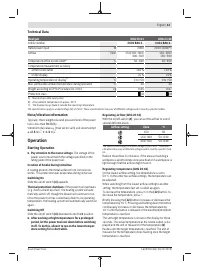
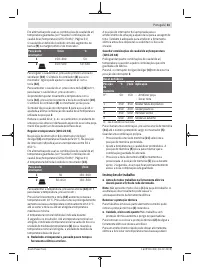
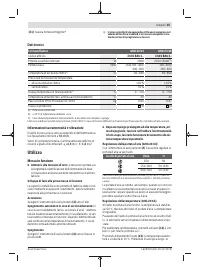
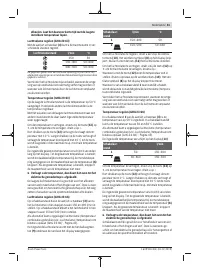
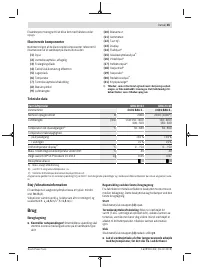
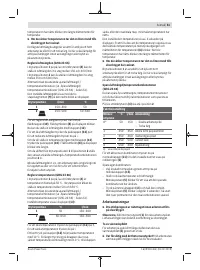
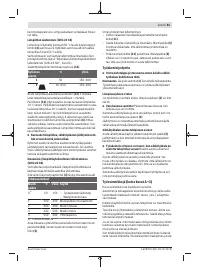
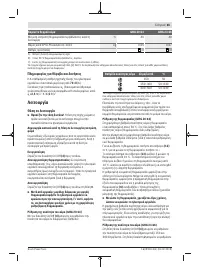
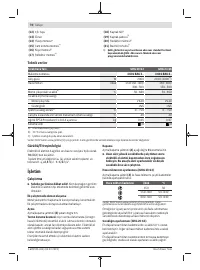
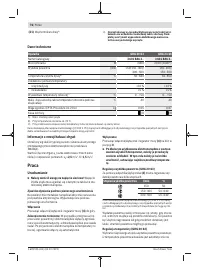
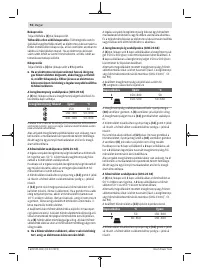
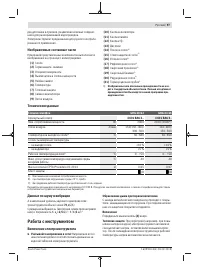
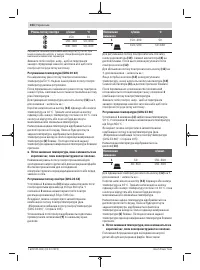
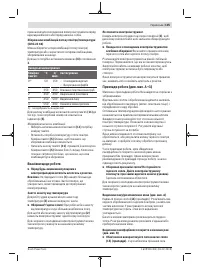
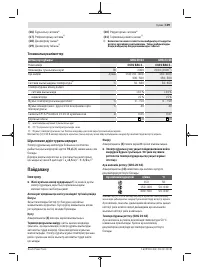
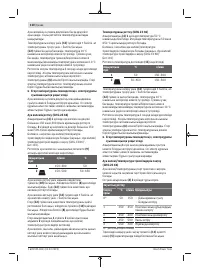
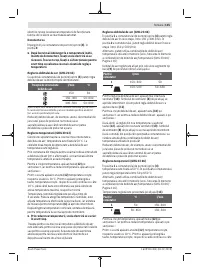
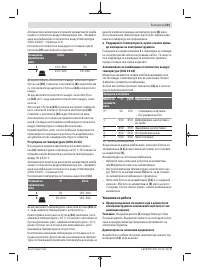
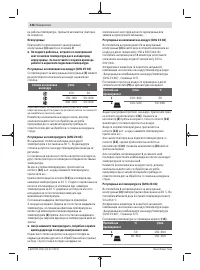
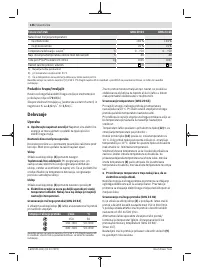
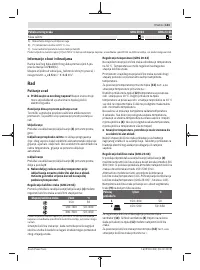
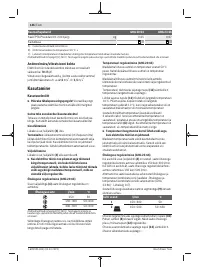
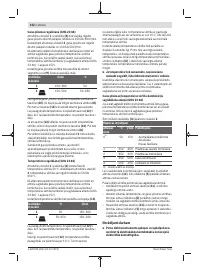
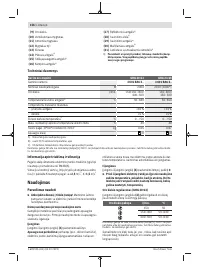
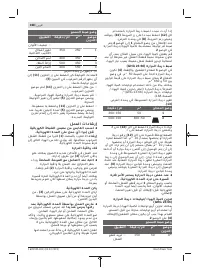
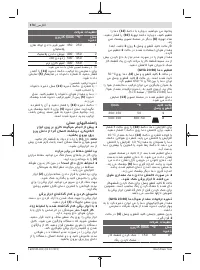
Regulating airflow (GHG 23-66)
In switch position
1
on the on/off switch
(4)
, you can adjust
the airflow in ten increments between 150 and 300 l/min. In
switch position
2
, you can adjust the airflow in ten incre-
ments between 150 and 500 l/min.
Alternatively, you can used the saved airflow/temperature
combinations (see "Saving airflow/temperature combina-
tions (GHG 23-66)", page 14).
The set airflow is displayed with the ten bar segments
(9)
at
the lower edge of the display.
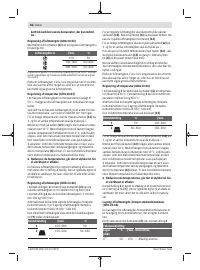
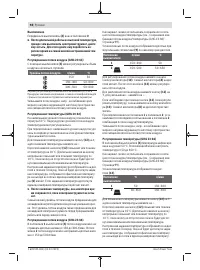
Switch position
l/min
°C
1
150–300
50
2
150–500
50–650
To adjust the airflow, first press the fan button
(10)
. The fan
symbol
(8)
in the display flashes. The airflow can now be
regulated with the airflow control button
(12)
.
To increase the airflow, press
+
on the
(12)
button; to de-
crease the airflow, press
−
.
If you wish to adjust the temperature again using the
(12)
button, press the fan button
(10)
again. The fan sym-
bol
(8)
in the display stops flashing.
If you move from switch position
1
to position
2
, the airflow/
temperature combination last used in position
2
is set.
Reduce the airflow, for instance, if the area surrounding a
workpiece cannot tolerate excessive heat or if a workpiece is
light enough that the airflow might move it.
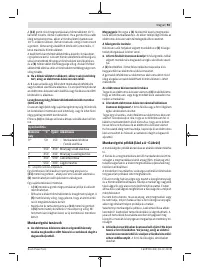
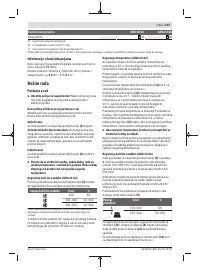
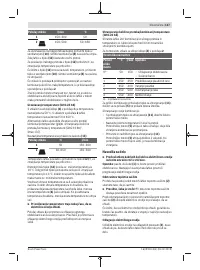
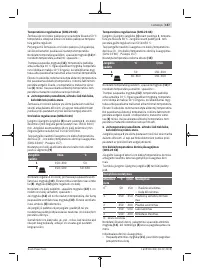
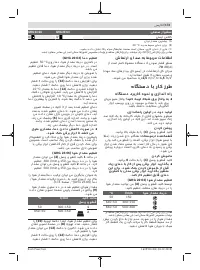
Regulating temperature (GHG 23-66)
In switch position
1
on the on/off switch
(4)
, the temperat-
ure is fixed at 50 °C. In switch position
2
, you can adjust the
temperature between 50 and 650 °C.
Alternatively, you can used the saved airflow/temperature
combinations (see "Saving airflow/temperature combina-
tions (GHG 23-66)", page 14).
The set temperature is shown in the display
(13)
.
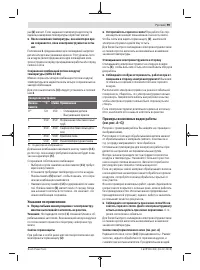
Switch position
°C
l/min
1
50
150–300
2
50–650
150–500
To increase the temperature, press
+
on the
(12)
button; to
decrease the temperature, press
−
.
Briefly pressing the
(12)
button increases or decreases the
temperature by 10 °C. Pressing and holding down the button
continuously increases or decreases the temperature by
10 °C until the button is released or the maximum/minimum
temperature is reached.
The set target temperature is shown in the display for three
seconds. The actual temperature at the nozzle output is dis-
played and the unit of measure for the temperature
(6)
flashes until the target temperature is reached. The unit of
measure for the temperature stops flashing once the target
temperature is reached.
u
If you reduce the temperature, it takes a little while
for the power tool to cool down.
Switch setting
1
is suitable for cooling down a heated work-
piece or for drying paint. It is also suitable for cooling down
the power tool before putting it down or changing the attach-
ment nozzles.
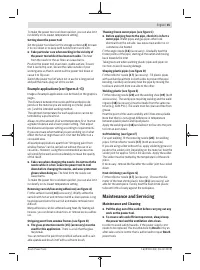
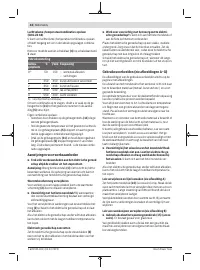
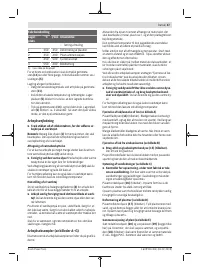
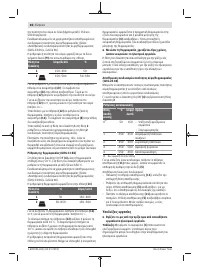
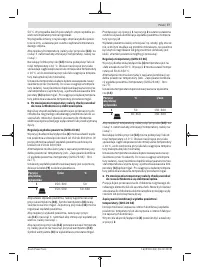
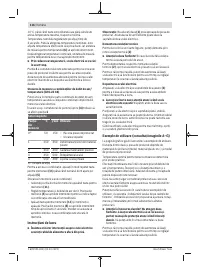
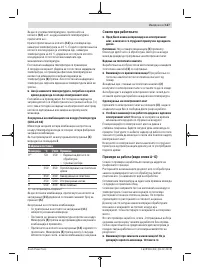
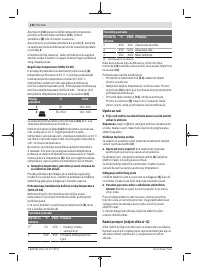
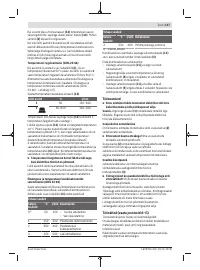
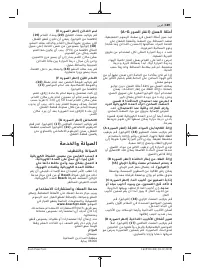
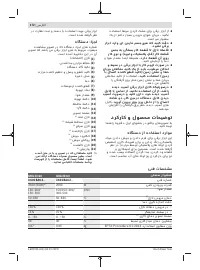
Saving airflow/temperature combinations (GHG 23-66)
You can save four airflow/temperature combinations or ac-
cess four saved preset combinations.
To do this, the on/off switch
(4)
must be set to switch posi-
tion
2
.
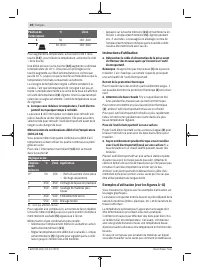
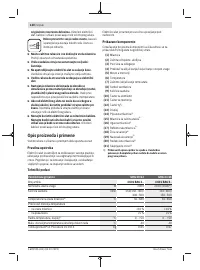
Factory settings
Memory
preset
°C
l/min Application
0
A)
50
150 – Cooling down a workpiece
– Drying paint
1
250
350 Shaping plastic pipes
2
350
400 Welding plastic
3
450
500 Removing varnish
4
550
400 Soft soldering
A) Not shown in the display
To call up a combination, keep pressing the memory button
(11)
until the number you want appears in the display
(5)
.
To save your own combination:
– Press the memory button
(11)
to select the memory pre-
set you want.
– Set the desired temperature and airflow. The memory
preset
(5)
flashes to indicate that the saved combination
has been changed.
– Press and hold down the memory button
(11)
. The
memory preset
(5)
flashes for around two seconds. When
it lights up continuously, the new combination has been
saved.
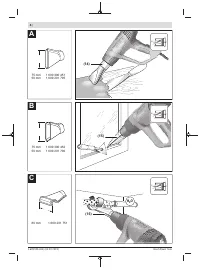
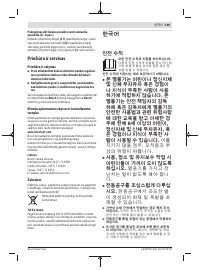
Practical advice
u
Pull the plug out of the socket before carrying out any
work on the power tool.
Note:
Do not position the nozzle
(1)
too close to the work-
piece that you are using the power tool on. The resulting
build-up of air can cause the power tool to overheat.
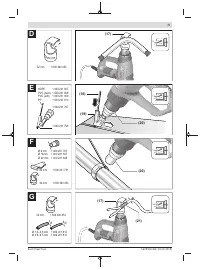
Removing the heat shield
When working in particularly tight spaces, you can remove
the heat shield
(2)
by turning it.
u
Caution: Nozzle is hot!
Working without the heat shield
increases the risk of burns.
Always switch the power tool off and allow it to cool before
removing or attaching the heat shield
(2)
.
1 609 92A 4UE | (04.02.2019)
Bosch Power Tools
Характеристики

Остались вопросы?Не нашли свой ответ в руководстве или возникли другие проблемы? Задайте свой вопрос в форме ниже с подробным описанием вашей ситуации, чтобы другие люди и специалисты смогли дать на него ответ. Если вы знаете как решить проблему другого человека, пожалуйста, подскажите ему :)


