
Стиральная машина Kraft KF-MD 8201 BW - инструкция пользователя по применению, эксплуатации и установке на русском языке. Мы надеемся, она поможет вам решить возникшие у вас вопросы при эксплуатации техники.
Если остались вопросы, задайте их в комментариях после инструкции.
"Загружаем инструкцию", означает, что нужно подождать пока файл загрузится и можно будет его читать онлайн. Некоторые инструкции очень большие и время их появления зависит от вашей скорости интернета.


32
СТИРАЛЬНАЯ МАШИНА АВТОМАТ
AUTOMATIC WASHING MACHINE
ИНСТРУКЦИЯ ПО ЭКСПЛУАТАЦИИ • USEr GUIdE
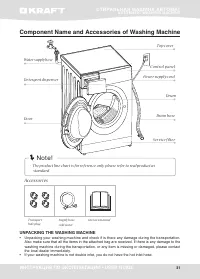
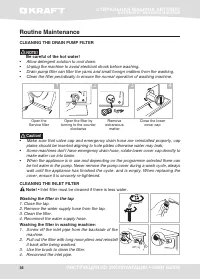
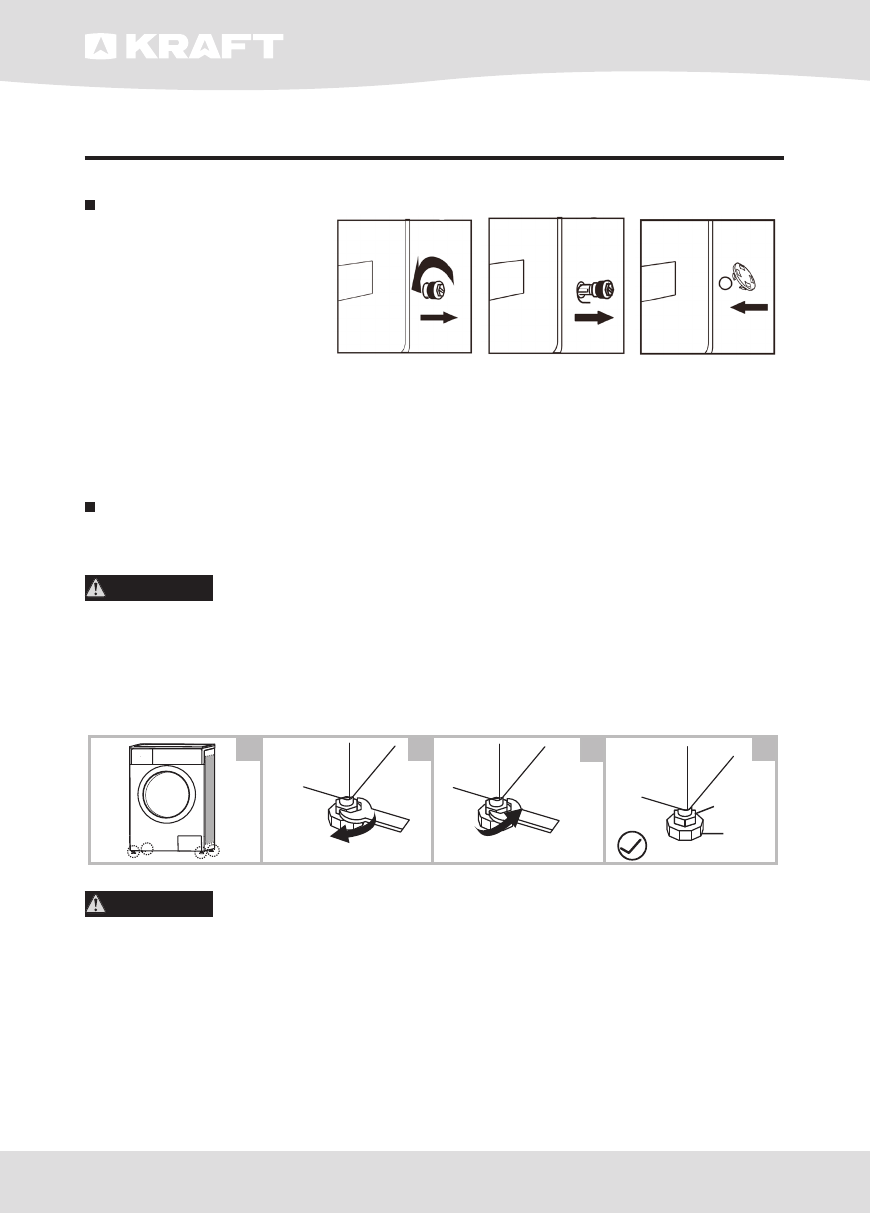
Install Washing Machine
Remove transit bolts
Before using this washing
machine, transit bolts
must be removed from the
backside of this machine.
Please take the following
steps to remove the bolts
:
1. Loosen the four transit bolts with a spanner.
2. Take each bolt head and pull it through the wide part of the hole. Repeat for each bolt.
3. Fill the holes with the supplied plastic covers.
4. Keep the transit bolts properly for futher use.
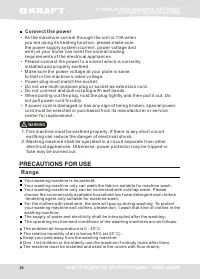
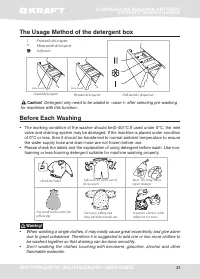
Levelness adjustment
Do not place the washing machine outdoors or in a place below 0 °С, otherwise the program
controller tends to be damaged.
WARNING
•
The lock nuts on all four feet must be screwed tightly against the housing.
1. Check if the legs are closely attached to the cabinet. If not, please turn them to
their original positions tighten the nuts.
2. Loosen the lock nut turn the feet until it closely contacts with the floor.
3. Adjust the legs and lock them with a spanner, make sure the machine is steady.
WARNING
• When the four feet are in close contact with the floor, the washing machine must be completely
level and secure. When the washing machine is level, make the feet as low as possible.
• Improper levelness adjustment will result in the washing machine’s big noise, vibration,
displacement, etc.
• There is a vent at bottom of the washing machine (do not block it). Place the washing machine
on a solid, flat and skidproof floor. To avoid injuries, do not place the washing machine on soft
blanket, wooden floor, platform or rack.
1.
Check if the legs are closely attached to the cabinet. If not, please turn them to
their original positions tighten the nuts.
2. Loosen the lock nut turn the feet until it closely contacts with the f loor.
3. Adjust the legs and lock them with a spanner, make sure the machine is steady.
Levelling the washing machine
• T he lock nuts on all four feet must be screwed tightly against the housing.
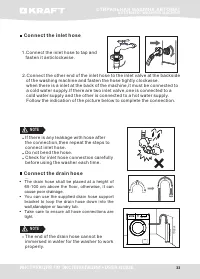
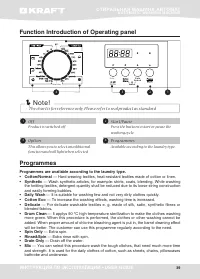
Connect Water Supply Hose
Connect the inlet pipe as indicated, T here are two ways to connect the inlet pipe.
1.Connection between ordinary tap and inlet hose.
• To
prevent leakage or water damage, follow the
instructions in
this
chapter!
•
Do
not
kink, crush, modif y
or sever water
inlet
hose.
• For the model equips hot valve,connect it to hot water tap with hot water supply
hose. Energy consumption will decrease automatically for some program.
2
3
4
1
Raise
Lower
Lock
nut
foot
Warning!
!
Warning!
!
9
9
INSTALLATION
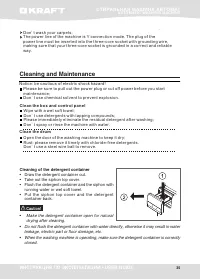
L o o s e n c l a m p n u t a n d
f o u r b o l t s
T i g h t e n c l a m p n u t
P r e s s s l i d e b u s h i n g ,
i n s e r t i n l e t h o s e i n t o
c o n n e c t i n g b a s e
s l i d e bu s h i n g
2
3
4
1
C o n n e c t i o n f i n i s h e d
clamp nut
T a p w i t h t h r e a d s a n d i n l e t h o s e
S p e c i a l t a p f o r w a s h i n g m a c h i n e
2.Connection between screw tap and inlet hose.
s l i d e bu s h i n g
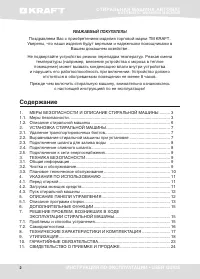
Содержание
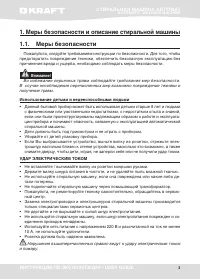
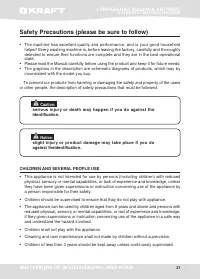
- 3 Меры безопасности и описание стиральной машины; Использование детьми и недееспособными людьми; только специалистами сервисных центров.
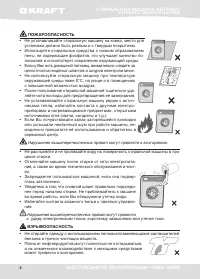
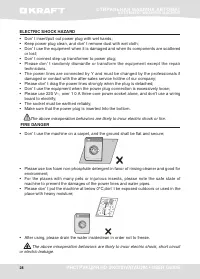
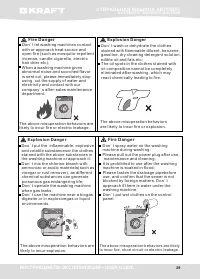
- 4 ПОЖАРООПАСНОСТЬ; Нарушения вышеперечисленных правил могут привести; ВЗРЫВООПАСНОСТЬ
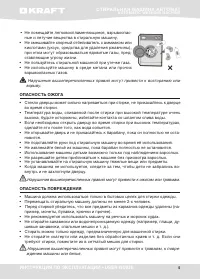
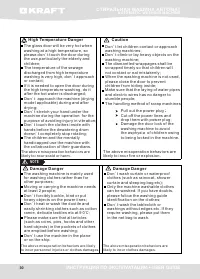
- 5 ОПАСНОСТЬ ОЖОГА; ждению машины или белья.
- 6 Распаковка стиральной машины; во время транспортировки.
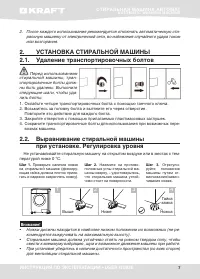
- 7 УСТАНОВКА СТИРАЛЬНОЙ МАШИНЫ; Перед использованием; при установке. Регулировка уровня; комендуется выкручивать на максимальную высоту).
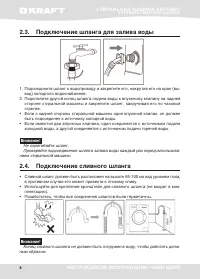
- 8 Подключение шланга для залива воды; быть подсоединен к источнику холодной воды.
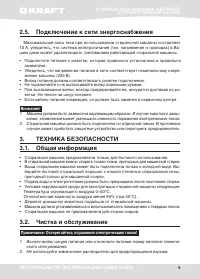
- 9 Подключение к сети энергоснабжения; Примечание: Остерегайтесь поражения электрическим током!
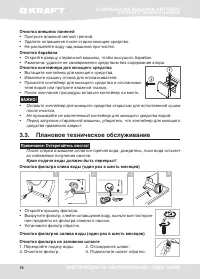
- 10 теля водой или протрите влажной тканью.
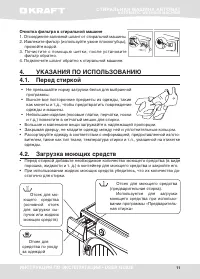
- 11 Очистка фильтра в стиральной машине; УКАЗАНИЯ ПО ИСПОЛЬЗОВАНИЮ
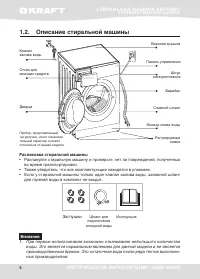
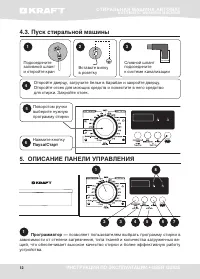
- 12 ОПИСАНИЕ ПАНЕЛИ УПРАВЛЕНИЯ; Нажмите кнопку; Программатор —; позволяет пользователям выбрать программу стирки в
- 14 Слив
- 15 ДОПОЛНИТЕЛЬНЫЕ ФУНКЦИИ; Функция памяти; жительность выполнения программы стирки.; РЕШЕНИЕ ПРОБЛЕМ, ВОЗНИКШИХ В ХОДЕ
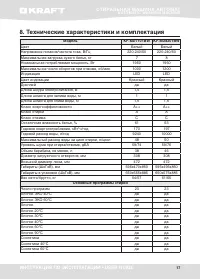
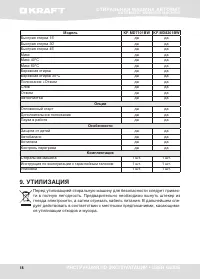
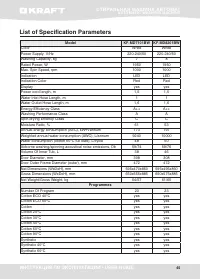
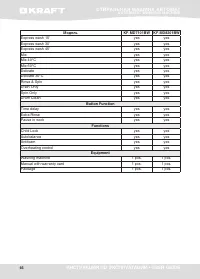
- 17 Технические характеристики и комплектация
- 19 на гарантийный ремонт; на гарантийный ремонт
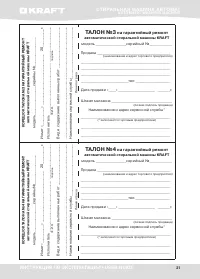
- 21 ТАЛОН No3; ТАЛОН No4
- 23 ГАРАНТИЙНЫЕ ОБЯЗАТЕЛЬСТВА; Дата продажи; УСЛОВИЯ ГАРАНТИИ; Настоящая гарантия действительна при следующих условиях:
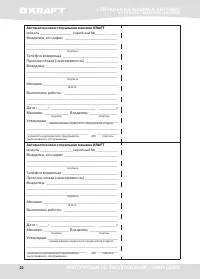
- 24 СВИДЕТЕЛЬСТВО О ПРИЕМКЕ И ПРОДАЖЕ; Стиральная машина автомат; KRAFT модель; не имею. С гарантийными условиями ознакомлен.
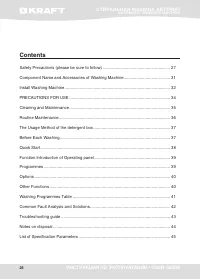
- 26 Contents


