Швейная машина Janome SE 7522 - инструкция пользователя по применению, эксплуатации и установке на русском языке. Мы надеемся, она поможет вам решить возникшие у вас вопросы при эксплуатации техники.
Если остались вопросы, задайте их в комментариях после инструкции.
"Загружаем инструкцию", означает, что нужно подождать пока файл загрузится и можно будет его читать онлайн. Некоторые инструкции очень большие и время их появления зависит от вашей скорости интернета.


12
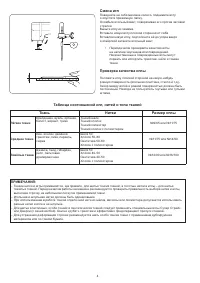
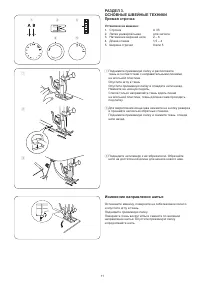
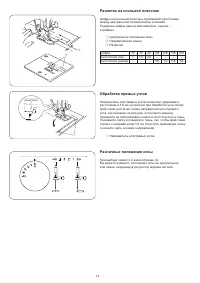
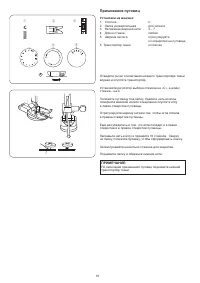
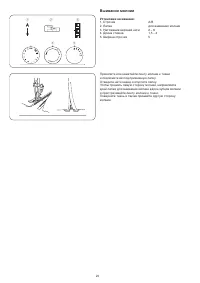
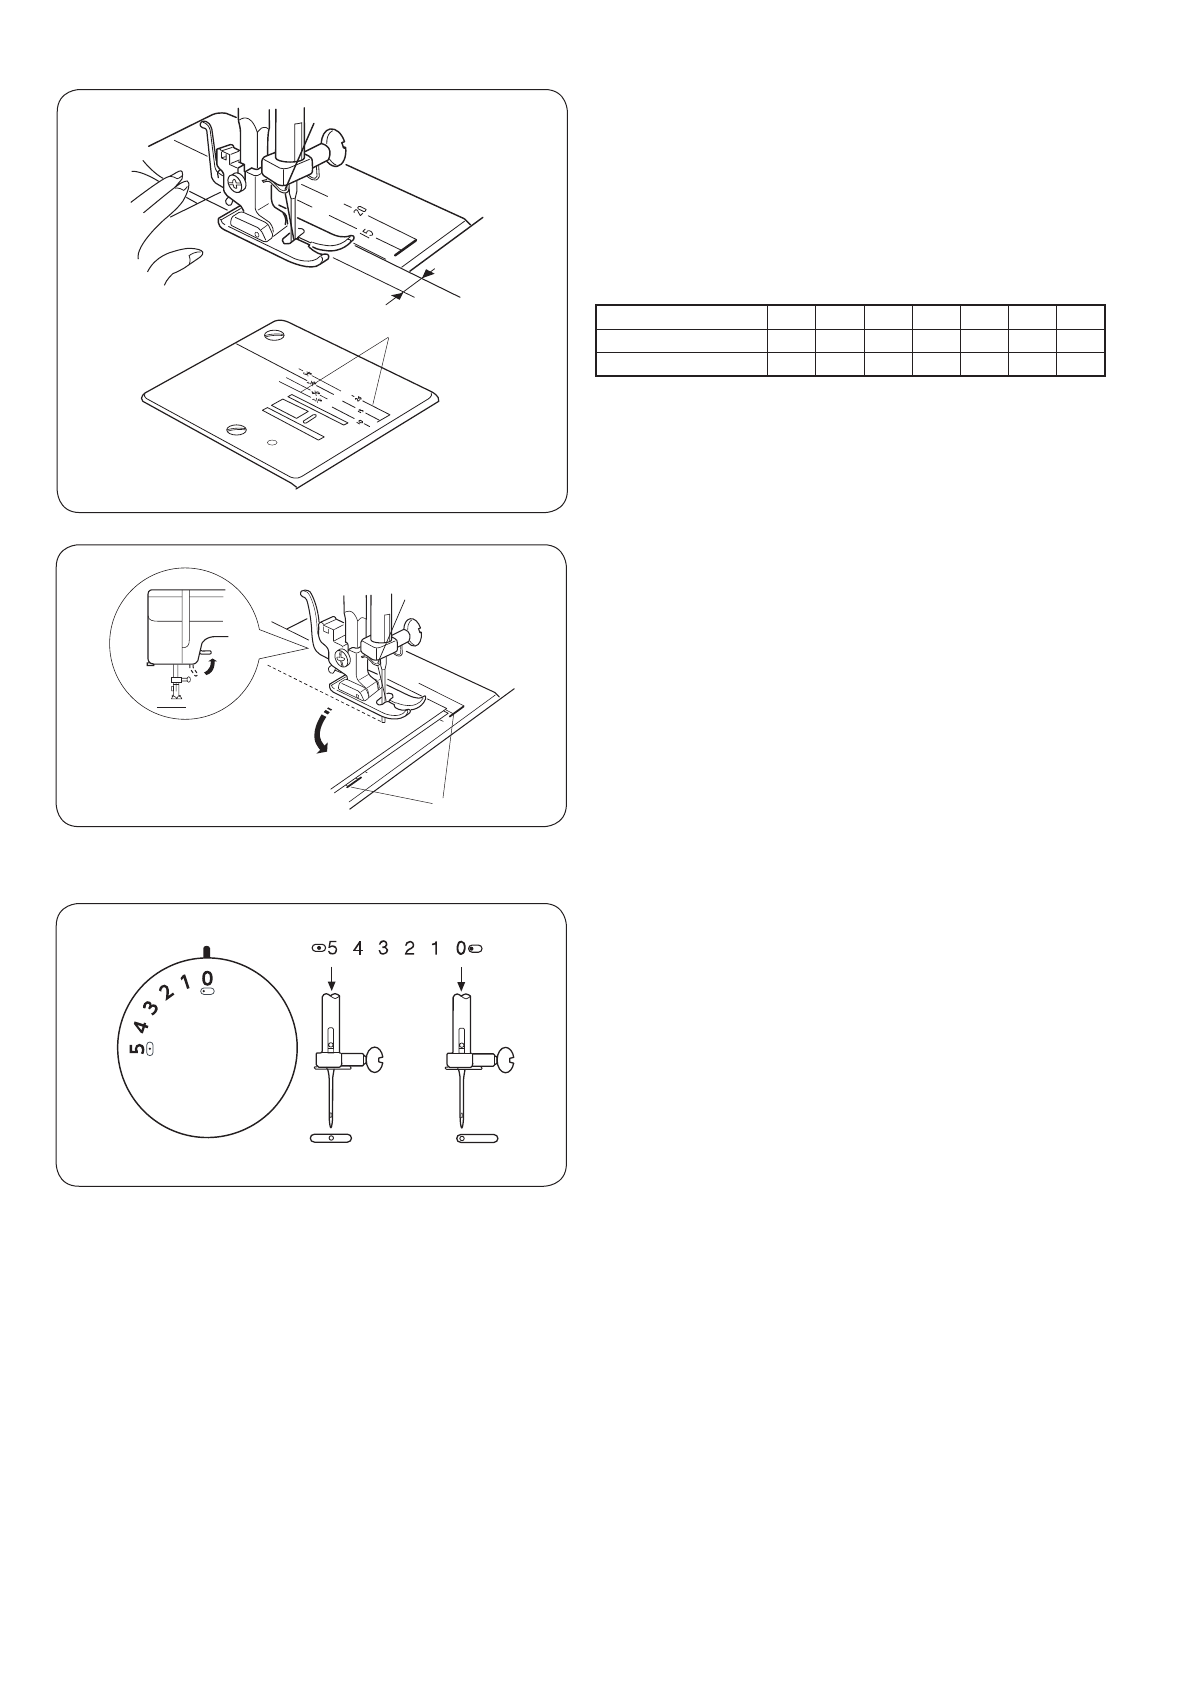
Разметка на игольной пластине
Цифры на игольной пластине определяют расстояние
между центральной позицией иглы и линией.
Передние цифры даны в миллиметрах, задние –
в дюймах.
q
Центральное положение иглы
w
Направляющие линии
e
Разметка
цифра
10
15
20
3/8 4/8 5/8 6/8
расстояние (см)
1
1,5 2,0
–
–
–
–
расстояние (дюйм)
–
–
–
3/8 1/2 5/8 3/4
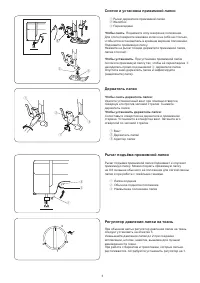
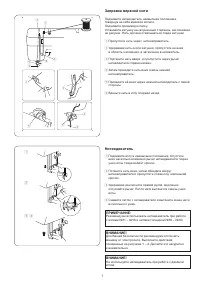
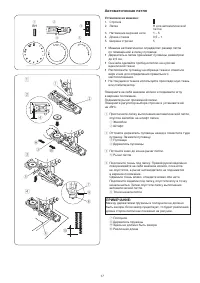
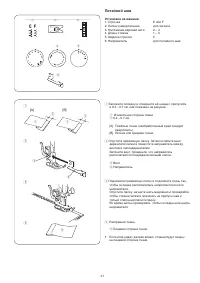
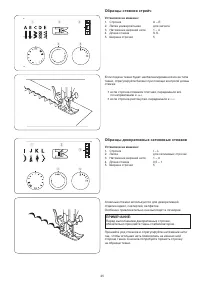
Обработка прямых углов
Направитель для прямых углов позволяет удерживать
расстояние в 1,6 см на припуск при обработке угла. Когда
край ткани достигнет линии направителя для прямого
угла, как показано на рисунке, остановите машину,
поверните на себя маховое колесо и опустите иглу в ткань.
Поднимите лапку и поверните ткань, так, чтобы край ткани
совпал с направителем 1,6 см. Опустите прижимную лапку
и начните шить в новом направлении.
q
Направитель для прямых углов
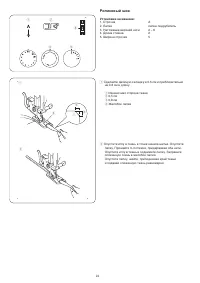
Различные положения иглы
При выборе прямого стежка (образец А)
Вы можете изменить положение иглы на центральное
или левое, передвинув регулятор ширины зигзага.
15
q
q
Center needle position
w
Guide lines
e
Numbers
Seam Guide Lines
The numbers on the needle plate indicate the
distance between the center needle position and
the guideline.
The numbers in front are centimeters.
The numbers in back are fractions of an inch.
Turning a Square Corner
To turn a square corner 5/8” (1.6 cm) from the
fabric edge.
Stop stitching and lower the needle by turning
the handwheel counterclockwise.
Raise the presser foot and turn the fabric to line
the edge with the 5/8” (1.6 cm) seam guide.
Lower the presser foot and begin stitching in the
new direction.
Line up the fabric edge facing you with the
cornering guide shown.
q
Cornering guide
q
w
e
Numbers
10 15 20 3/8 4/8 5/8 6/8
Distance (cm)
1 1.5 2
— — — —
Distance (inch) — — — 3/8 1/2 5/8 3/4
Variable Needle Position
When the straight stitch (pattern A) is selected,
you can move the needle between center and
left needle position by turning the stitch width
dial.
Содержание
- 4 СОДЕРЖАНИЕ
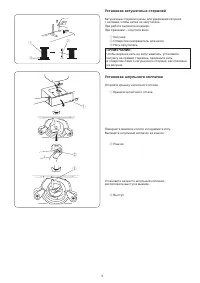
- 5 ОСНОВНЫЕ ЧАСТИ; Наименование частей; SECTION 1. ESSENTIAL PARTS; Names of Parts; Stitch selector dial
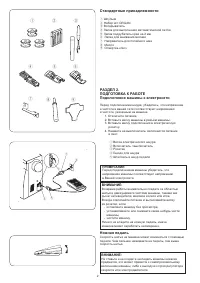
- 6 SECTION 2. GETTING READY TO; SECTION 2. GETTING READY TO
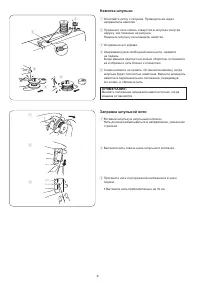
- 7 Рычаг подъёма прижимной лапки; Reduce the pressure to 2 for applique, cutwork,
- 8 Changing Needle; the flat side away from you.; To check the needle; Fabric, Thread and Needle Chart; Fabric
- 9 Removing or Inserting the Bobbin Case; Spool
- 10 Winding the Bobbin; Threading Bobbin Case; Threading Bobbin Case
- 11 Needle Threader; Needle Threader
- 12 Thread Tension Dial
- 13 CAUTION; Setting mark
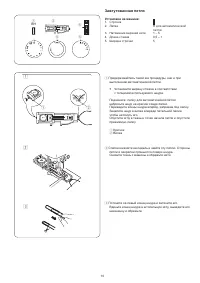
- 15 Изменение направления шитья; SECTION 3. BASIC SEWING
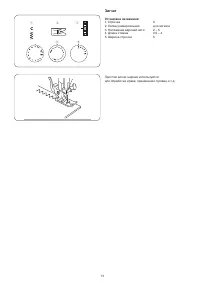
- 17 Зигзаг; Zigzag foot; Zigzag foot
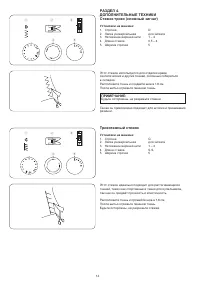
- 18 ДОПОЛНИТЕЛЬНЫЕ ТЕХНИКИ; Трикотажный стежок; SECTION 4. UTILITY STITCHING; SECTION 4. UTILITY STITCHING; This stitch is used to finish the raw edge on; SECTION 4. UTILITY STITCHING; This stitch is used to finish the raw edge on; SECTION 4. UTILITY STITCHING
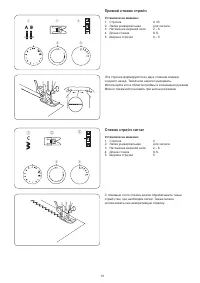
- 19 Прямой стежок стрейч; Стежок стрейч зигзаг; Straight Stretch
- 20 Пришивание пуговиц; Sewing Buttons
- 21 Автоматическая петля
- 22 n m
- 23 Зажгутованная петля; Corded Buttonhole
- 24 Вшивание молнии; Smooth the threads toward the back and lower; Smooth the threads toward the back and lower
- 25 Blind Hem Stitch; Screw
- 26 Роликовый шов
- 27 ДЕКОРАТИВНЫЕ СТРОЧКИ; Мережка; SECTION 5. DECORATIVE STITCHING
- 28 Сборки; Аппликация
- 29 Образцы стежков стрейч; Образцы декоративных сатиновых стежков
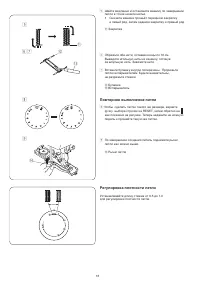
- 30 Чистка нижнего транспортёра ткани
- 31 Устранение неисправностей; Неисправность


