Швейная машина Janome SE 7522 - инструкция пользователя по применению, эксплуатации и установке на русском языке. Мы надеемся, она поможет вам решить возникшие у вас вопросы при эксплуатации техники.
Если остались вопросы, задайте их в комментариях после инструкции.
"Загружаем инструкцию", означает, что нужно подождать пока файл загрузится и можно будет его читать онлайн. Некоторые инструкции очень большие и время их появления зависит от вашей скорости интернета.


6
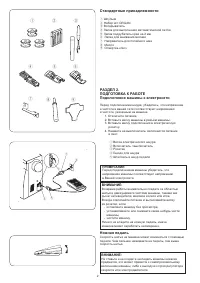
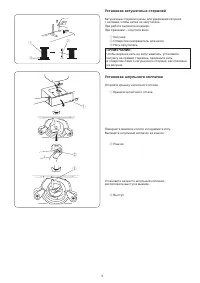
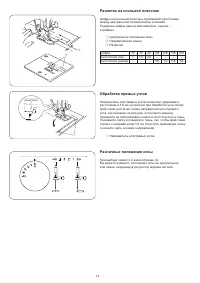
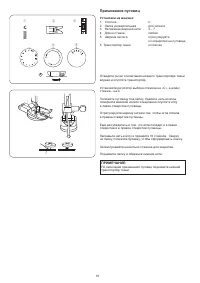
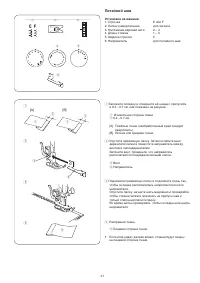
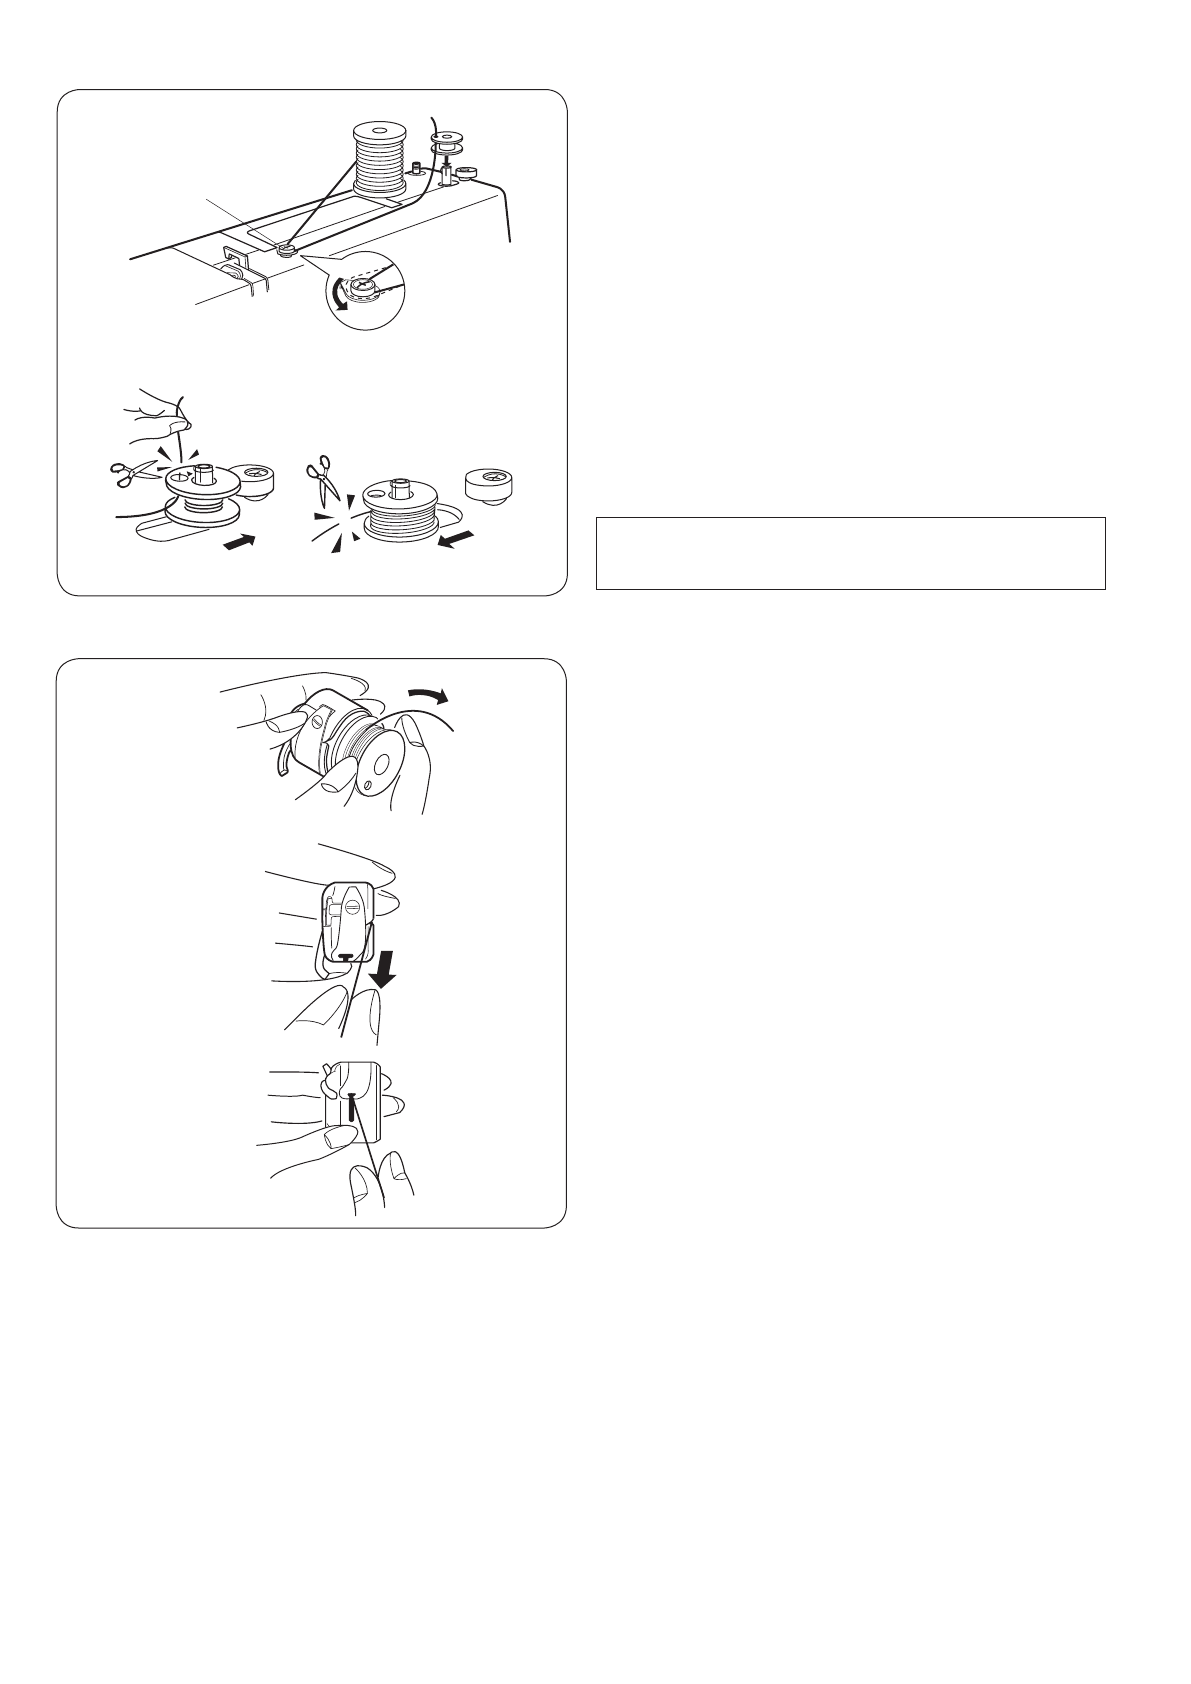
Намотка шпульки
z
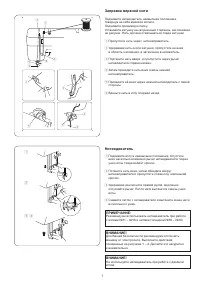
Отмотайте нитку с катушки. Проведите её через
направитель намотки.
x
Проденьте нить сквозь отверстие в шпульке изнутри
наружу, как показано на рисунке.
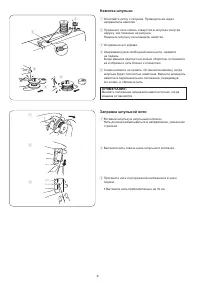
Наденьте шпульку на шпиндель намотки.
c
Отодвиньте его вправо.
v
Удерживая рукой свободный конец нити, нажмите
на педаль.
Когда машина сделает несколько оборотов, остановите
её и обрежьте нить близко к отверстию.
b
Снова нажмите на педаль. Остановите машину, когда
шпулька будет полностью намотана. Верните шпиндель
намотки в первоначальное положение, передвинув
его влево, и обрежьте нить
Заправка шпульной нити
z
Вставьте шпульку в шпульный колпачок.
Нить должна разматываться в направлении, указанном
стрелкой.
x
Вытяните нить сквозь щель шпульного колпачка.
c
Протяните нить под пружиной натяжения и в ушко
подачи.
• Вытяните нить приблизительно на 10 см.
9
Winding the Bobbin
z
Draw the thread from the spool.
Guide the thread around the bobbin winder
thread guide.
x
Insert the thread through the hole in the
bobbin from the inside to the outside.
Put the bobbin on the bobbin winder spindle.
c
Push it to the right.
v
With the free end of the thread held in your
hand, depress the foot control.
Stop the machine when it has made a few
turns, and cut the thread close to the hole in
the bobbin.
b
Depress the foot control again.
When the bobbin is fully wound, stop the
machine.
Return the bobbin winder spindle to its
original position by moving the spindle to the
left, and cut the thread.
NOTE:
Return the bobbin winder spindle when the
machine stops.
Threading Bobbin Case
z
Place the bobbin into the bobbin case.
Make sure the thread unwinds in the direction
of arrow.
x
Pull the thread into the bobbin case slot.
c
Draw the thread under the tension spring and
into the delivery eye.
* Leave about 10 cm (4˝) of free thread.
z
b
z
x
c
c
x
v
ПРИМЕЧАНИЕ:
Меняйте положение шпинделя намотки только, когда
машина остановится.
9
Winding the Bobbin
z
Draw the thread from the spool.
Guide the thread around the bobbin winder
thread guide.
x
Insert the thread through the hole in the
bobbin from the inside to the outside.
Put the bobbin on the bobbin winder spindle.
c
Push it to the right.
v
With the free end of the thread held in your
hand, depress the foot control.
Stop the machine when it has made a few
turns, and cut the thread close to the hole in
the bobbin.
b
Depress the foot control again.
When the bobbin is fully wound, stop the
machine.
Return the bobbin winder spindle to its
original position by moving the spindle to the
left, and cut the thread.
NOTE:
Return the bobbin winder spindle when the
machine stops.
Threading Bobbin Case
z
Place the bobbin into the bobbin case.
Make sure the thread unwinds in the direction
of arrow.
x
Pull the thread into the bobbin case slot.
c
Draw the thread under the tension spring and
into the delivery eye.
* Leave about 10 cm (4˝) of free thread.
z
b
z
x
c
c
x
v
Содержание
- 4 СОДЕРЖАНИЕ
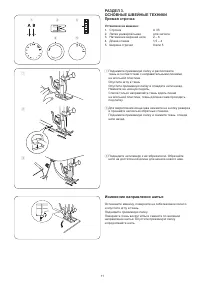
- 5 ОСНОВНЫЕ ЧАСТИ; Наименование частей; SECTION 1. ESSENTIAL PARTS; Names of Parts; Stitch selector dial
- 6 SECTION 2. GETTING READY TO; SECTION 2. GETTING READY TO
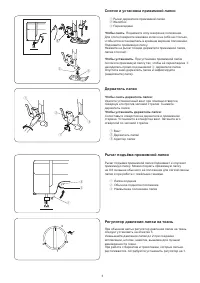
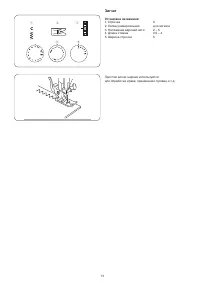
- 7 Рычаг подъёма прижимной лапки; Reduce the pressure to 2 for applique, cutwork,
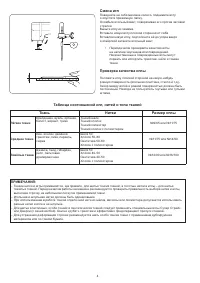
- 8 Changing Needle; the flat side away from you.; To check the needle; Fabric, Thread and Needle Chart; Fabric
- 9 Removing or Inserting the Bobbin Case; Spool
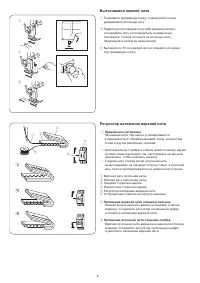
- 10 Winding the Bobbin; Threading Bobbin Case; Threading Bobbin Case
- 11 Needle Threader; Needle Threader
- 12 Thread Tension Dial
- 13 CAUTION; Setting mark
- 15 Изменение направления шитья; SECTION 3. BASIC SEWING
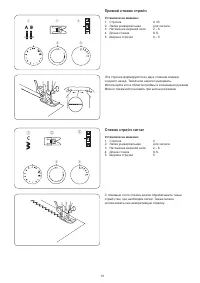
- 17 Зигзаг; Zigzag foot; Zigzag foot
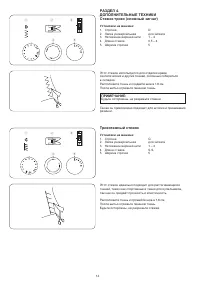
- 18 ДОПОЛНИТЕЛЬНЫЕ ТЕХНИКИ; Трикотажный стежок; SECTION 4. UTILITY STITCHING; SECTION 4. UTILITY STITCHING; This stitch is used to finish the raw edge on; SECTION 4. UTILITY STITCHING; This stitch is used to finish the raw edge on; SECTION 4. UTILITY STITCHING
- 19 Прямой стежок стрейч; Стежок стрейч зигзаг; Straight Stretch
- 20 Пришивание пуговиц; Sewing Buttons
- 21 Автоматическая петля
- 22 n m
- 23 Зажгутованная петля; Corded Buttonhole
- 24 Вшивание молнии; Smooth the threads toward the back and lower; Smooth the threads toward the back and lower
- 25 Blind Hem Stitch; Screw
- 26 Роликовый шов
- 27 ДЕКОРАТИВНЫЕ СТРОЧКИ; Мережка; SECTION 5. DECORATIVE STITCHING
- 28 Сборки; Аппликация
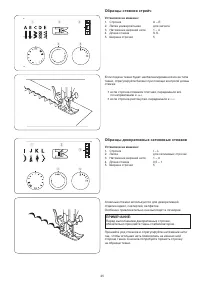
- 29 Образцы стежков стрейч; Образцы декоративных сатиновых стежков
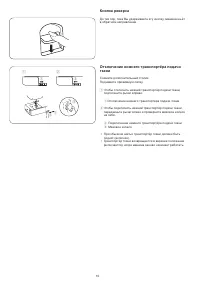
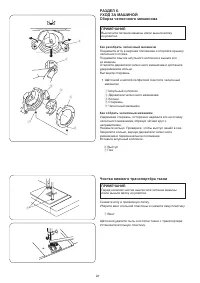
- 30 Чистка нижнего транспортёра ткани
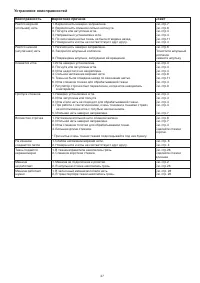
- 31 Устранение неисправностей; Неисправность


