
Швейная машина Janome HD1019 - инструкция пользователя по применению, эксплуатации и установке на русском языке. Мы надеемся, она поможет вам решить возникшие у вас вопросы при эксплуатации техники.
Если остались вопросы, задайте их в комментариях после инструкции.
"Загружаем инструкцию", означает, что нужно подождать пока файл загрузится и можно будет его читать онлайн. Некоторые инструкции очень большие и время их появления зависит от вашей скорости интернета.


18
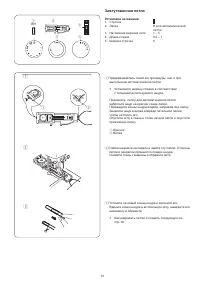
b
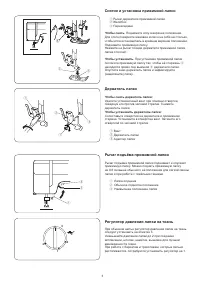
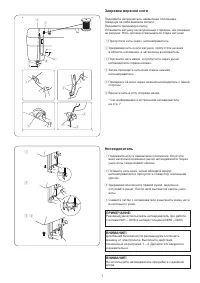
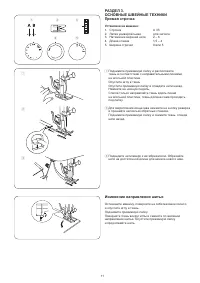
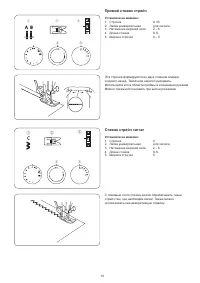
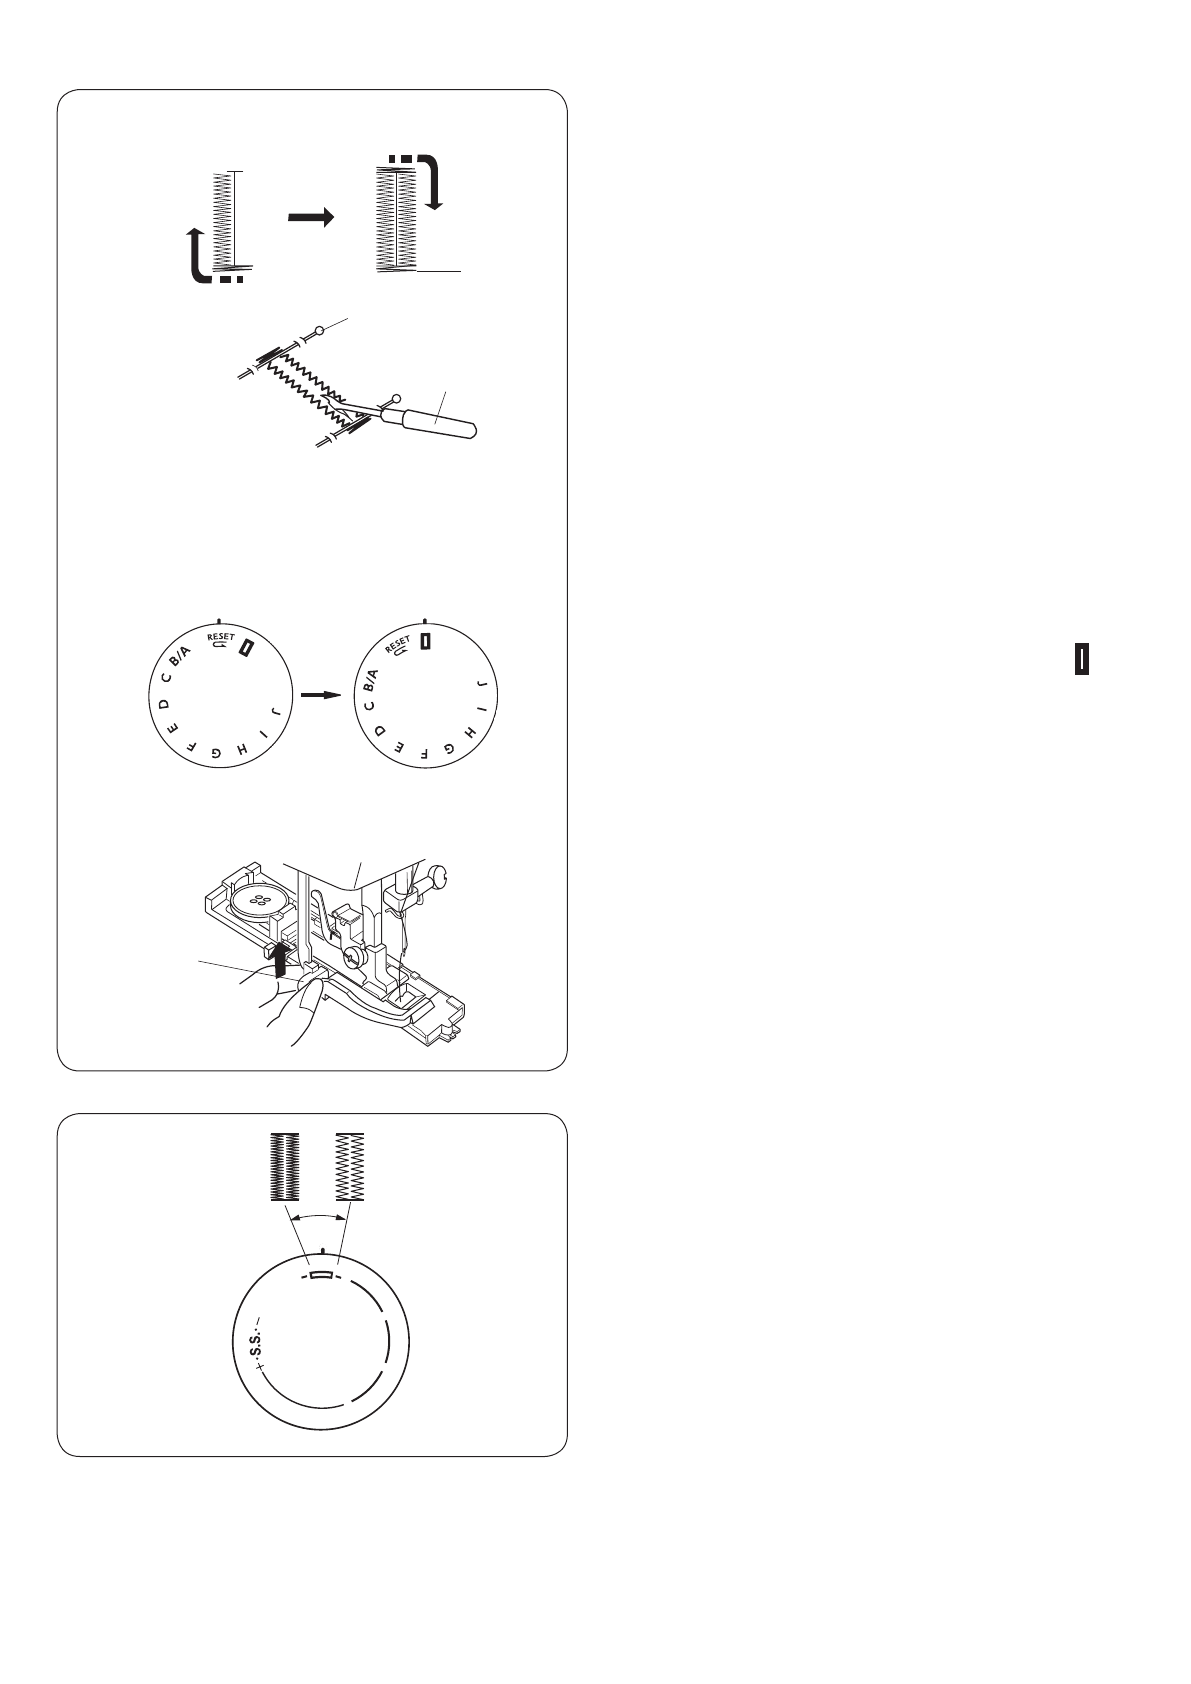
Шейте медленно и остановите машину по завершении
петли в точке начала шитья.
• Сначала машина прошьёт переднюю закрепку и
левый ряд, затем заднюю закрепку и правый ряд.
!1
Закрепка
n
Обрежьте обе нити, оставив концы по 10 см.
Выведите игольную нить на изнанку, потянув
за шпульную нить. Завяжите нити.
m
Вставьте булавку внутри поперечины. Прорежьте
петлю вспарывателем. Будьте внимательны,
не разрежьте стежки.
!2
Булавка
!3
Вспарыватель
Повторное выполнение петли
,
Чтобы сделать петлю такого же размера, верните
ручку выбора строчек на RESET, затем обратно на
как показано на рисунке. Теперь надавите на ножную
педаль и прошейте такую же петлю.
.
По завершении создания петель поднимите рычаг
петли как можно выше.
!4
Рычаг петли
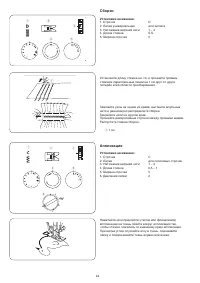
Регулировка плотности петли
Устанавливайте длину стежка от 0.5 до 1.0
для регулировки плотности петли.
21
Adjusting buttonhole stitch density
Turn the stitch length dial to the left for a coarser
density.
Turn the stitch length dial to the right for a tighter
density.
b
Depress the foot control to sew a buttonhole.
The machine will sew the front bartack, left
row, back bartack and right row automatically.
Stop the machine at the ending point.
!1
Ending point
n
Raise the presser foot and cut the both
needle and bobbin threads leaving 10 cm (4˝)
thread ends.
Draw the needle thread to wrong side of the
fabric by pulling the bobbin thread.
Then, knot the threads.
m
Remove the fabric and place a pin just before
the bartack at each end to prevent cutting
bartacks. Cut the opening with the seam
ripper.
!2
Pin
!3
Seam ripper
To repeat buttonhole sewing
,
To repeat buttonhole sewing, turn the stitch
selector to
, then back to again, as
shown.
Now, simply step on the foot control to sew
an identical buttonhole.
.
When the buttonhole sewing is finished, push
the buttonhole lever upward as far as it will
go.
!4
Buttonhole lever
b
n m
,
.
!1
!2
!3
!4
1
2
3
4
0
Содержание
- 4 СОДЕРЖАНИЕ
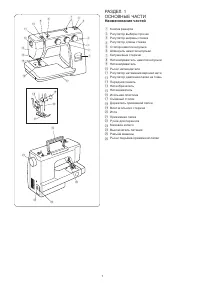
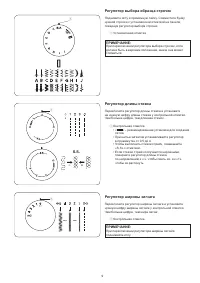
- 5 ОСНОВНЫЕ ЧАСТИ; Наименование частей; SECTION 1. ESSENTIAL PARTS; Names of Parts; Stitch selector dial
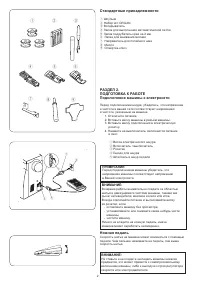
- 6 SECTION 2. GETTING READY TO; SECTION 2. GETTING READY TO
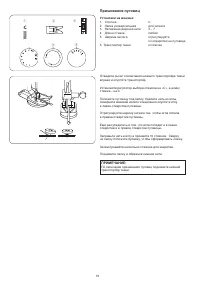
- 7 Рычаг подъёма прижимной лапки; Reduce the pressure to 2 for applique, cutwork,
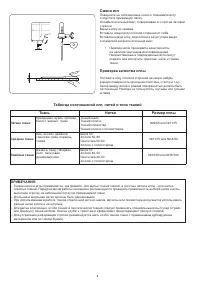
- 8 Changing Needle; the flat side away from you.; To check the needle; Fabric, Thread and Needle Chart; Fabric
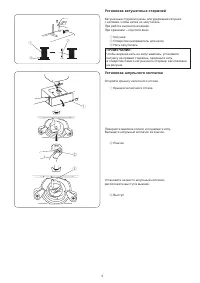
- 9 Removing or Inserting the Bobbin Case; Spool
- 10 Winding the Bobbin; Guide the thread around the bobbin winder; Threading Bobbin Case
- 11 Needle Threader; Needle Threader
- 12 Thread Tension Dial
- 13 CAUTION; Setting mark
- 15 Изменение направления шитья; SECTION 3. BASIC SEWING
- 17 Зигзаг; Zigzag foot; Zigzag foot
- 18 ДОПОЛНИТЕЛЬНЫЕ ТЕХНИКИ; Трикотажный стежок; SECTION 4. UTILITY STITCHING; SECTION 4. UTILITY STITCHING; This stitch is used to finish the raw edge on; SECTION 4. UTILITY STITCHING; This stitch is used to finish the raw edge on; SECTION 4. UTILITY STITCHING
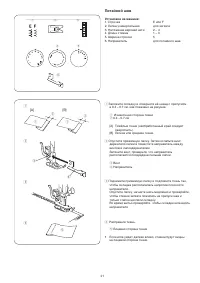
- 19 Прямой стежок стрейч; Стежок стрейч зигзаг; Straight Stretch
- 20 Пришивание пуговиц; Sewing Buttons
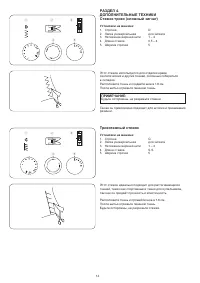
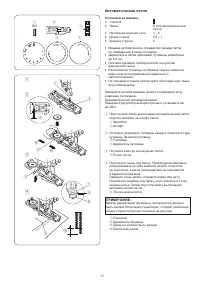
- 21 Автоматическая петля
- 22 n m
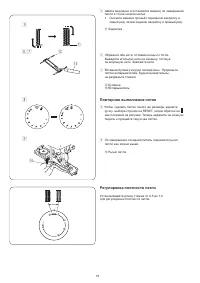
- 23 Зажгутованная петля; Corded Buttonhole
- 24 Вшивание молнии; Smooth the threads toward the back and lower; Smooth the threads toward the back and lower
- 25 Blind Hem Stitch; Screw
- 26 Роликовый шов
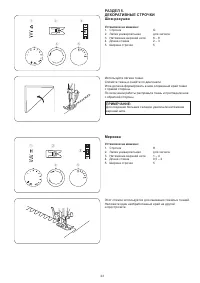
- 27 ДЕКОРАТИВНЫЕ СТРОЧКИ; Мережка; SECTION 5. DECORATIVE STITCHING
- 28 Сборки; Аппликация
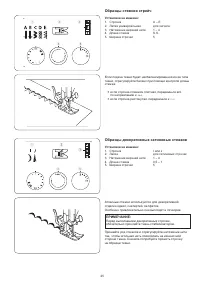
- 29 Образцы стежков стрейч; Образцы декоративных сатиновых стежков
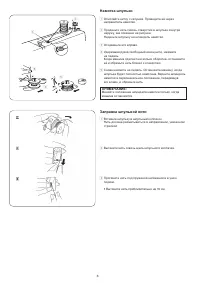
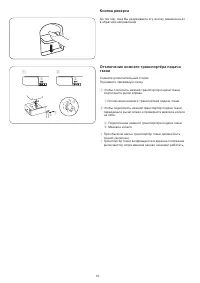
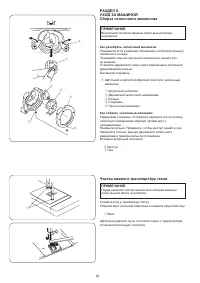
- 30 Чистка нижнего транспортёра ткани
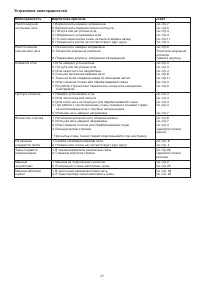
- 31 Устранение неисправностей; Неисправность
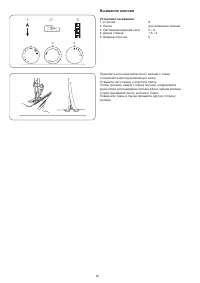
Характеристики

Остались вопросы?Не нашли свой ответ в руководстве или возникли другие проблемы? Задайте свой вопрос в форме ниже с подробным описанием вашей ситуации, чтобы другие люди и специалисты смогли дать на него ответ. Если вы знаете как решить проблему другого человека, пожалуйста, подскажите ему :)


