
Шуруповерты Metabo BE 6 600132000 - инструкция пользователя по применению, эксплуатации и установке на русском языке. Мы надеемся, она поможет вам решить возникшие у вас вопросы при эксплуатации техники.
Если остались вопросы, задайте их в комментариях после инструкции.
"Загружаем инструкцию", означает, что нужно подождать пока файл загрузится и можно будет его читать онлайн. Некоторые инструкции очень большие и время их появления зависит от вашей скорости интернета.


ENGLISH
en
9
Before plugging in, check to see that the
rated mains voltage and mains frequency,
as stated on the rating label, match with your
power supply.
Always install an RCD with a maximum trip
current of 30 mA upstream.
To guarantee secure purchase of the
chuck:
After initial drilling (clockwise), use a
screwdriver to firmly tighten the safety screw inside
the drill chuck. Caution left-handed thread! (see
Section 7.5)
7.1 Switching On and Off
To start the machine, press the trigger switch (5).
The speed can be changed using the trigger switch.
For continuous operation the trigger switch can be
locked using the lock button (6). To stop the
machine, press the trigger switch again.
In continuous operation, the machine
continues running if it is forced out of your
hands. Therefore, always hold the machine
with both hands using the handles provided,
stand in a safe position and concentrate.
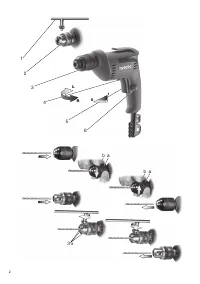
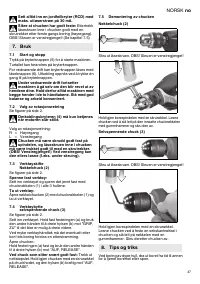
7.2 Selection of direction of rotation
See illustration, page 2.
Do not activate the rotation selector
switch (4) unless the motor has
completely stopped.
Select direction of rotation:
R = Clockwise
L = Counter-clockwise
The drill chuck must be firmly screwed
onto the spindle and the safety screw
inside the drill chuck must be firmly tightened
with a screwdriver. (Caution, left-handed
thread!) If rotated counterclockwise (e.g. when
screwing) it could otherwise become loose.
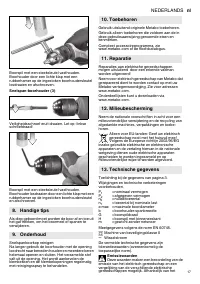
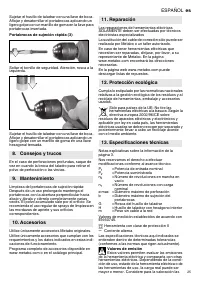
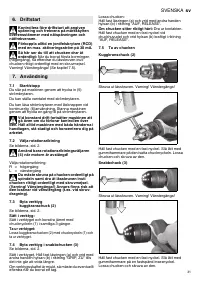
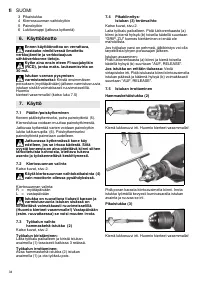
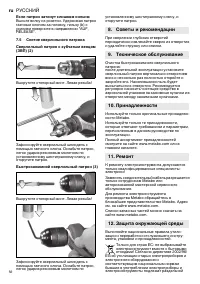
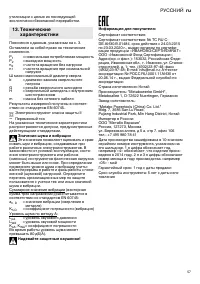
7.3 Tool change with a geared chuck (2)
See illustrations, page 2.
Clamping tool:
Insert the tool and use the chuck key (1) to uniformly
clamp tight in all 3 bores.
Removing tool:
Open the geared chuck (2) with chuck key (1) and
remove tool.
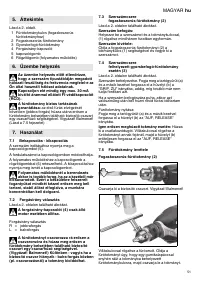
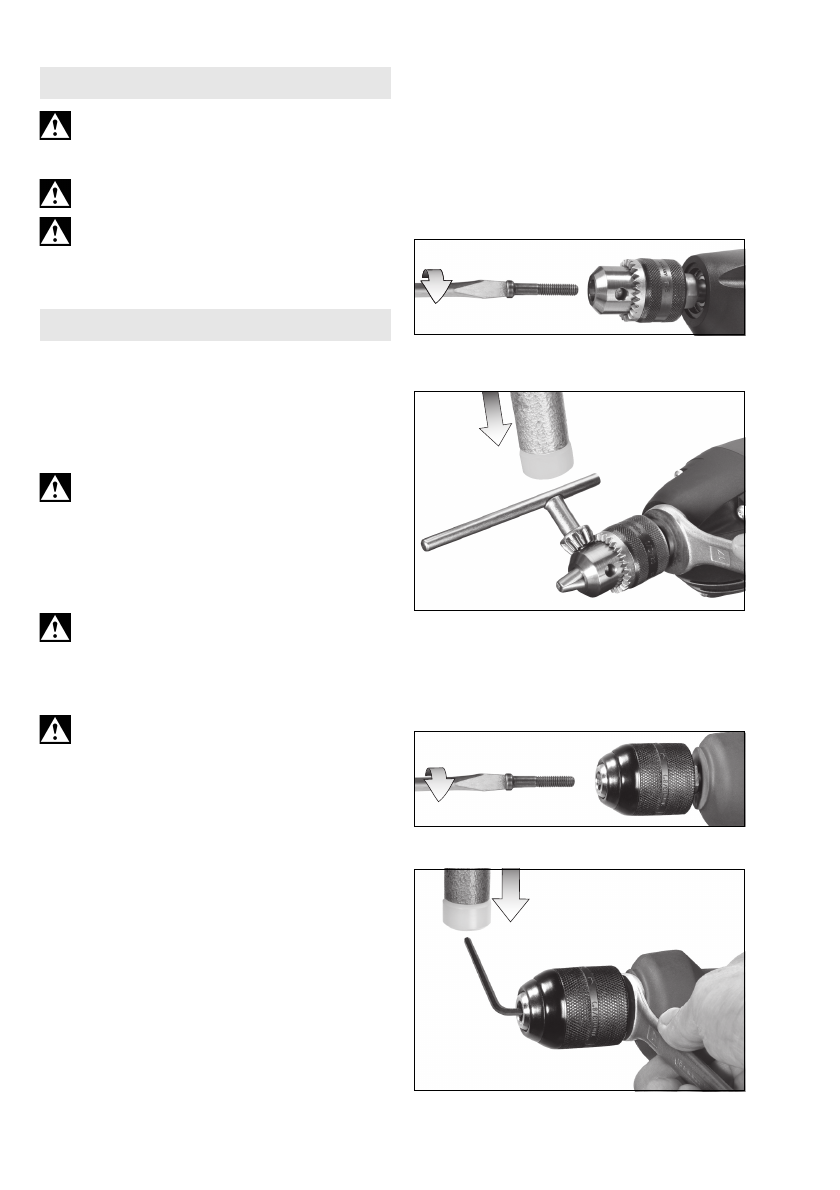
7.4 Tool change
with keyless chuck (3)
See illustrations, page 2.
Insert tool. Hold ring (a) and turn the sleeve (b) with
your other hand in direction "GRIP, ZU" until further
rotation is impossible.
With a soft tool shank, retightening may be required
after a short drilling period.
Opening chuck: Hold ring (a) and turn the sleeve (b)
with your other hand in direction "AUF, RELEASE".
If the chuck is very securely tightened:
Unplug.
Hold drill chuck using an open-end spanner at the
flats on its head and turn the sleeve (b) vigourously
in direction of "AUF, RELEASE".
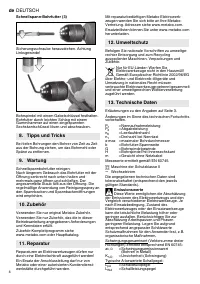
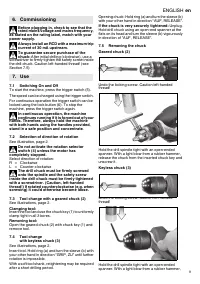
7.5 Removing the chuck
Geared chuck (2)
Undo the locking screw. Caution left-handed
thread!
Hold the drill spindle tight with an open-ended
spanner. With a light blow from a rubber hammer,
release the chuck from the inserted chuck key and
unscrew it.
Keyless chuck (3)
Undo the locking screw. Caution left-handed
thread!
Hold the drill spindle tight with an open-ended
spanner. With a light blow from a rubber hammer,
6. Commissioning
7. Use


