
Шуруповерты Bosch GSB 12-2 0.601.9A7.500 - инструкция пользователя по применению, эксплуатации и установке на русском языке. Мы надеемся, она поможет вам решить возникшие у вас вопросы при эксплуатации техники.
Если остались вопросы, задайте их в комментариях после инструкции.
"Загружаем инструкцию", означает, что нужно подождать пока файл загрузится и можно будет его читать онлайн. Некоторые инструкции очень большие и время их появления зависит от вашей скорости интернета.


14
| English
2 609 140 727 | (11.4.12)
Bosch Power Tools
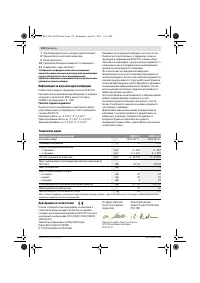
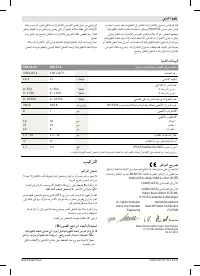
Declaration of Conformity
We declare under our sole responsibility that the product de-
scribed under “Technical Data” is in conformity with the fol-
lowing standards or standardization documents: EN 60745
according to the provisions of the directives 2011/65/EU,
2004/108/EC, 2006/42/EC.
Technical file (2006/42/EC) at:
Robert Bosch GmbH, PT/ETM9,
D-70745 Leinfelden-Echterdingen
Robert Bosch GmbH, Power Tools Division
D-70745 Leinfelden-Echterdingen
03.04.2012
Assembly
Battery Charging
A battery that is new or has not been used for a longer period
does not develop its full capacity until after approx. 5 charg-
ing/discharging cycles.
To remove the battery
6
press the unlocking buttons
7
and
pull out the battery downwards.
Do not exert any force.
The battery is equipped with a NTC temperature control
which allows charging only within a temperature range of be-
tween 0 ° C and 45 ° C. A long battery service life is achieved
in this manner.
A significantly reduced working period after charging indi-
cates that the battery is used and must be replaced.
Observe the notes for disposal.
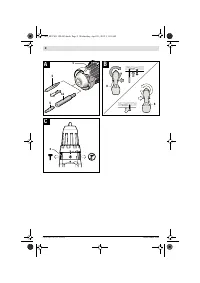
Changing the Tool (see figure A)
f
Before any work on the machine itself (e. g. mainte-
nance, tool change, etc.) as well as during transport
and storage, remove the battery from the power tool.
There is danger of injury when unintentionally actuating
the On/Off switch.
The drill spindle is locked when the On/Off switch
9
is not
pressed. This makes quick, convenient and easy changing of
the tool in the drill chuck possible.
Open the keyless chuck
1
by turning in rotation direction
n
,
until the tool can be inserted. Insert the tool.
Firmly tighten the collar of the keyless chuck
1
by hand in ro-
tation direction
o
until the locking action (“click”) is no longer
heard. This automatically locks the chuck.
The locking is released again to remove the tool when the col-
lar is turned in the opposite direction.
Dust/Chip Extraction
f
Dusts from materials such as lead-containing coatings,
some wood types, minerals and metal can be harmful to
one’s health. Touching or breathing-in the dusts can cause
allergic reactions and/or lead to respiratory infections of
the user or bystanders.
Certain dusts, such as oak or beech dust, are considered
as carcinogenic, especially in connection with wood-treat-
ment additives (chromate, wood preservative). Materials
containing asbestos may only be worked by specialists.
– Provide for good ventilation of the working place.
– It is recommended to wear a P2 filter-class respirator.
Observe the relevant regulations in your country for the
materials to be worked.
f
Prevent dust accumulation at the workplace.
Dusts can
easily ignite.
Operation
Starting Operation
Inserting the Battery
f
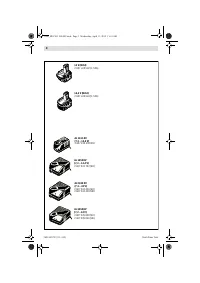
Use only original Bosch O-pack batteries with the volt-
age given on the type plate of your machine.
The use of
other batteries can lead to injuries and danger of fire.
Set the rotational direction switch
8
to the centre position in
order to avoid unintentional starting. Insert the charged bat-
tery
6
into the handle so that it can be felt to engage and faces
flush against the handle.
Reversing the Rotational Direction (see figure B)
The rotational direction switch
8
is used to reverse the rota-
tional direction of the machine. However, this is not possible
with the On/Off switch
9
actuated.
Right Rotation:
For drilling and driving in screws, push the
rotational direction switch
8
left to the stop.
Left Rotation:
For loosening or unscrewing screws, push the
rotational direction switch
8
right to the stop.
Setting the Torque
With the torque presetting ring
2
the required torque setting
can be preselected in 22 steps. With the correct setting, the
insert tool is stopped as soon as the screw is screwed flush in-
to the material or when the adjusted torque is reached. The
safety clutch is deactivated in the “
” position, e. g. for
drilling.
Select a higher setting or switch to the “
” symbol when un-
screwing screws.
Setting the Operating Mode (see figure C)
With the operating mode preselection ring
3
, you can select
between drilling/screwdriving and impact drilling.
Drilling and screwdriving
Set the preselection ring
3
to the “Drilling without
impact” symbol.
Impact drilling
Set the preselection ring
3
to the “Impact drilling”
symbol.
In the “Impact drilling” position, the safety clutch is deactivat-
ed and the maximum power is always effective.
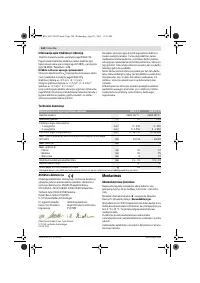
Dr. Egbert Schneider
Senior Vice President
Engineering
Helmut Heinzelmann
Head of Product Certification
PT/ETM9
OBJ_BUCH-1124-003.book Page 14 Wednesday, April 11, 2012 11:41 AM


