
Шуруповерты Bosch AdvancedDrill 18 06039B5006 - инструкция пользователя по применению, эксплуатации и установке на русском языке. Мы надеемся, она поможет вам решить возникшие у вас вопросы при эксплуатации техники.
Если остались вопросы, задайте их в комментариях после инструкции.
"Загружаем инструкцию", означает, что нужно подождать пока файл загрузится и можно будет его читать онлайн. Некоторые инструкции очень большие и время их появления зависит от вашей скорости интернета.


English |
19
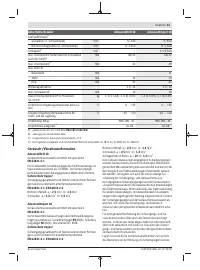
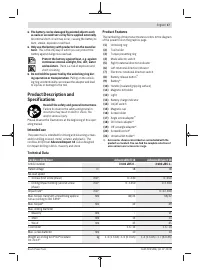
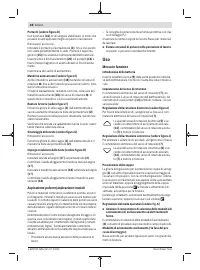
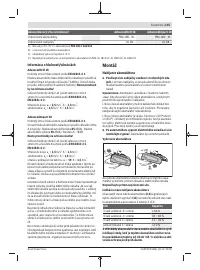
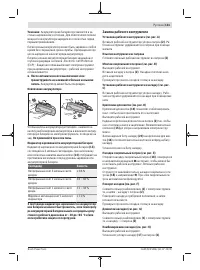
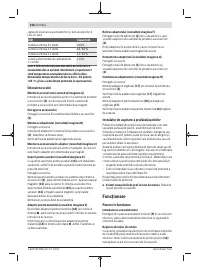
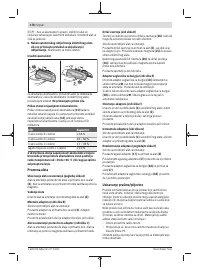
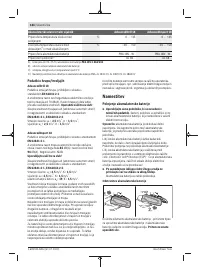
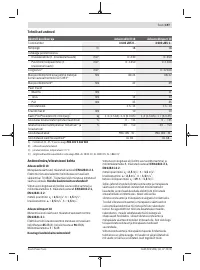
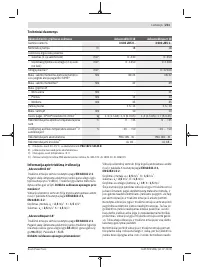
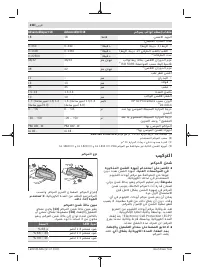
LED
Capacity
Continuous lighting 3 x green
≥ 66%
Continuous lighting 2 x green
33–66%
Continuous lighting 1 x green
11–33%
Slowly flashing light 1 x green
≤ 10%
The three LEDs in the battery charge indicator flash
quickly when the temperature of the battery is outside
the operating temperature range of –30 to +65 °C and/or
the overload protection has been triggered.
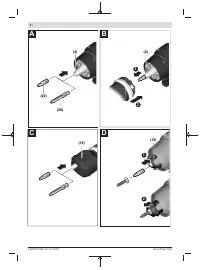
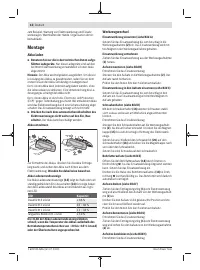
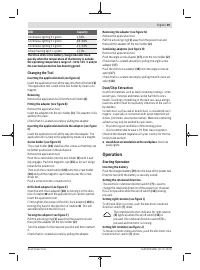
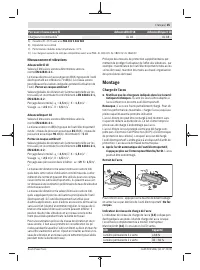
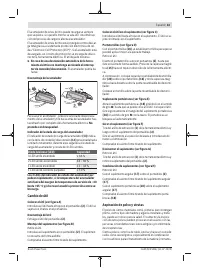
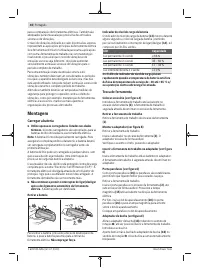
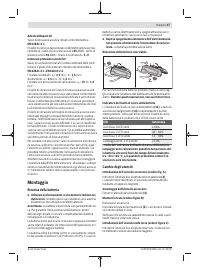
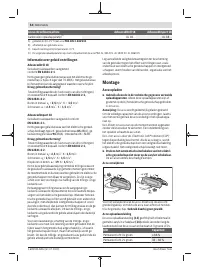
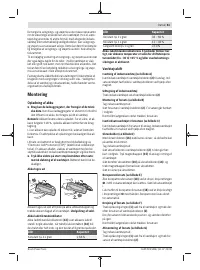
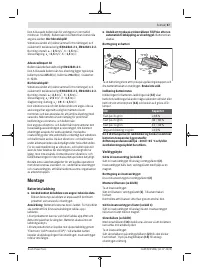
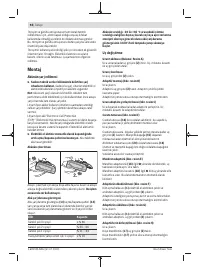
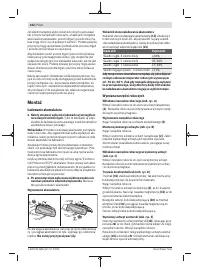
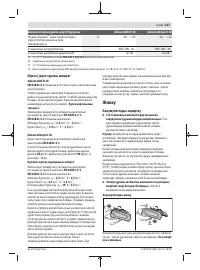
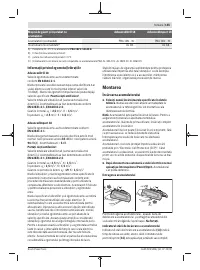
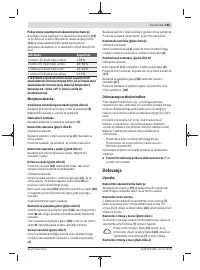
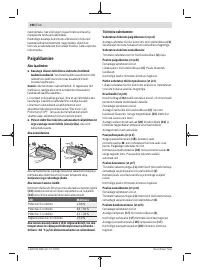
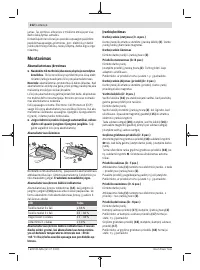
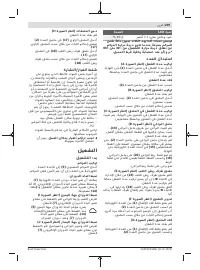
Changing the Tool
Inserting the application tool (see figure A)
Insert the application tool all the way into the tool holder
(2)
.
The application tool is held in the tool holder by means of a
magnet.
Removing
Remove the application tool from the tool holder
(2)
.
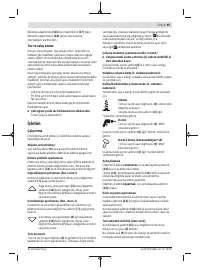
Fitting the adapter (see figure B)
Remove the application tool.
Insert the adapter into the tool holder
(2)
. The adapter clicks
audibly into place.
Check that it is seated securely by pulling the adapter.
Inserting the application tool into the adapter (see figure
C)
Insert the application tool all the way into the adapter. The
application tool is held in the adapter by means of a magnet.
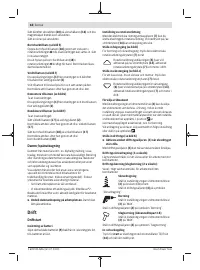
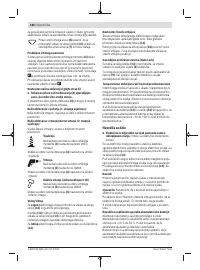
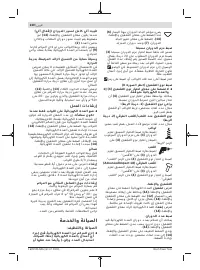
Screw holder (see figure D)
The screw holder
(16)
stabilises the screws so that they can
be better positioned on the workpiece.
Remove the application tool.
Push the screw holder onto the tool holder
(2)
until it aud-
ibly engages. Push the magnetic cap
(15)
as far as it will go
towards the power tool.
Then push the screwdriver bit
(20)
onto the screw holder
(16)
and pull the magnetic cap forwards over the screw-
driver bit.
Push a screw onto the screwdriver bit.
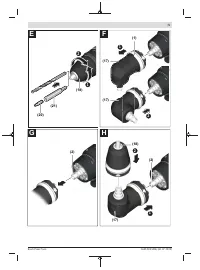
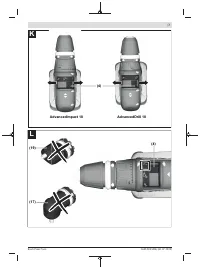
Drill chuck adapter (see figure E)
Open the drill chuck adapter
(18)
by turning it in the direc-
tion of rotation
➊
until the application tool can be inserted.
Insert the application tool.
Firmly tighten the sleeve of the drill chuck adapter
(18)
by
turning it by hand in the direction of rotation
➋
. This will
automatically lock the drill chuck.
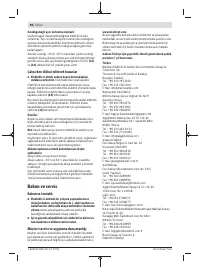
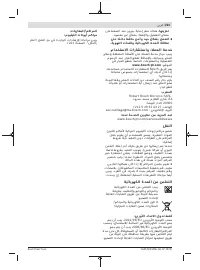
Turning the adapter (see figure F)
Pull the unlocking ring
(1)
away from the power tool and
then pull the adapter off the tool holder
(2)
.
Turn the adapter to the required position and then reattach
it.
Check that it is seated securely by pulling the adapter.
Removing the adapter (see figure G)
Remove the application tool.
Pull the unlocking ring
(1)
away from the power tool and
then pull the adapter off the tool holder
(2)
.
Combining adapters (see figure H)
Remove the application tool.
Push the angle screw adapter
(17)
onto the tool holder
(2)
.
Check that it is seated securely by pulling the angle screw
adapter
(17)
.
Push the drill chuck adapter
(18)
onto the angle screw ad-
apter
(17)
.
Check that it is seated securely by pulling the drill chuck ad-
apter
(18)
.
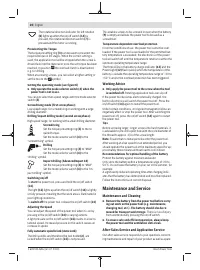
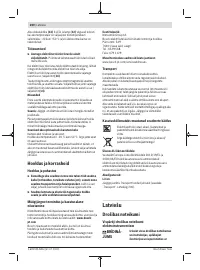
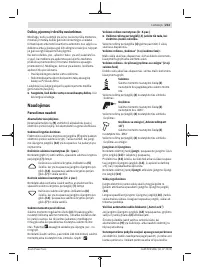
Dust/Chip Extraction
Dust from materials such as lead-containing coatings, some
wood types, minerals and metal can be harmful to one’s
health. Touching or breathing-in the dust can cause allergic
reactions and/or lead to respiratory infections of the user or
bystanders.
Certain dust, such as oak or beech dust, is considered carci-
nogenic, especially in connection with wood-treatment ad-
ditives (chromate, wood preservative). Materials containing
asbestos may only be worked by specialists.
– Provide for good ventilation of the working place.
– It is recommended to wear a P2 filter-class respirator.
Observe the relevant regulations in your country for the ma-
terials to be worked.
u
Avoid dust accumulation at the workplace.
Dust can
easily ignite.
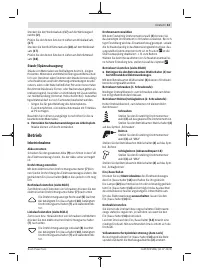
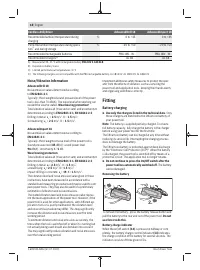
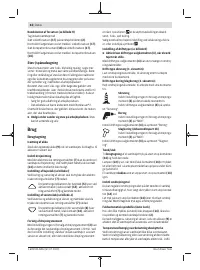
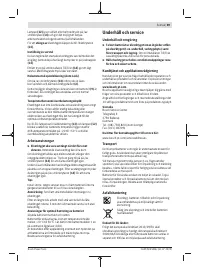
Operation
Starting Operation
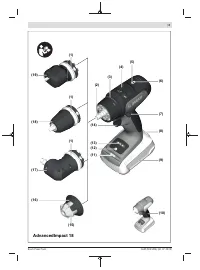
Inserting the battery
Push the charged battery
(9)
into the base of the power tool
from the rear until the battery is securely locked.
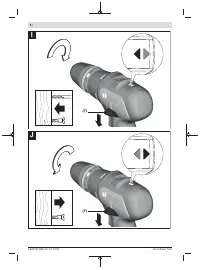
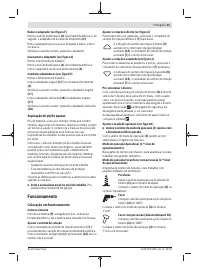
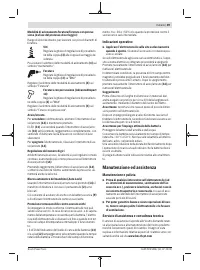
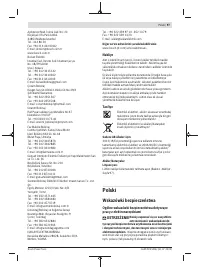
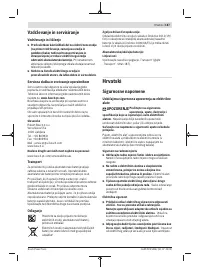
Setting the rotational direction
The electronic rotational direction switch
(7)
is used to
change the rotational direction of the power tool. However,
this is not possible while the on/off switch
(14)
is being
pressed.
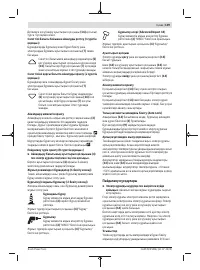
Setting right rotation (see figure
I)
To drill and drive in screws, push the electronic rotational
direction switch
(7)
down.
The rotational direction indicator for right rotation
(5)
lights up when the on/off switch
(14)
is
pressed, the rotational direction switch
(7)
is
pressed and the motor is running.
Setting left rotation (see figure
J)
To loosen or undo screws and nuts, push the electronic rota-
tional direction switch
(7)
down.
Bosch Power Tools
1 609 92A 5W6 | (31.07.2020)
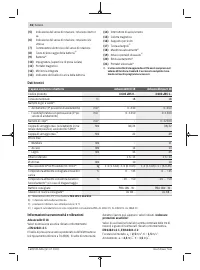
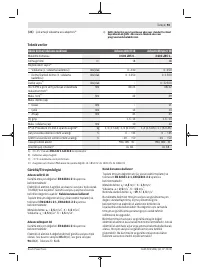
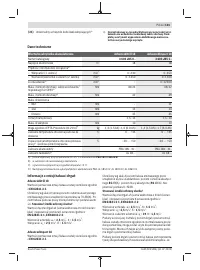
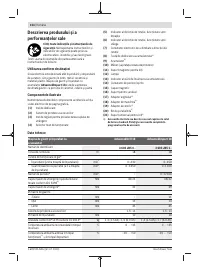
Характеристики

Остались вопросы?Не нашли свой ответ в руководстве или возникли другие проблемы? Задайте свой вопрос в форме ниже с подробным описанием вашей ситуации, чтобы другие люди и специалисты смогли дать на него ответ. Если вы знаете как решить проблему другого человека, пожалуйста, подскажите ему :)


