
Шуруповерты AEG SB 20 2E 411000 - инструкция пользователя по применению, эксплуатации и установке на русском языке. Мы надеемся, она поможет вам решить возникшие у вас вопросы при эксплуатации техники.
Если остались вопросы, задайте их в комментариях после инструкции.
"Загружаем инструкцию", означает, что нужно подождать пока файл загрузится и можно будет его читать онлайн. Некоторые инструкции очень большие и время их появления зависит от вашей скорости интернета.


20
21
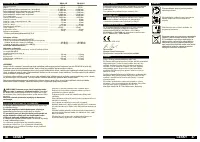
SB 20-2 E
SB 22-2 E
.............................750 W ..............................1010 W
.............................410 W ................................570 W
....................... 0-1000 min
-1
..................... 0-1000 min
-1
....................... 0-3200 min
-1
..................... 0-3200 min
-1
..........................0-680 min
-1
........................0-680 min
-1
....................... 0-2100 min
-1
..................... 0-2100 min
-1
.........................40000 min
-1
.......................40000 min
-1
..........................56/30 Nm ..........................60/33 Nm
............................... 20 mm ............................... 22 mm
............................... 22 mm ............................... 24 mm
............................... 13 mm ............................... 16 mm
............................... 40 mm ............................... 40 mm
.........................1,5-13 mm .........................1,5-13 mm
.......................1/2"x20 .............................1/2"x20
............................... 43 mm ............................... 43 mm
.............................. 2,8 kg ................................ 2,9 kg
............................... 96 dB (A) ........................96,5 dB (A)
.............................107 dB (A) ......................107,5 dB (A)
.............................. 2,8 m/s
2
............................. 2,8 m/s
2
.............................. 1,5 m/s
2
............................. 1,5 m/s
2
............................13,5 m/s
2
...........................13,7 m/s
2
.............................. 1,5 m/s
2
............................. 1,5 m/s
2
ENGLISH
MAINS CONNECTION
Connect only to single-phase a.c. current and only to the
system voltage indicated on the rating plate. It is also
possible to connect to sockets without an earthing contact
as the design conforms to safety class
II
.
EC-DECLARATION OF CONFORMITY
We declare under our sole responsibility that this product is
in conformity with the following standards or standardized
documents. EN 60745, EN 55014-1, EN 55014-2,
EN 61000-3-2, EN 61000-3-3, in accordance with the
regulations 2006/42/EC, 2004/108/EC
Winnenden, 2010-10-10
Rainer Kumpf
Manager Product Development
Authorized to compile the technical ile
MAINTENANCE
The ventilation slots of the machine must be kept clear at all
times.
If the machine is mainly used for percussion drilling,
regularly remove collected dust from the chuck. To remove
the dust hold the machine with the chuck facing down
vertically, and completely open and close the chuck. The
collected dust will fall from the chuck. It is recommended to
regularly use cleaner for the clamping jaws and the
clamping jaw borings.
Use only Milwaukee accessories and Milwaukee spare
parts. Should components need to be replaced which have
not been described, please contact one of our Milwaukee
service agents (see our list of guarantee/service addresses).
If needed, an exploded view of the tool can be ordered.
Please state the ten-digit No. as well as the machine type
printed on the label and order the drawing at your local
service agents or directly at: Milwaukee Electric Tool,
Max-Eyth-Straße 10, D-71364 Winnenden, Germany.
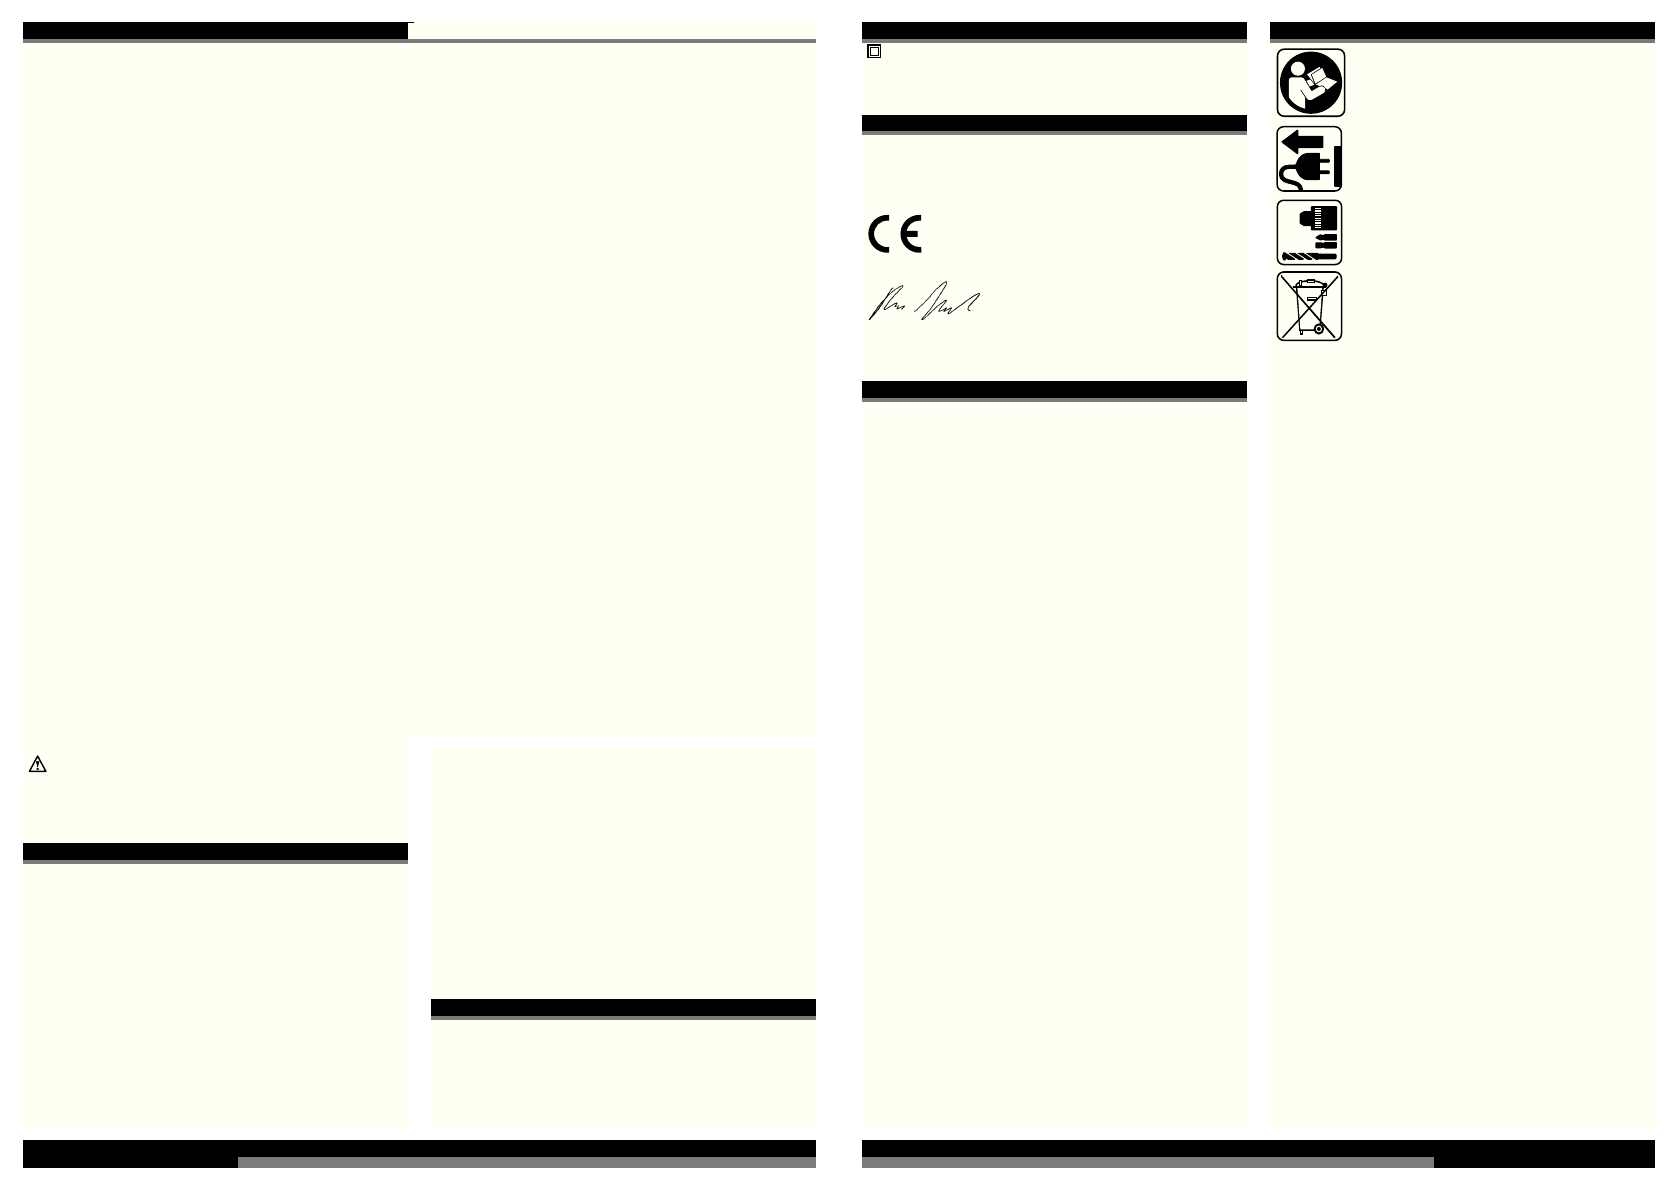
SYMBOLS
Please read the instructions carefully before
starting the machine.
Always disconnect the plug from the socket
before carrying out any work on the machine.
Accessory - Not included in standard
equipment, available as an accessory.
Do not dispose of electric tools together with
household waste material! In observance of
European Directive 2002/96/EC on waste
electrical and electronic equipment and its
implementation in accordance with national
law, electric tools that have reached the end of
their life must be collected separately and
returned to an environmentally compatible
recycling facility.
ENGLISH
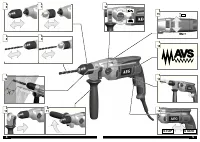
TECHNICAL DATA
Percussion Drill
Rated input ..............................................................................
Output ......................................................................................
No-load speed, 1st gear ..........................................................
No-load speed, 2nd gear .........................................................
Speed under load, 1st gear .....................................................
Speed under load, st gear .......................................................
Rate of percussion under load max .........................................
Static jamming moment*, 1st gear...........................................
Drilling capacity in concrete .....................................................
Drilling capacity in brick and tile ..............................................
Drilling capacity in steel ...........................................................
Drilling capacity in wood ..........................................................
Drill opening range ..................................................................
Drive shank..............................................................................
Chuck neck diameter ...............................................................
Weight without cable ...............................................................
* Measured according to Milwaukee norm N 877318
Noise information
Measured values determined according to EN 60 745.
Typically, the A-weighted noise levels of the tool are:
Sound pressure level (K = 3 dB(A)) .......................................
Sound power level (K = 3 dB(A)) ............................................
Wear ear protectors!
Vibration information
Total vibration values (vector sum in the three axes)
determined according to EN 60745.
Vibration emission value a
h
:
Drilling into metal ..................................................................
Uncertainty K ........................................................................
Percussion drilling into concrete ...........................................
Uncertainty K ........................................................................
WARNING! Read all safety warnings and all
instructions, including those given in the accompanying
brochure
. Failure to follow the warnings and instructions
may result in electric shock, ire and/or serious injury.
Save all warnings and instructions for future reference.
SAFETY INSTRUCTIONS
Wear ear protectors.
Exposure to noise can cause hearing
loss.
Use auxiliary handles supplied with the tool.
Loss of
control can cause personal injury.Appliances used at many
different locations including open air must be connected via
a current surge preventing switch.
Hold power tool by insulated gripping surfaces, when
performing an operation where the cutting accessory
may contact hidden wiring or its own cord.
Contact with
a „live“ wire will also make exposed metal parts of the power
tool „live“ and shock the operator.
Appliances used at many different locations including open air
should be connected via a residual current device of 30 mA or
less.
Always wear goggles when using the machine. It is
recommended to wear gloves, sturdy non slipping shoes
and apron.
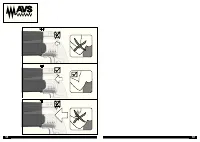
Sawdust and splinters must not be removed while the
machine is running.
Always disconnect the plug from the socket before carrying
out any work on the machine.
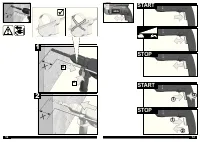
Only plug-in when machine is switched off.
Keep mains lead clear from working range of the machine.
Always lead the cable away behind you.
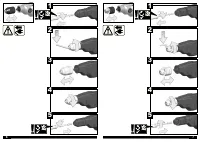
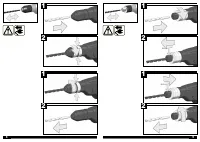
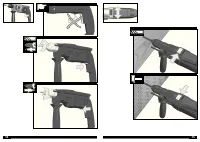
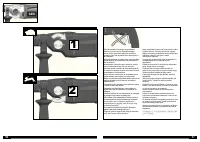
When working with large drill diameters, the auxiliary handle
must be fastened in a right angle with the main handle (see
illustrations, section Twisting the handle).
When working in walls ceiling, or loor, take care to avoid
electric cables and gas or waterpipes.
SPECIFIED CONDITIONS OF USE
The electronic drill/screwdriver can be universally used for
drilling, percussion drilling, screwdriving and cutting screw
threads.
Do not use this product in any other way as stated for
normal use.
WARNING
The vibration emission level given in this information sheet has been measured in accordance with a standardised test given
in EN 60745 and may be used to compare one tool with another. It may be used for a preliminary assessment of exposure.
The declared vibration emission level represents the main applications of the tool. However if the tool is used for different
applications, with different accessories or poorly maintained, the vibration emission may differ. This may signiicantly increase
the exposure level over the total working period.
An estimation of the level of exposure to vibration should also take into account the times when the tool is switched off or
when it is running but not actually doing the job. This may signiicantly reduce the exposure level over the total working period.
Identify additional safety measures to protect the operator from the effects of vibration such as: maintain the tool and the
accessories, keep the hands warm, organisation of work patterns.
SB 20-2 E
SB 22-2 E
.............................750 W ..............................1010 W
.............................410 W ................................570 W
....................... 0-1000 min
-1
..................... 0-1000 min
-1
....................... 0-3200 min
-1
..................... 0-3200 min
-1
..........................0-680 min
-1
........................0-680 min
-1
....................... 0-2100 min
-1
..................... 0-2100 min
-1
.........................40000 min
-1
.......................40000 min
-1
..........................56/30 Nm ..........................60/33 Nm
............................... 20 mm ............................... 22 mm
............................... 22 mm ............................... 24 mm
............................... 13 mm ............................... 16 mm
............................... 40 mm ............................... 40 mm
.........................1.5-13 mm .........................1.5-13 mm
.......................1/2"x20 .............................1/2"x20
............................... 43 mm ............................... 43 mm
.............................. 2.8 kg ................................ 2.9 kg
............................... 96 dB (A) ........................96.5 dB (A)
.............................107 dB (A) ......................107.5 dB (A)
.............................. 2.8 m/s
2
............................. 2.8 m/s
2
.............................. 1.5 m/s
2
............................. 1.5 m/s
2
............................13.5 m/s
2
...........................13.7 m/s
2
.............................. 1.5 m/s
2
............................. 1.5 m/s
2


