Шлифмашины Bosch PEX 400 AE (06033A4000) - инструкция пользователя по применению, эксплуатации и установке на русском языке. Мы надеемся, она поможет вам решить возникшие у вас вопросы при эксплуатации техники.
Если остались вопросы, задайте их в комментариях после инструкции.
"Загружаем инструкцию", означает, что нужно подождать пока файл загрузится и можно будет его читать онлайн. Некоторые инструкции очень большие и время их появления зависит от вашей скорости интернета.


14
| English
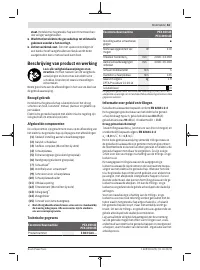
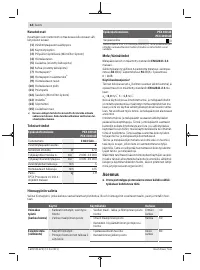
plication tools or is poorly maintained, the vibration level
and noise emission value may differ. This may significantly
increase the vibration and noise emissions over the total
working period.
To estimate vibration and noise emissions accurately, the
times when the tool is switched off or when it is running but
not actually being used should also be taken into account.
This may significantly reduce vibration and noise emissions
over the total working period.
Implement additional safety measures to protect the oper-
ator from the effects of vibration, such as servicing the
power tool and application tools, keeping their hands warm,
and organising workflows correctly.
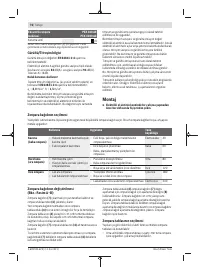
Assembly
u
Pull the plug out of the socket before carrying out any
work on the power tool.
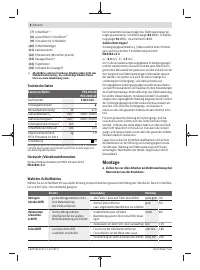
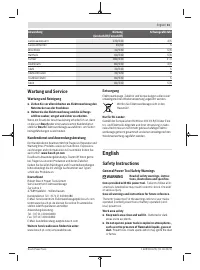
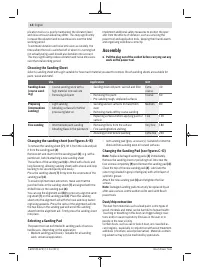
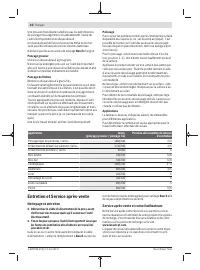
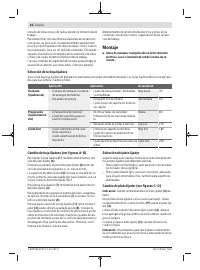
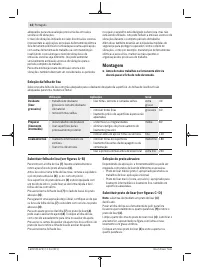
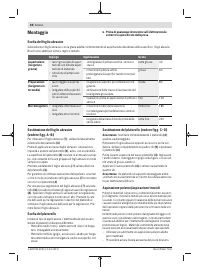
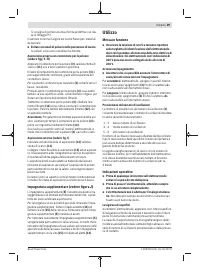
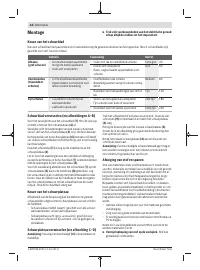
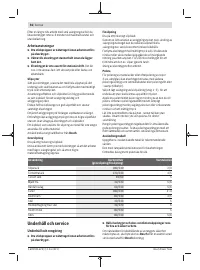
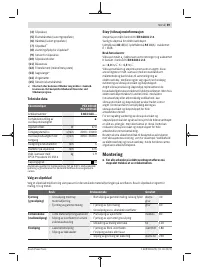
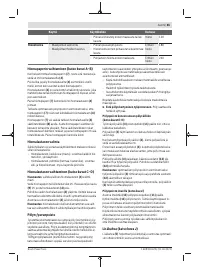
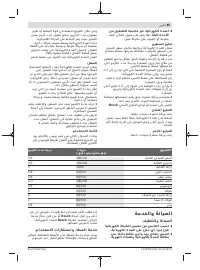
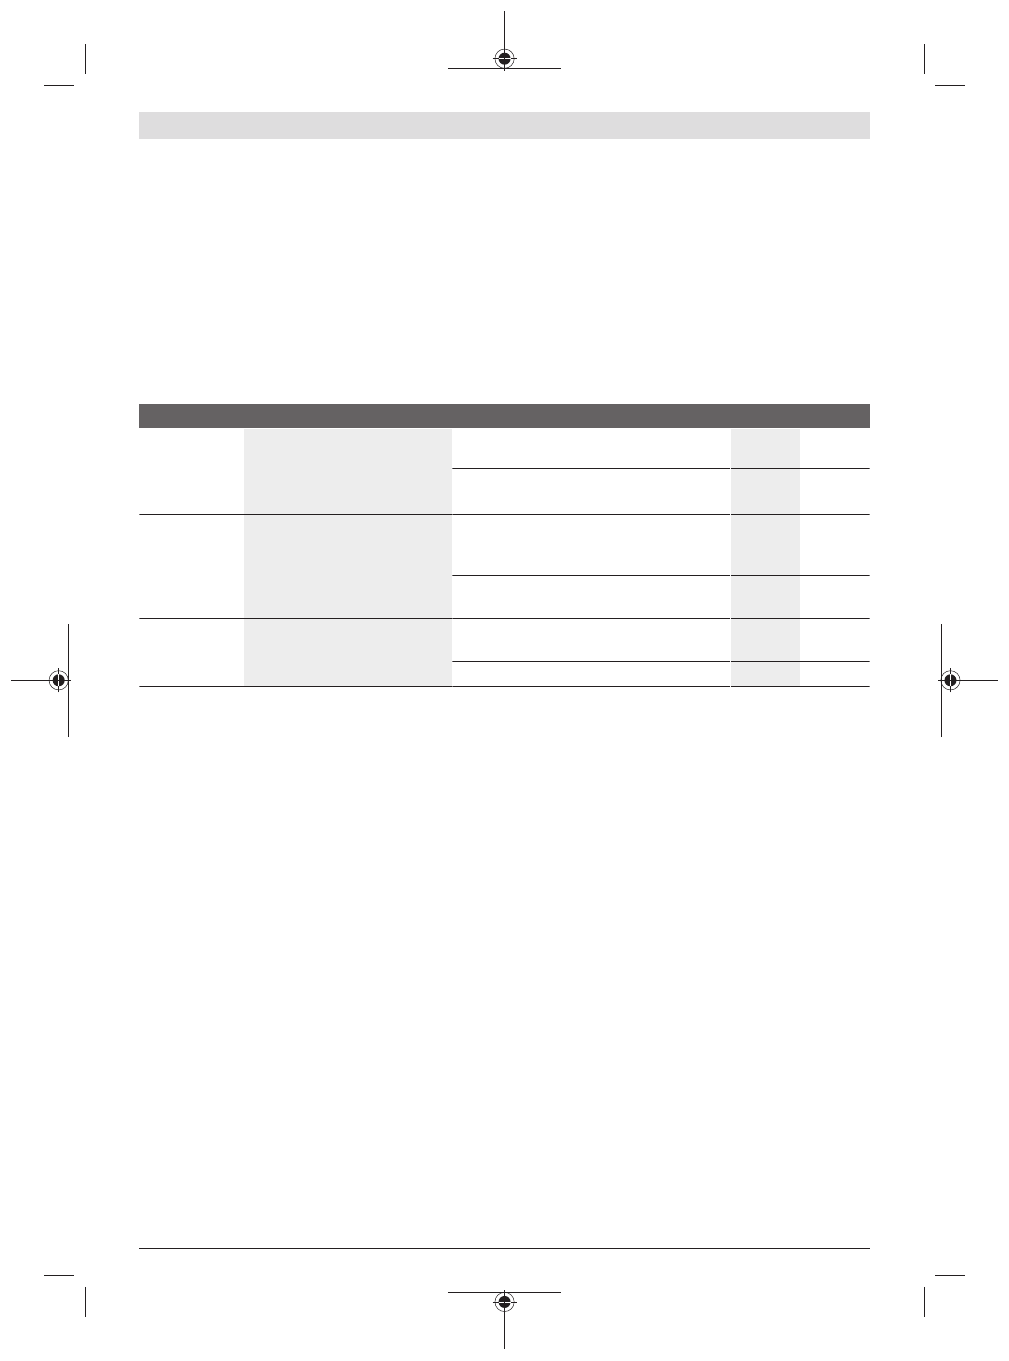
Choosing the Sanding Sheet
Select a sanding sheet with a grit suitable for how much material you want to remove. Bosch sanding sheets are suitable for
paint, wood and metal.
Use
Application
Grit
Sanding down
(coarse sand-
ing)
– Coarse sanding work with a
high material removal rate
– Removing old paint
– Sanding down old paint, varnish and filler
Extra
coarse
40
– Removing thin paint
– Pre-sanding rough, unplaned surfaces
Coarse
60
Preparing
(intermediate
sanding)
– Light sanding
– Abrading surfaces for further
processing later on
– Sanding uneven surfaces to make them
even
– Removing marks left by coarse sanding
Medium
80
– Repairing surfaces before applying paint or
varnish
Fine
120
Fine sanding
– Intermediate paint sanding
– Abrading flaws in the paintwork
– Removing fibres from the surface
– Fine sanding before staining
Very fine
180
– Abrading primer before painting
Extra fine 240
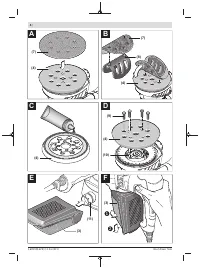
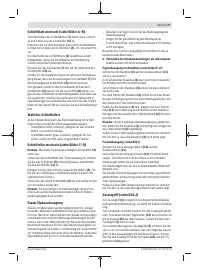
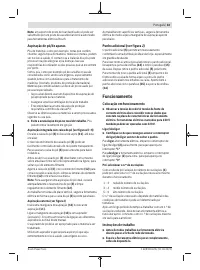
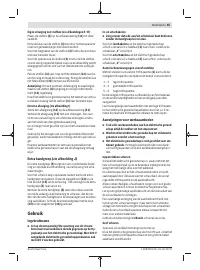
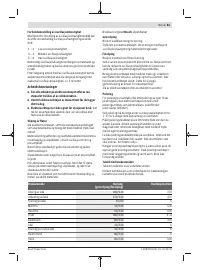
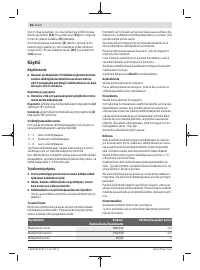
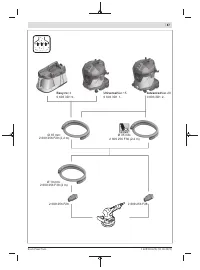
Changing the sanding sheet (see figures A–B)
To remove the sanding sheet
(7)
, lift it from the side and pull
it from the sanding pad
(4)
.
Remove dirt and dust from the sanding pad
(4)
, e.g. with a
paintbrush, before attaching a new sanding sheet.
The surface of the sanding pad
(4)
is fitted with a hook-and-
loop fastening, allowing sanding sheets with a hook-and-loop
backing to be secured quickly and easily.
Press the sanding sheet
(7)
firmly onto the underside of the
sanding pad
(4)
.
To ensure optimum dust extraction, make sure that the
punched holes in the sanding sheet
(7)
are aligned with the
drilled holes in the sanding pad
(4)
.
You can use the alignment aid
(8)
to precisely align the sand-
ing sheet
(7)
on the sanding pad
(4)
. Place the sanding
sheet onto the alignment aid with the hook-and-loop fasten-
ing facing upwards. Press the cams of the alignment aid into
the two holes in the sanding pad and unroll the sanding
sheet from the alignment aid. Firmly press the sanding sheet
into place.
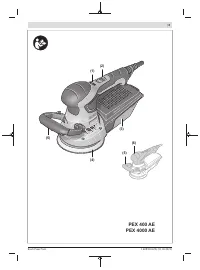
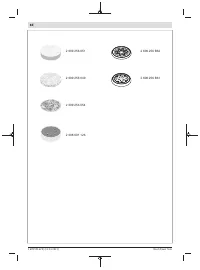
Selecting a Sanding Pad
The power tool can be fitted with sanding pads of various
hardnesses, depending on the application:
– Medium sanding pad (black): Suitable for all sanding
work, universal application.
– Soft sanding pad (grey, accessory): Suitable for interme-
diate and fine sanding even on curved surfaces.
Changing the Sanding Pad (see figures C–D)
Note:
Replace damaged sanding pads
(4)
immediately.
Remove the sanding sheet or polishing tool. Unscrew the
four screws completely
(9)
and remove the sanding pad
(4)
.
Clean the top of the new sanding pad
(4)
. Lubricate the
outer ring (shaded in grey in the figure) with a thin layer of
synthetic grease.
Attach the new sanding pad
(4)
and retighten the four
screws.
Note:
Damaged sanding pads must only be replaced by an
after-sales service centre authorised to work with Bosch
power tools.
Dust/chip extraction
The dust from materials such as lead paint, some types of
wood, minerals and metal can be harmful to human health.
Touching or breathing in this dust can trigger allergic reac-
tions and/or cause respiratory illnesses in the user or in
people in the near vicinity.
Certain dusts, such as oak or beech dust, are classified as
carcinogenic, especially in conjunction with wood treatment
additives (chromate, wood preservative). Materials contain-
ing asbestos may only be machined by specialists.
1 609 92A 67A | (11.03.2021)
Bosch Power Tools
Характеристики

Остались вопросы?Не нашли свой ответ в руководстве или возникли другие проблемы? Задайте свой вопрос в форме ниже с подробным описанием вашей ситуации, чтобы другие люди и специалисты смогли дать на него ответ. Если вы знаете как решить проблему другого человека, пожалуйста, подскажите ему :)


