Шлифмашины Bosch GWS 24 180 H - инструкция пользователя по применению, эксплуатации и установке на русском языке. Мы надеемся, она поможет вам решить возникшие у вас вопросы при эксплуатации техники.
Если остались вопросы, задайте их в комментариях после инструкции.
"Загружаем инструкцию", означает, что нужно подождать пока файл загрузится и можно будет его читать онлайн. Некоторые инструкции очень большие и время их появления зависит от вашей скорости интернета.


28
| English
1 609 929 X88 | (13.12.10)
Bosch Power Tools
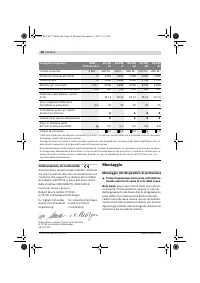
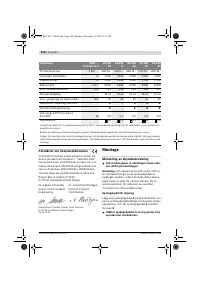
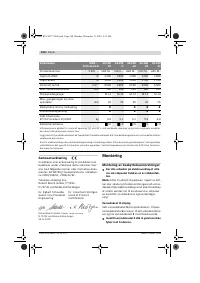
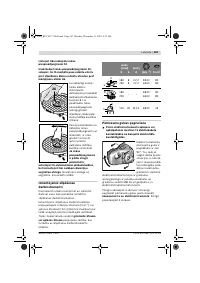
Declaration of Conformity
We declare under our sole responsibility that
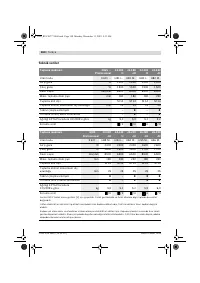
the product described under “Technical Data” is
in conformity with the following standards or
standardization documents: EN 60745 accord-
ing to the provisions of the directives
2004/108/EC, 2006/42/EC.
Technical file at:
Robert Bosch GmbH, PT/ESC,
D-70745 Leinfelden-Echterdingen
Robert Bosch GmbH, Power Tools Division
D-70745 Leinfelden-Echterdingen
26.11.2010
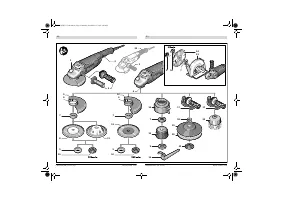
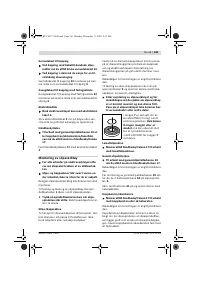
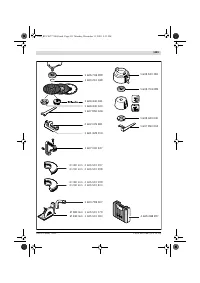
Assembly
Mounting the Protective Devices
f
Before any work on the machine itself, pull
the mains plug.
Note:
After breakage of the grinding disc during
operation or damage to the holding fixtures on
the protection guard/power tool, the machine
must promptly be sent to an after-sales service
agent for maintenance (for addresses, see sec-
tion „After-sales Service and Customer
Assistance“.
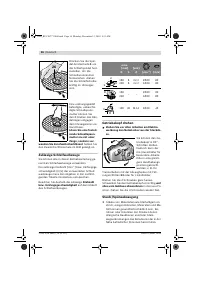
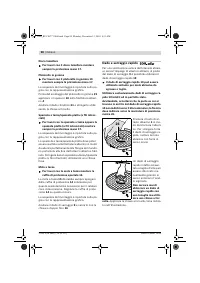
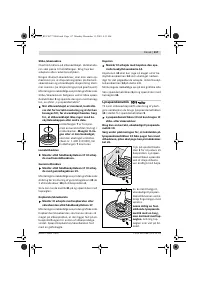
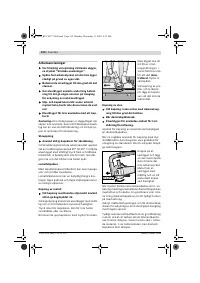
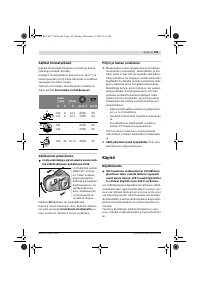
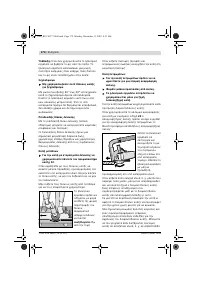
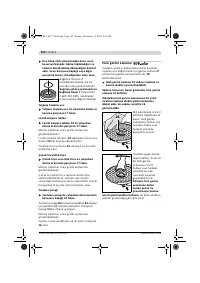
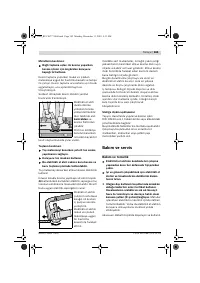
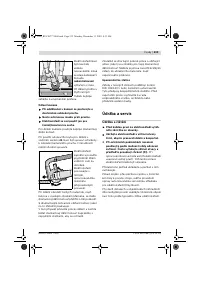
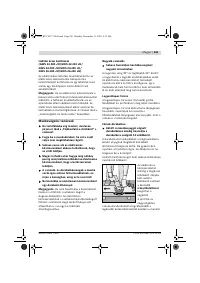
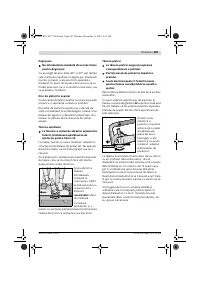
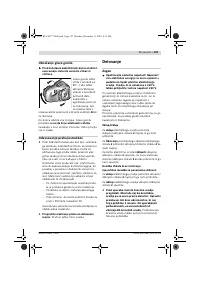
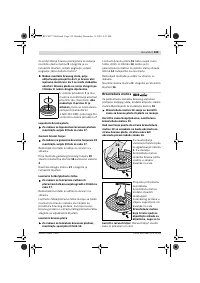
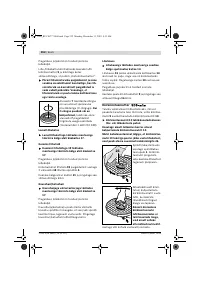
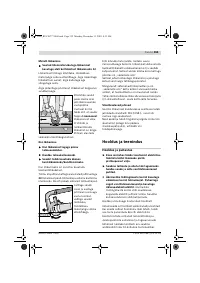
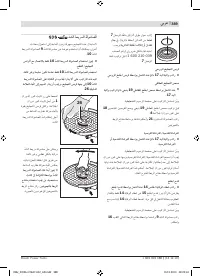
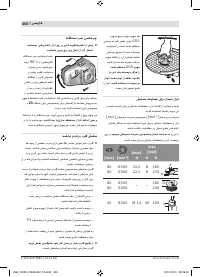
Protection Guard for Grinding
Place the protection guard
5
on the spindle col-
lar. Adjust the position of the protection guard
5
to the requirements of the operation and lock
the protection guard
5
with the locking screw
6
.
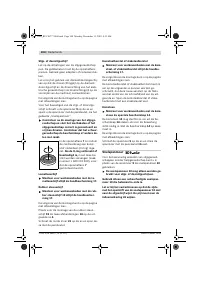
f
Adjust the protection guard 5 in such a man-
ner that sparking is prevented in the direc-
tion of the operator.
Protection Guard for Cutting
f
For cutting with bonded abrasives, always
use the protection guard for cutting 12.
f
Provide for sufficient dust extraction when
cutting stone.
The protection guard for cutting
12
is mounted
in the same manner as the protection guard for
grinding
5
.
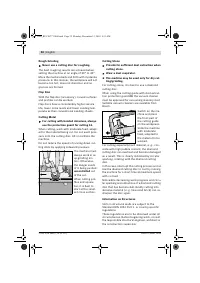
Cutting Guide with Dust Extraction Protection
Guard
The cutting guide with dust extraction protec-
tion guard
23
is mounted in the same manner as
the protection guard for grinding
5
.
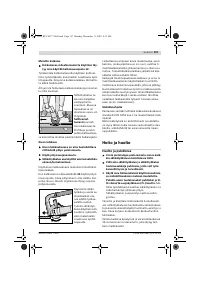
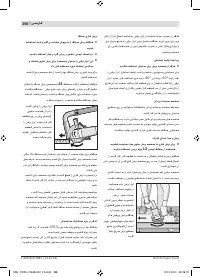
Auxiliary Handle
f
Operate your machine only with the auxilia-
ry handle 3.
Screw the auxiliary handle
3
on the right or left
of the machine head depending on the working
method.
Hand Guard
f
For operations with the rubber sanding
plate 19 or with the cup brush/wheel brush/
flap disc, always mount the hand guard 17.
The hand guard
17
is fastened with the auxiliary
handle
3
.
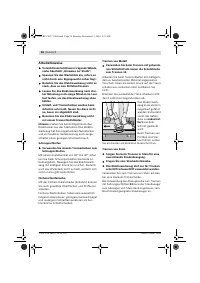
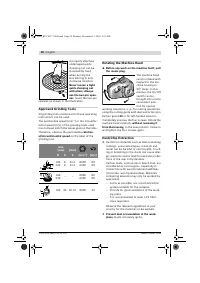
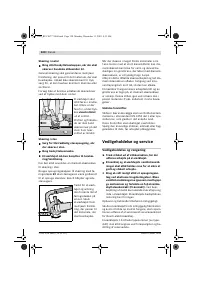
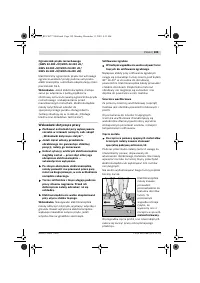
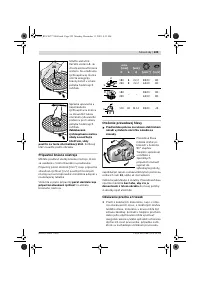
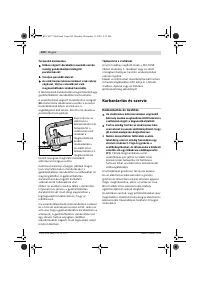
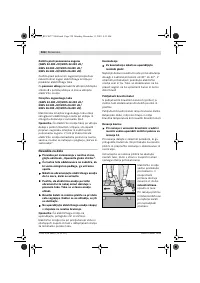
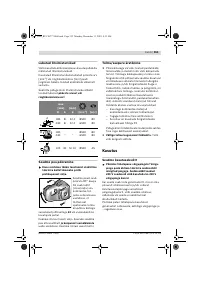
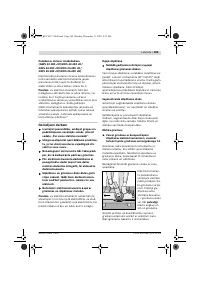
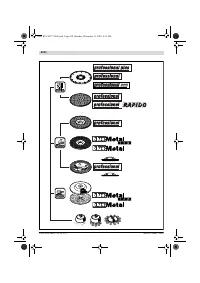
Mounting the Grinding Tools
f
Before any work on the machine itself, pull
the mains plug.
f
Grinding and cutting discs become very hot
while working; do not touch until they have
cooled.
Clean the grinder spindle
4
and all parts to be
mounted.
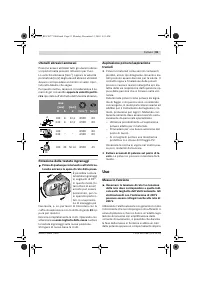
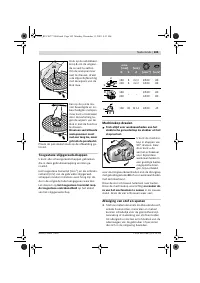
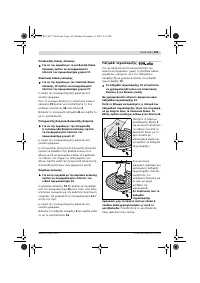
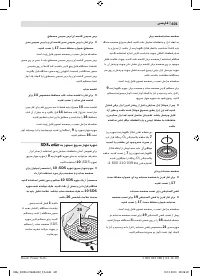
For clamping and loosening the grinding tools,
lock the grinder spindle with the spindle lock
button
1
.
f
Actuate the spindle lock button only when
the grinder spindle is at a standstill.
Other-
wise, the machine may become damaged.
Dr. Egbert Schneider
Senior Vice President
Engineering
Dr. Eckerhard Strötgen
Head of Product
Certification
OBJ_BUCH-777-006.book Page 28 Monday, December 13, 2010 8:51 AM
Содержание
- 245 ченном и чистом состоянии.
- 248 Используйте защитные очки.
- 249 Закрепляйте заготовку.; Описание продукта и услуг; Применение по назначению
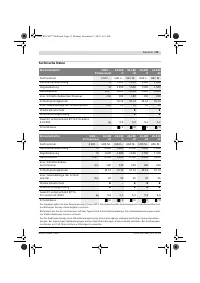
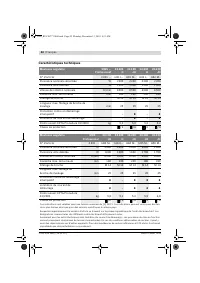
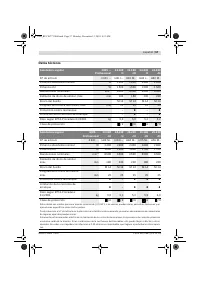
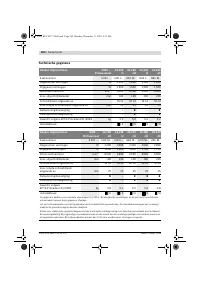
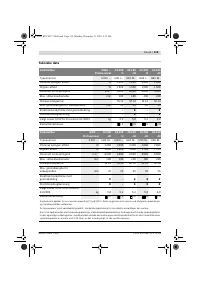
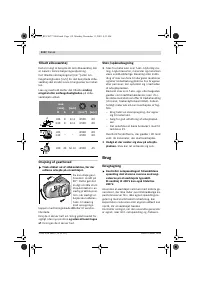
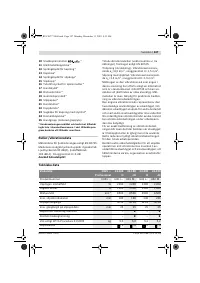
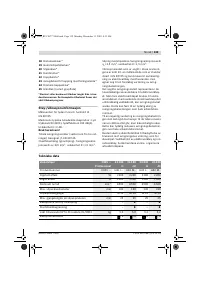
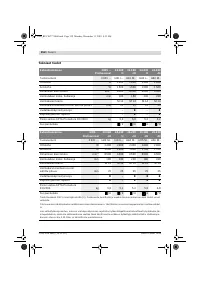
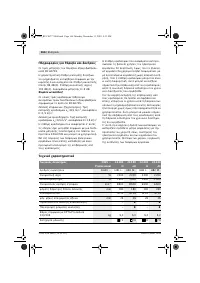
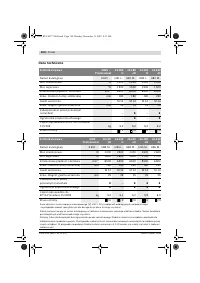
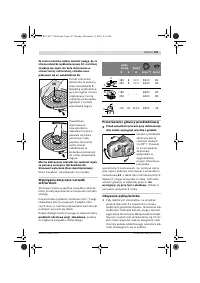
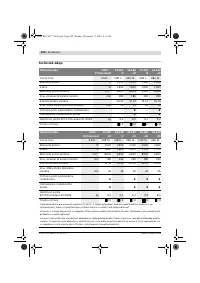
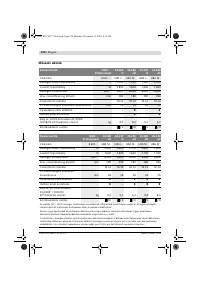
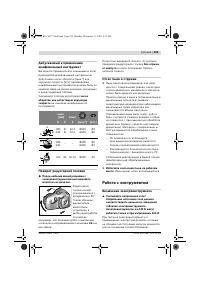
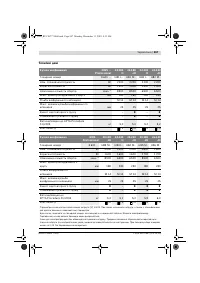
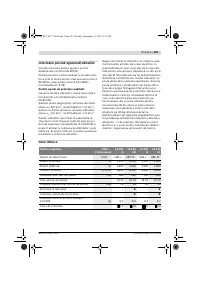
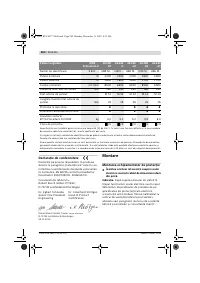
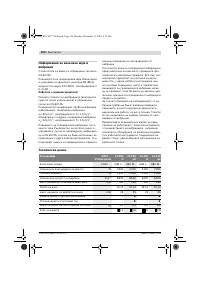
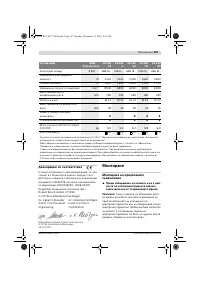
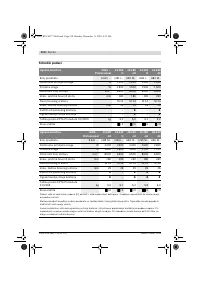
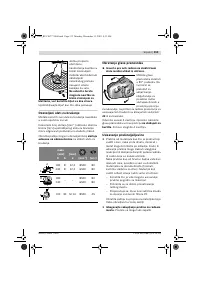
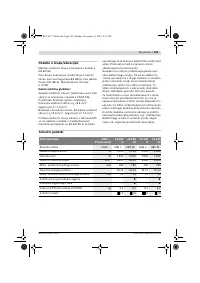
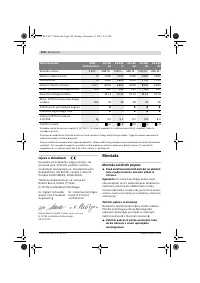
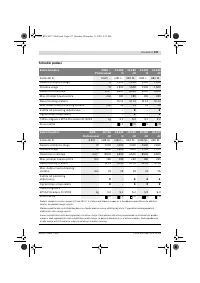
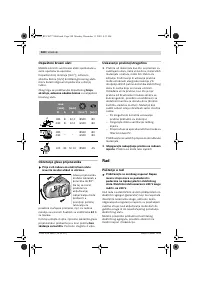
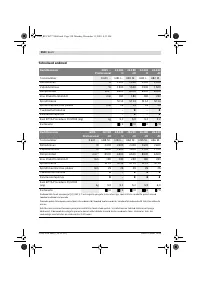
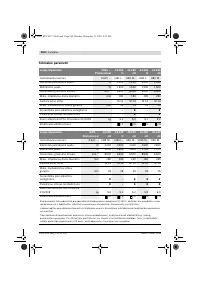
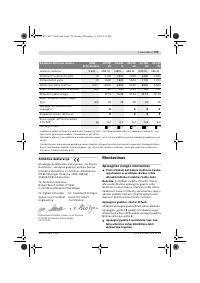
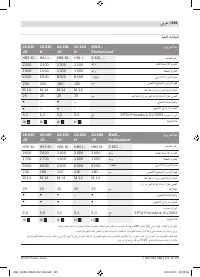
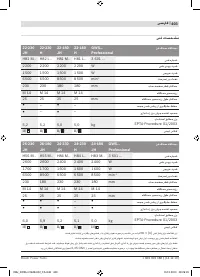
- 250 Данные по шуму и вибрации; Применяйте средства защиты органов слуха!; Технические данные; Угловая шлифовальная машина
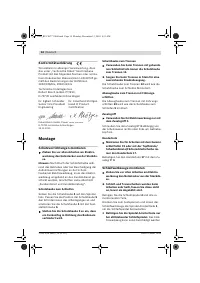
- 251 Заявление о соответствии; Сборка; Установка защитных устройств; Защитный кожух для шлифования
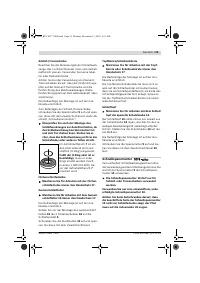
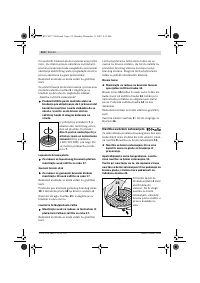
- 252 Защитный кожух для отрезания
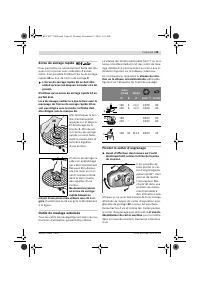
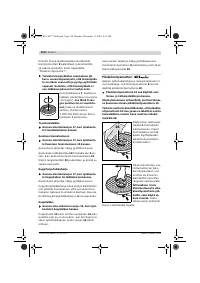
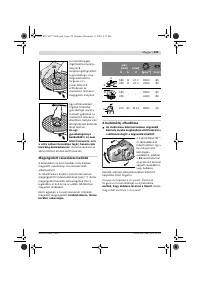
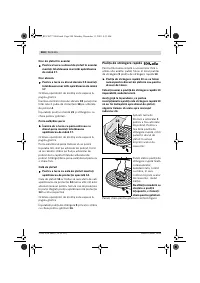
- 253 Веерный шлифовальный круг; Быстрозажимная гайка
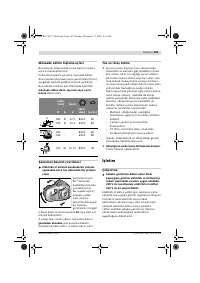
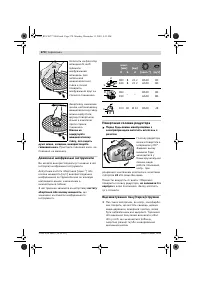
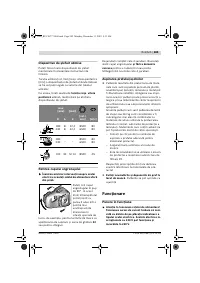
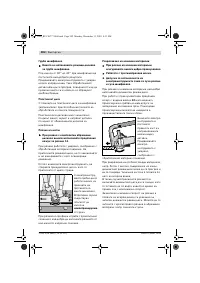
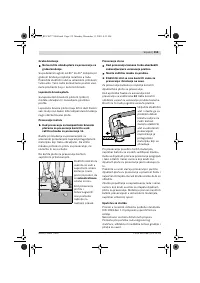
- 254 число; Поворот редукторной головки; без отрыва; Отсос пыли и стружки; Работа с инструментом; Включение электроинструмента
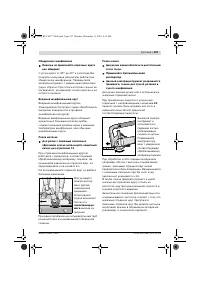
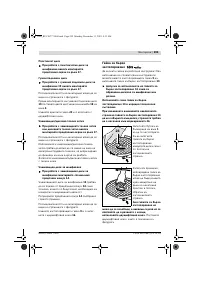
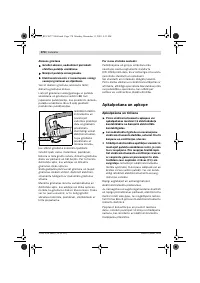
- 255 Указания по применению
- 256 Обдирочное шлифование; Резка камня
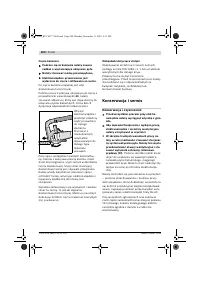
- 257 Указания по статике; Техобслуживание и сервис; Техобслуживание и очистка; Россия
- 258 Беларусь; Утилизация


