Шлифмашины Bosch GWS 15-150 CIH - инструкция пользователя по применению, эксплуатации и установке на русском языке. Мы надеемся, она поможет вам решить возникшие у вас вопросы при эксплуатации техники.
Если остались вопросы, задайте их в комментариях после инструкции.
"Загружаем инструкцию", означает, что нужно подождать пока файл загрузится и можно будет его читать онлайн. Некоторые инструкции очень большие и время их появления зависит от вашей скорости интернета.


20
| English
1 609 92A 16W | (12.2.15)
Bosch Power Tools
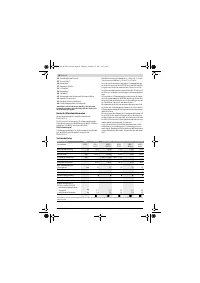
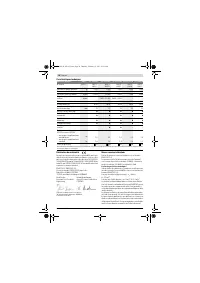
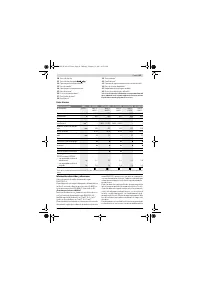
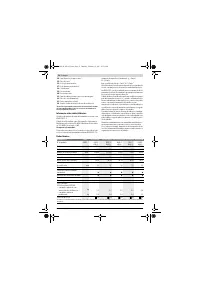
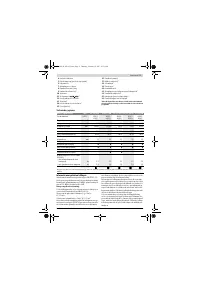
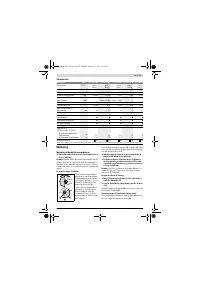
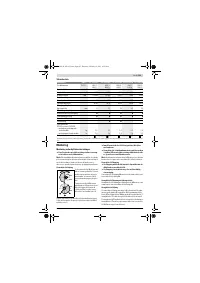
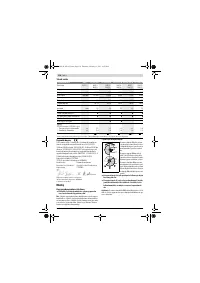
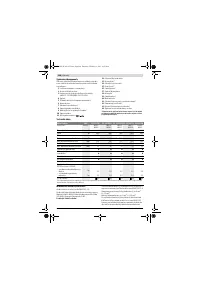
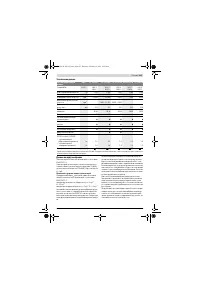
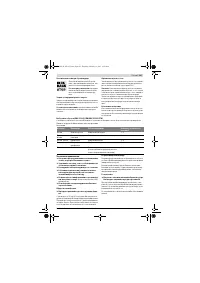
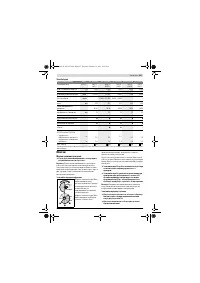
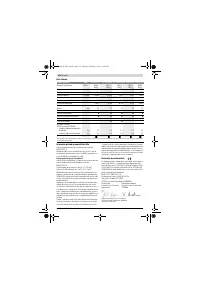
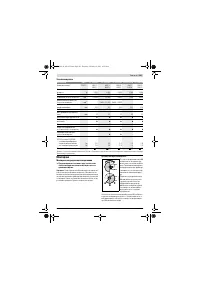
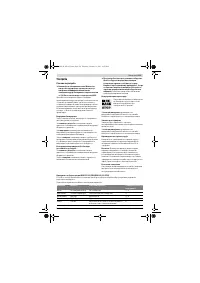
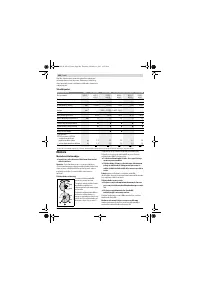
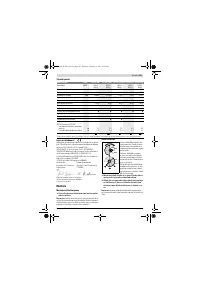
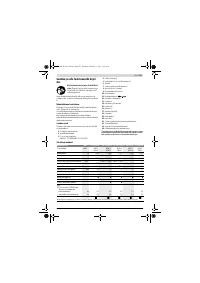
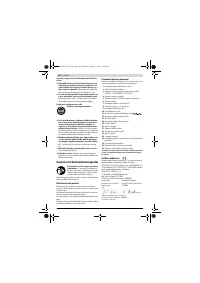
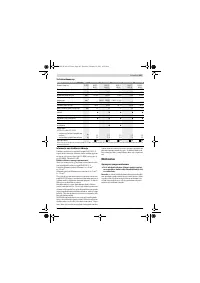
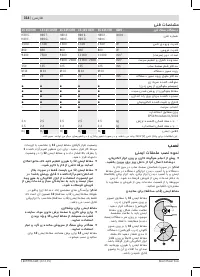
Technical Data
Assembly
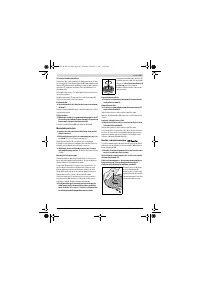
Mounting the Protective Devices
Before any work on the machine itself, pull the mains
plug.
Note:
After breakage of the grinding disc during operation or
damage to the holding fixtures on the protection guard/power
tool, the machine must promptly be sent to an after-sales ser-
vice agent for maintenance. For addresses, see section “Af-
ter-sales Service and Application Service”.
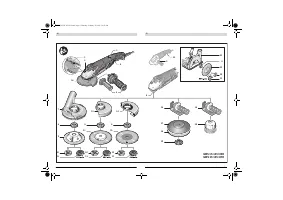
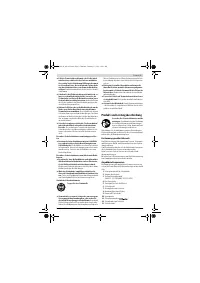
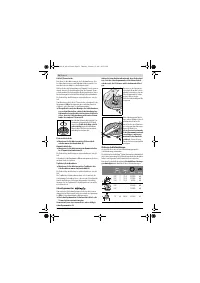
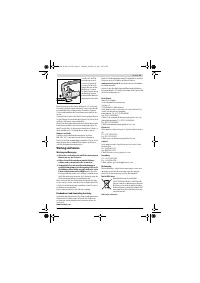
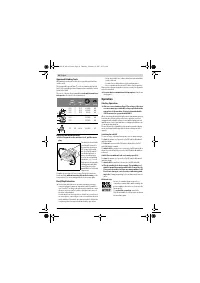
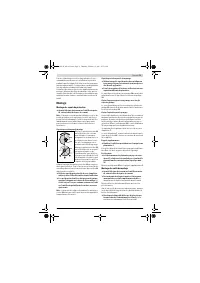
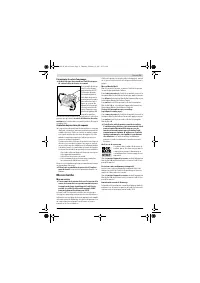
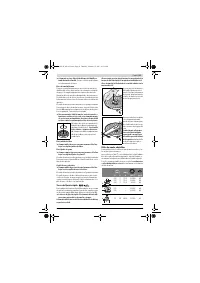
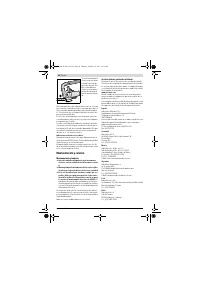
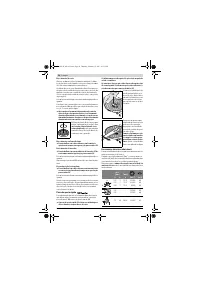
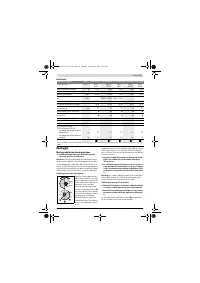
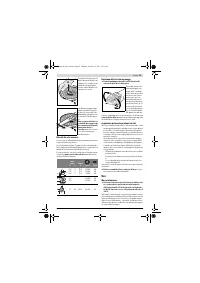
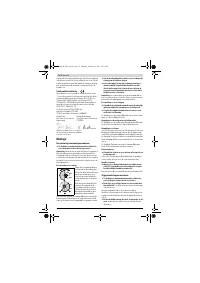
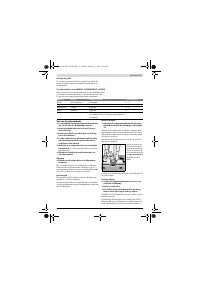
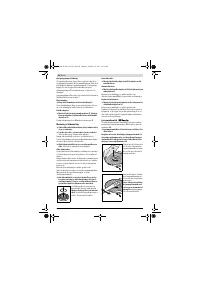
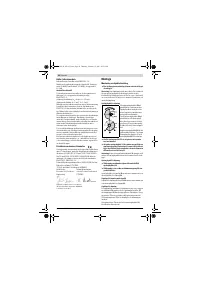
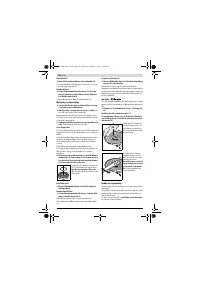
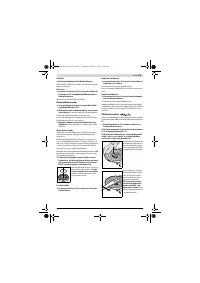
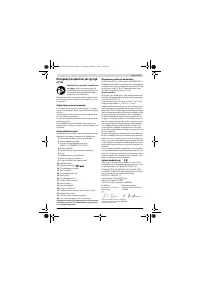
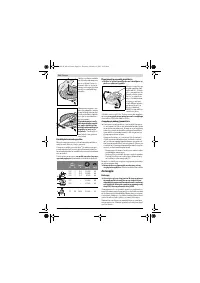
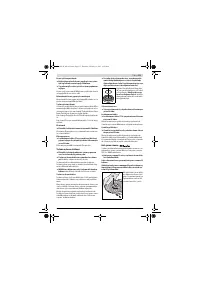
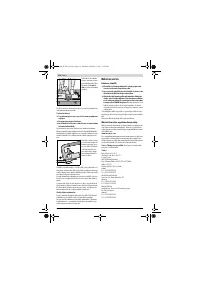
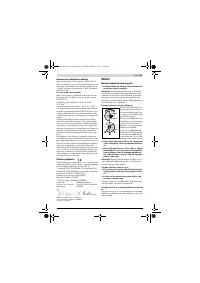
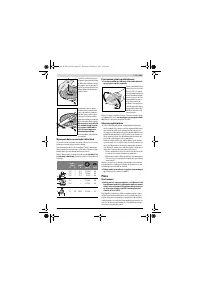
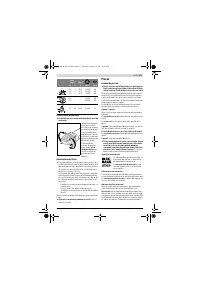
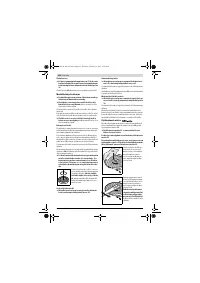
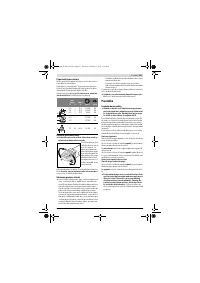
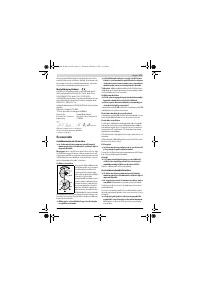
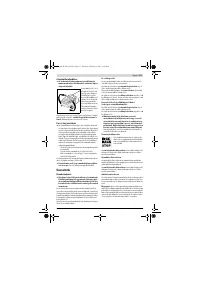
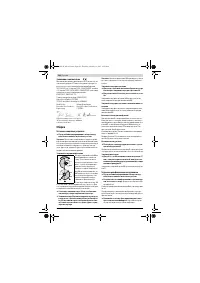
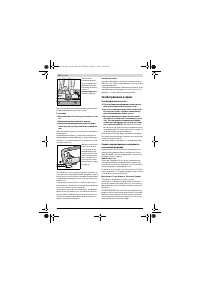
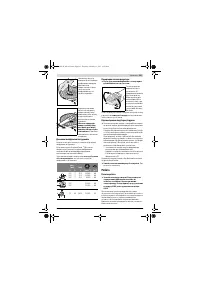
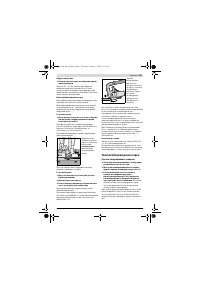
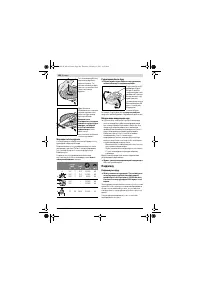
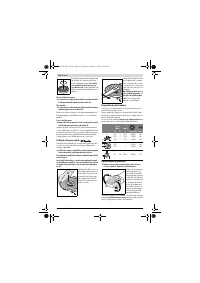
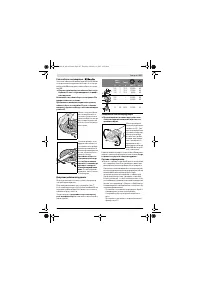
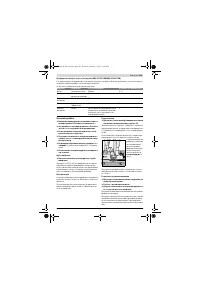
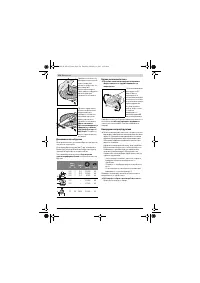
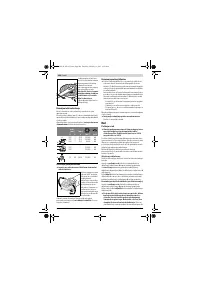
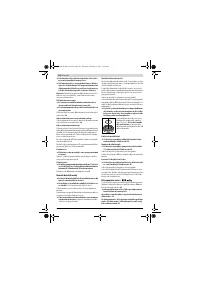
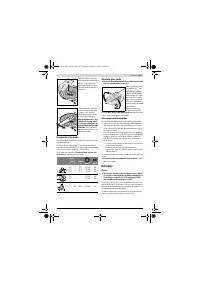
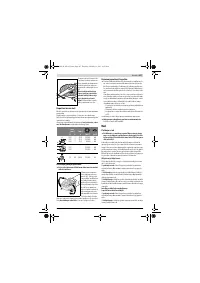
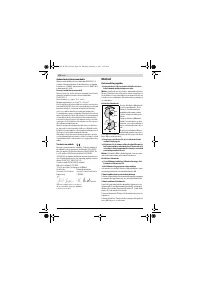
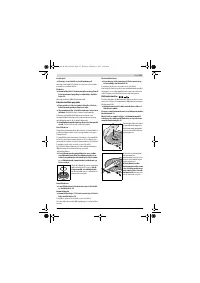
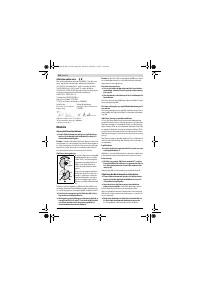
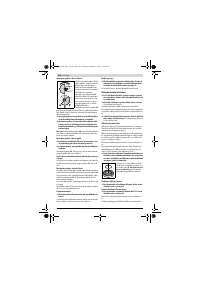
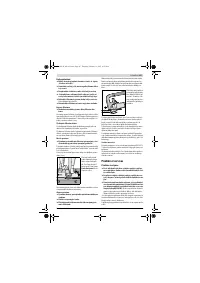
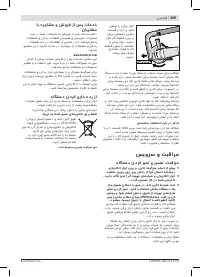
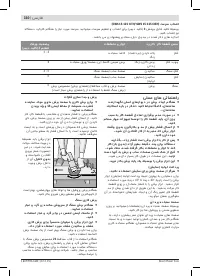
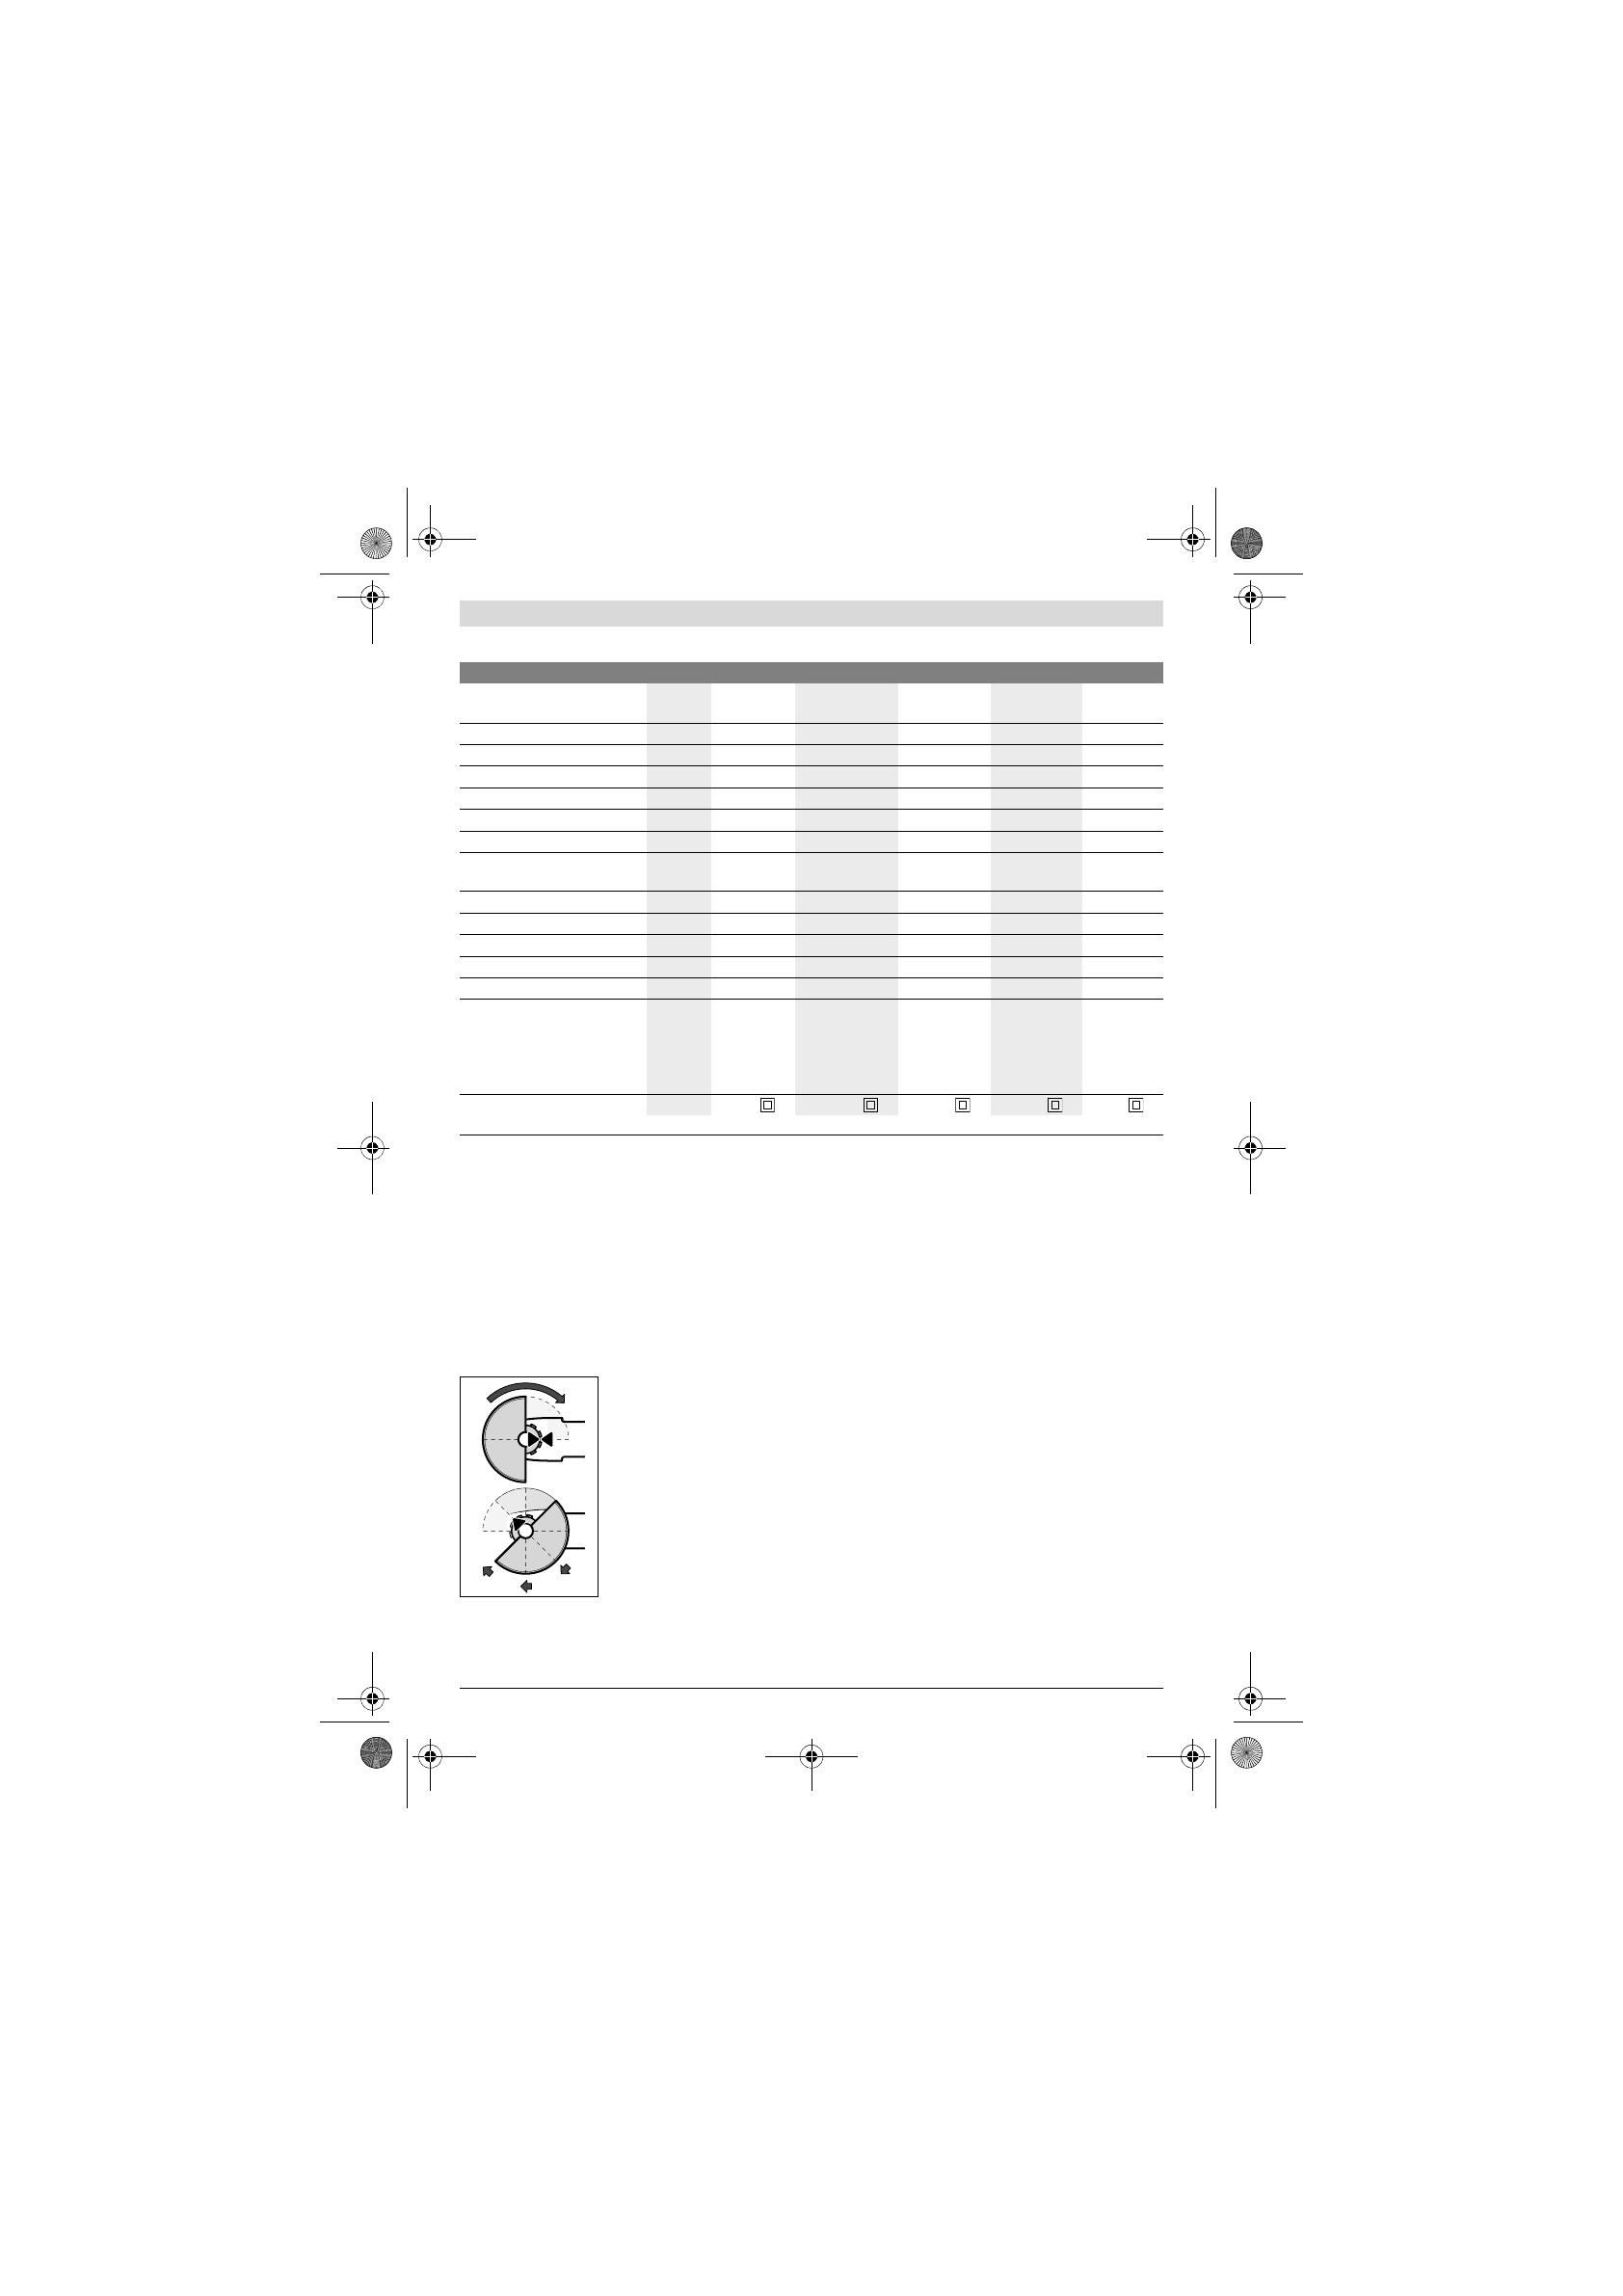
Protection Guard for Grinding
Place the protection guard
12
on-
to the spindle collar as shown in
the illustration. The triangle marks
on the protection guard must cor-
respond with the respective
marks on the gear case.
Press the protection guard
12
on-
to the spindle collar until the
shoulder of the protection guard
is seated against the flange of the
machine, and turn the protection
guard until it can clearly be heard
to engage.
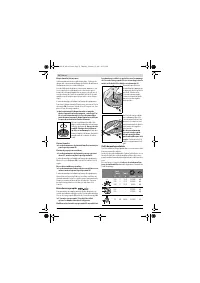
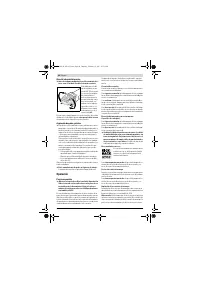
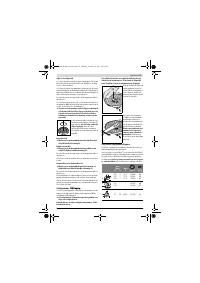
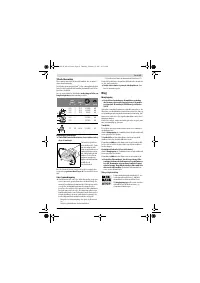
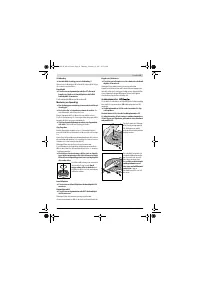
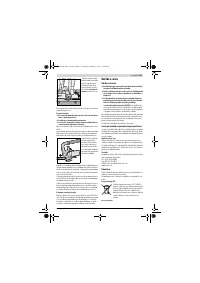
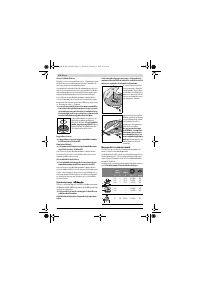
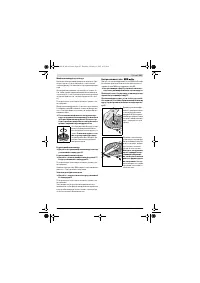
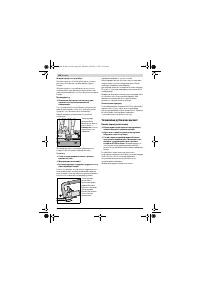
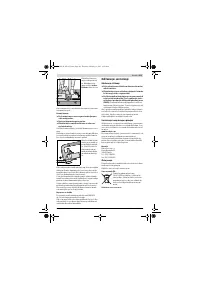
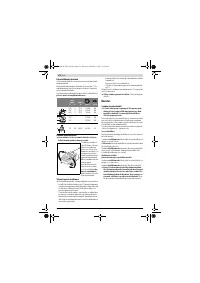
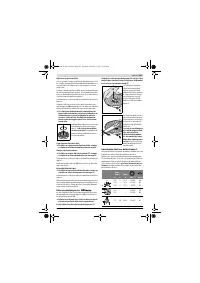
Adjust the position of the protection guard
12
to the require-
ments of the work process. For this, press the release lever
1
upward and turn the protection guard
12
to the required po-
sition.
Adjust the protection guard 12 in such a manner that
sparking is prevented in the direction of the operator.
The protection guard 12 may be turned only upon actu-
ation of the release lever 1! Otherwise the power tool
may not continue to be used under any circumstances
and must be taken to an after-sales service agent.
Note:
The encoding keys on the protection guard
12
ensure
that only a protection guard that fits the machine type can be
mounted.
Protection Guard for Cutting
For cutting with bonded abrasives, always use the pro-
tection guard for cutting 14.
Provide for sufficient dust extraction when cutting
stone.
The protection guard for cutting
14
is mounted in the same
manner as the protection guard for grinding
12
.
Cutting Guide with Dust Extraction Protection Guard
The cutting guide with dust extraction protection guard
21
is
mounted in the same manner as the protection guard for
grinding
12
.
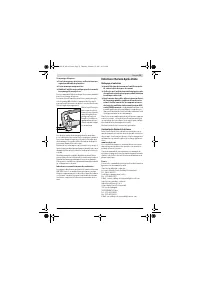
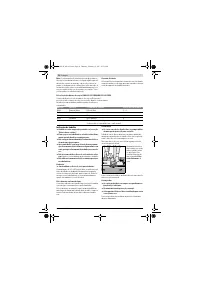
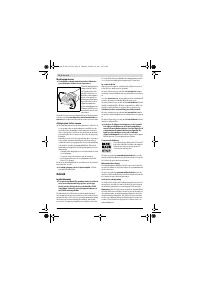
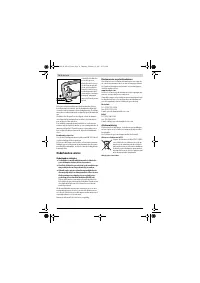
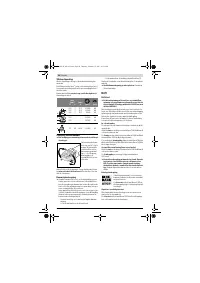
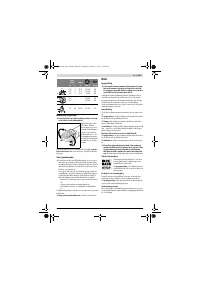
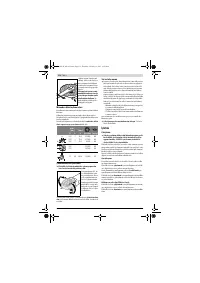
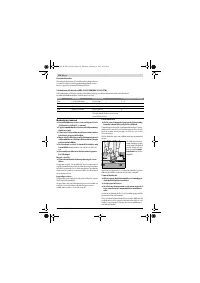
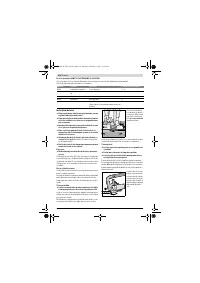
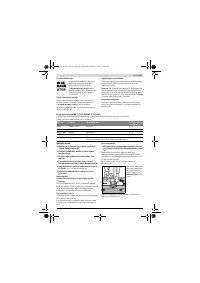
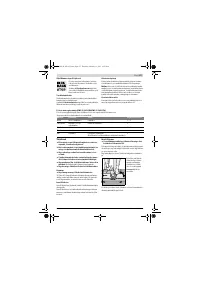
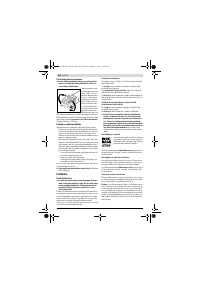
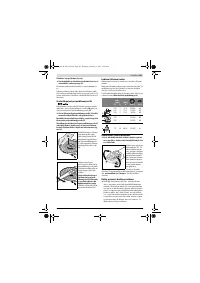
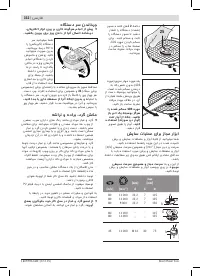
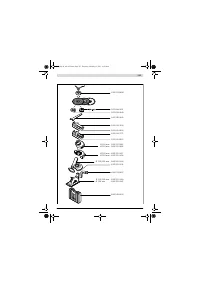
Extraction Hood for Sanding
The extraction hood
7
can be used for low-dust sanding of
paint, varnish and plastics in conjunction with the carbide
grinding head
9
or the rubber sanding plate
17
with a sanding
sheet
18
. The extraction hood
7
is not suitable for working
metals.
Angle Grinder
GWS ...
15-125 CIH
15-125 CIEH
15-125 CITH 15-125 CISTH 15-150 CIH
Article number
3 601 ...
H30 2..
H30 C..
H30 3..
H30 D..
H30 4..
H30 E..
H30 7..
H30 G..
H30 5..
H30 F..
Rated power input
W
1 500
1 500
1 500
1 500
1 500
Output power
W
860
860
860
860
860
Rated speed
min
-1
11 000
11 000
9 300
7500
9 300
Speed control adjustment
min
-1
–
2 800 – 11 000 2 800 – 9 300
–
–
Grinding disc diameter, max.
mm
125
125
125
125
150
Thread of grinder spindle
M 14
M 14
M 14
M 14
M 14
Thread length (max.) of grinder
spindle
mm
22
22
22
22
22
Kickback stop
Restarting Protection
Reduced starting current
Constant electronic control
Speed preselection
–
–
–
Weight according to
EPTA-Procedure 01/2003
– with vibration-damping
auxiliary handle
– with standard-auxiliary handle
kg
kg
2.5
2.4
2.5
2.4
2.5
2.4
2.5
2.4
2.6
2.5
Protection class
/
II
/
II
/
II
/
II
/
II
The values given are valid for a nominal voltage [U] of 230 V. For different voltages and models for specific countries, these values can vary.
OBJ_BUCH-165-007.book Page 20 Thursday, February 12, 2015 10:55 AM
Содержание
- 179 Описание продукта и услуг; Применение по назначению
- 180 Технические данные
- 181 Заявление о соответствии; Сборка; Установка защитных устройств; Установка шлифовальных инструментов
- 182 Быстрозажимная гайка
- 183 Поворот редукторной головки; Работа с инструментом; Включение электроинструмента
- 184 Указания по применению
- 185 Техобслуживание и сервис; Техобслуживание и очистка
- 186 Утилизация
Характеристики

Остались вопросы?Не нашли свой ответ в руководстве или возникли другие проблемы? Задайте свой вопрос в форме ниже с подробным описанием вашей ситуации, чтобы другие люди и специалисты смогли дать на него ответ. Если вы знаете как решить проблему другого человека, пожалуйста, подскажите ему :)


