
Сэндвичницы Philips HD 2384 - инструкция пользователя по применению, эксплуатации и установке на русском языке. Мы надеемся, она поможет вам решить возникшие у вас вопросы при эксплуатации техники.
Если остались вопросы, задайте их в комментариях после инструкции.
"Загружаем инструкцию", означает, что нужно подождать пока файл загрузится и можно будет его читать онлайн. Некоторые инструкции очень большие и время их появления зависит от вашей скорости интернета.


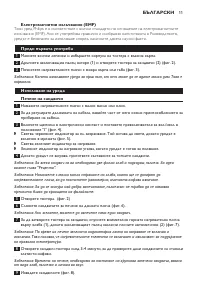

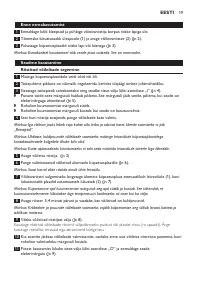


Before first use
1
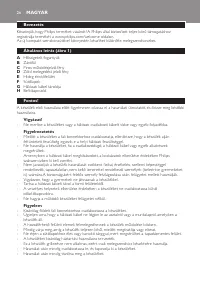
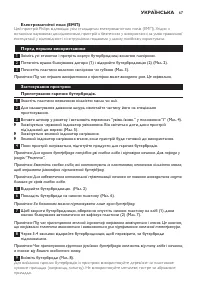
Remove any stickers and wipe the body of the sandwich maker with a damp cloth.
2
Pull the locking tab upwards (1) and open the sandwich maker (2) (Fig. 2).
3
Clean the cooking plates with a damp cloth or sponge (Fig. 3).
Note: The appliance may give off some smoke when you use it for the first time. This is normal.
using the appliance
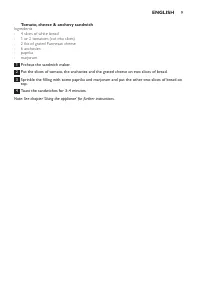
Making toasted sandwiches
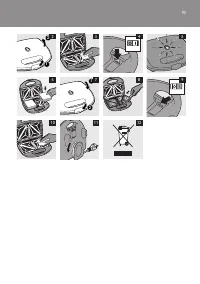
1
Lightly grease the cooking plates with a little butter or oil.
2
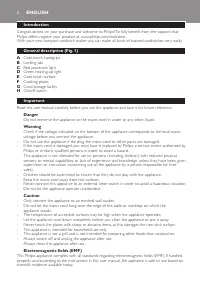
To adjust the length of the cord, wind part of it round the cord storage facility.
3
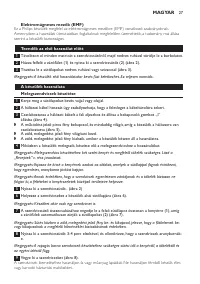
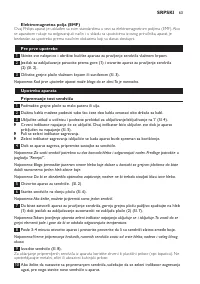
Put the mains plug in the wall socket and set the on/off switch to ‘I’ (Fig. 4).
,
The red power-on light goes on. This light stays on as long as the appliance is connected to
the mains (Fig. 5).
,
The green heating-up light goes on.
,
The green heating-up light goes out when the appliance is ready for use.
4
Prepare the ingredients for the toasted sandwiches while the appliance is heating up.
Note: For each sandwich, you need two slices of bread and a suitable filling. See chapter ‘Recipes’ for
suggestions.
Note: Lightly butter the sides of the bread that come into contact with the cooking plates to obtain an
even, golden brown result.
Note: To ensure optimal sealing, do not spread fillings too close to the edges of the slices of bread.
5
Open the sandwich maker. (Fig. 2)
6
Put the sandwiches to be prepared on the lower cooking plate (Fig. 6).
Note: You can also toast only one sandwich, if you wish.
7
To close the sandwich maker, lower the upper cooking plate carefully onto the bread (1) until
the locking tab locks the plates automatically (2) (Fig. 7).
Note: During cooking, the green heating-up light goes on and off. This indicates that the heating elements
are switched on and off to maintain the correct temperature.
8
Open the sandwich maker after 3-4 minutes to check whether the sandwiches are golden
brown.
Note: The cooking time required to obtain crispy brown sandwiches depends on the type of bread, the
filling and your personal taste.
9
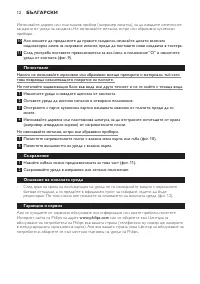
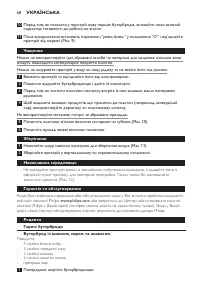
Remove the sandwiches (Fig. 8).
Use a wooden or plastic utensil (e.g. a spatula) to remove the toasted sandwiches from the
sandwich maker. Do not use metal, sharp or abrasive kitchen utensils.
10
If you wish to continue making sandwiches, wait until the green heating-up light goes out
before you put new sandwiches in the sandwich maker.
11
After use, set the on/off switch to ‘O’ and unplug the appliance (Fig. 9).
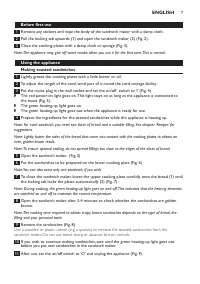
EnglisH
7
Содержание
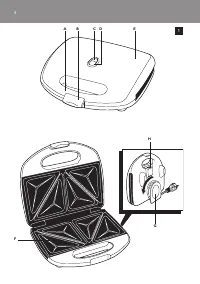
- 51 Перед первым использованием; Снимите с прибора все наклейки и очистите его мягкой тканью.; Эксплуатация прибора; сливочного или растительного масла.
- 52 металлические, острые или абразивные кухонные приспособления.; Очистка; Выключите прибор и отключите его от электросети.; Хранение; Храните прибор в вертикальном или горизонтальном положении.; защита окружающей среды; возникновения проблем посетите веб-сайт Philips
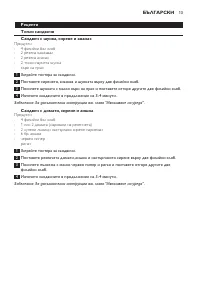
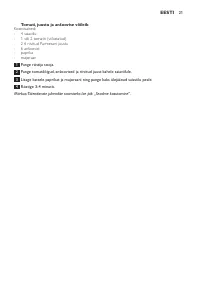
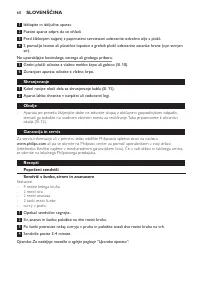
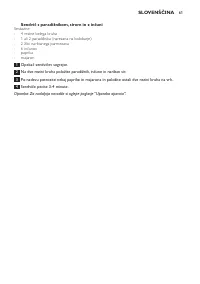
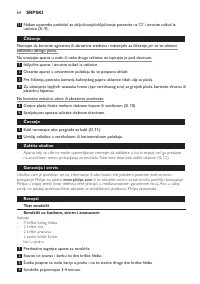
- 53 рецепты; Бутерброд с помидорами, сыром и анчоусами; Предварительно разогрейте бутербродницу.
Характеристики

Остались вопросы?Не нашли свой ответ в руководстве или возникли другие проблемы? Задайте свой вопрос в форме ниже с подробным описанием вашей ситуации, чтобы другие люди и специалисты смогли дать на него ответ. Если вы знаете как решить проблему другого человека, пожалуйста, подскажите ему :)


