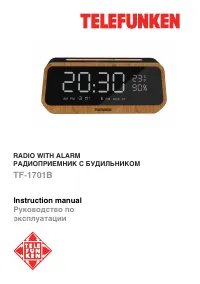
Радиоприемники Telefunken TF-1701B - инструкция пользователя по применению, эксплуатации и установке на русском языке. Мы надеемся, она поможет вам решить возникшие у вас вопросы при эксплуатации техники.
Если остались вопросы, задайте их в комментариях после инструкции.
"Загружаем инструкцию", означает, что нужно подождать пока файл загрузится и можно будет его читать онлайн. Некоторые инструкции очень большие и время их появления зависит от вашей скорости интернета.


Instruction manual
3
Important safeguards
• The instruction manual contains important
operating and maintenance instructions. For
your safety, it is necessary to refer to the
manual. Keep the manual for future use.
• Do not hit or drop the unit
• Do not
e
xpose the unit to vibration, direct
sunlight, too high or low temperatures or
humidity.
• Do not disassemble the unit yourselves
Refer servicing to qualified service personnel
All the illustrations in this manual are
schematic images, which may differ from
actual objects.
Power supply
• The unit operates on an internal
rechargeable Li-ion battery.
• The battery can be recharged with the
provided USB charging cable. Before first
plugging the appliance check that voltage
indicated on the rating label corresponds
to the mains voltage in your home.
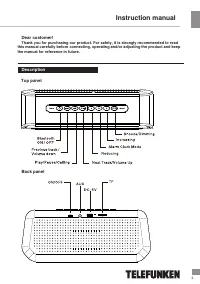
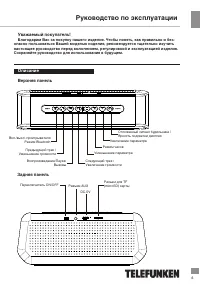
• Insert the charging cable into the
DC 5V socket at the top panel of the unit.
• Connect the charging cable to the power
• For best results, try to fully charge the
battery before each use. If the battery is
drained, please allow it to recharge for a few
hours.
General operation
source. The unit is charging when the red
LED indicator is on.
• Put the OFF/ON switch into ON
position to switch the unit on. Put it into OFF
position to switch off.
The time will start to flash.
Setting the
clock
• Press and hold the M button.
to set the HOUR. Press the M button after the
hour is set.
• Press the - and + buttons
to set the MINUTES. Press the M button after
the minute is set.
• Press the - and + buttons
Press the - and + buttons to select, M to confirm.
• Choose the 12- or 24-hour format.
the levels of display backlight brightness.
Backlight brightness
• Press the button to select between
You can press the M button any time to go to
clock display from any operation mode.
• The time
is
now set.
Alarm Clock 1 mode.
Setting the
alarm
• Press the M button to go to
set the alarm hour. Use the - and + buttons to
set and press M to confirm and go to minutes.
• Press and hold the M button to
alarm minutes, signal and circulation.
• In the same way set the
to confirm the settings and activate the alarm.
• When finished, press and hold M
way as Alarm Clock 1.
• Alarm Clock 2 is set the same
the alarm signal. The first 5 are built-in ring tones.
Number 6 is the first track from the TF (microSD)
card. Number 7 is the last played FM radio
station. Press + and - to select, M to confirm.
• You have 7 options when selecting
set the alarm to go off every single day of the
week or just once. If every day circulation is set,
the special symbol will light on the display.
• When selecting circulation you can
Содержание
- 8 Общие операции; Нажимайте кнопку; Яркость подсветки; Часы на дисплее начнут мигать.; Настройка времени; Нажмите и удерживайте кнопку M.; Установка будильника; яркость подсветки дисплея.
- 9 Операции с Bluetooth; долгим; Беспроводное воспроизведение; При срабатывании будильника,; Вход; приемнику
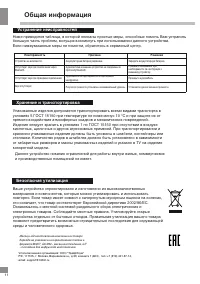
- 10 Чистка и уход; в соответствующий разъем; Общая информация по; разъемом
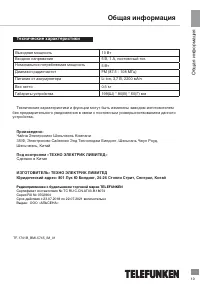
- 11 Общая информация; Технические характеристики; Под контролем «ТЕХНО ЭЛЕКТРИК ЛИМИТЕД»; Радиоприемники с будильником; Входное напряжение
- 12 Устранение неисправностей


