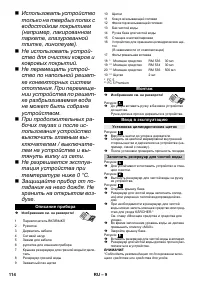
Пылесос Karcher FC 5 - инструкция пользователя по применению, эксплуатации и установке на русском языке. Мы надеемся, она поможет вам решить возникшие у вас вопросы при эксплуатации техники.
Если остались вопросы, задайте их в комментариях после инструкции.
"Загружаем инструкцию", означает, что нужно подождать пока файл загрузится и можно будет его читать онлайн. Некоторые инструкции очень большие и время их появления зависит от вашей скорости интернета.


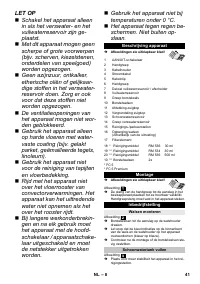


– 9
For scope of delivery of the roller pads in grey and
yellow: Both roller pads have the same functionali-
ty, they can be used for different areas of applica-
tion (colour distinction, e.g. for kitchen and bath-
room).
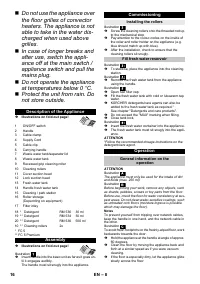
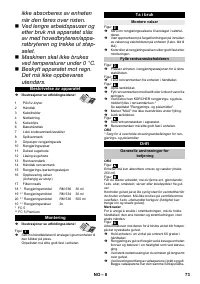
ATTENTION
After switching on the appliance, the cleaning rollers will
begin to rotate. Hold the handle tight to prevent the ap-
pliance from moving forwards by itself.
Make sure the fresh water tank is filled with water and
the waste water tank is fitted in the appliance.
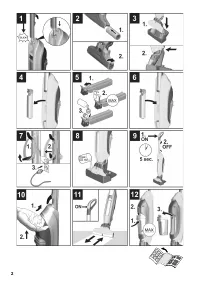
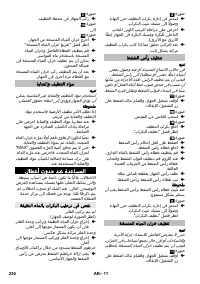
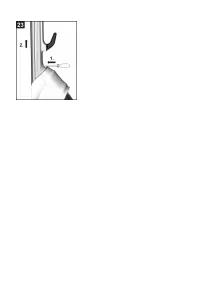
Illustration
Insert the mains plug into a socket.
Illustration
To quickly wet the rollers, use a measuring cup to
fill the cleaning station with 50 ml of fresh water.
Illustration
Switch on the appliance and put it into operation in
the station for 5 seconds.
The appliance then has the ideal level of moisture
in order to allow fast cleaning.
Switch off the appliance; press the on/off button to
do so.
Illustration
Remove the carrying handle from the cleaning sta-
tion and set it on the floor.
Hold the appliance firmly using the handle.
Illustration
To switch on the appliance press the on/off switch.
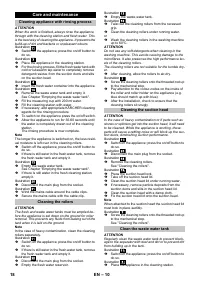
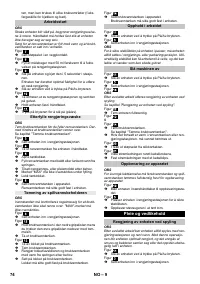
ATTENTION
Before filling the fresh water tank, please empty the
waste water tank. In this way you can avoid overflowing
of the waste water tank.
See Chapter "Emptying the waste water tank".
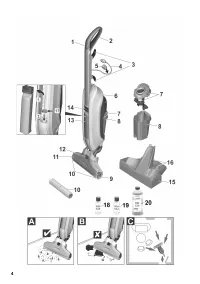
Illustration
Place the appliance in the cleaning station.
Illustration
Remove the fresh water tank from the appliance
using the handle.
Illustration
Open fuel filler cap.
Fill the fresh water tank with cold or lukewarm tap
water.
Add cleaning or disinfecting agent as required.
Do not exceed the "MAX" marking when filling.
Close tank lock.
Illustration
Insert the fresh water container into the appliance.
The fresh water tank must sit snugly into the appli-
ance.
ATTENTION
The water level must be checked at regular intervals to
prevent the waste water tank from overflowing. Do not
exceed the "MAX" marking.
Illustration
Place the appliance in the cleaning station.
Illustration
Hold the waste water tank at the bottom handle. At
the same time, press the upper handle downwards
with your thumbs.
Remove waste water tank.
Illustration
Remove the cover from the waste water tank.
Empty the waste water tank.
Depending on the amount of dirt, clean the lid/sep-
arator and waste water tank with tap water.
Place the lid on the waste water tank.
The lid must sit snugly onto the waste water tank.
Illustration
Insert the waste water tank into the appliance.
The waste water tank must sit snugly in the appli-
ance.
Illustration
Switch off the appliance; press the on/off button to
do so.
Illustration
Place the appliance in the cleaning station.
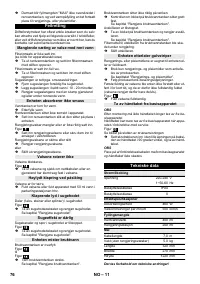
ATTENTION
To ensure the stability of the appliance during down-
time, always put the appliance into the cleaning/park
station. A lack of stability can cause the appliance to
topple over, which can cause fluid to leak that damages
the floor covering.
Illustration
Switch off the appliance; press the on/off button to
do so.
Illustration
Place the appliance in the cleaning station.
Illustration
ATTENTION
After completing the work, clean the appliance by apply-
ing a rinse cycle.
See "Cleaning the appliance by rinsing".
Illustration
Completely empty the appliance.
Illustration
until
Illustration
Empty the waste water tank.
See Chapter "Emptying the waste water tank".
If there is still water in the fresh water tank or clean-
ing station, empty it.
Illustration
Disconnect the main plug from the socket.
Illustration
Wind the mains cable around the cable clips.
Secure the mains cable with the cable clip.
ATTENTION
To prevent odours developing, the fresh water and
waste water tank must be completely emptied prior to
storing the appliance.
Illustration
Move the appliance to the place of storage using
the carrying handle.
Illustration
To stabilise, place the appliance into the cleaning
station.
Store the appliance in a dry room.
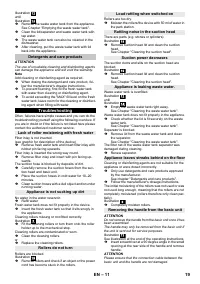
Start working
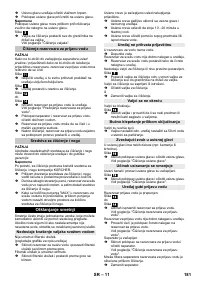
Refill detergent
Emptying the waste Water tank
Interrupting operation
Turning Off the Appliance
Storing the Appliance
17
EN
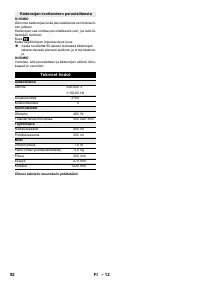
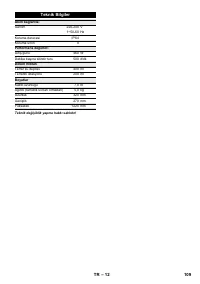
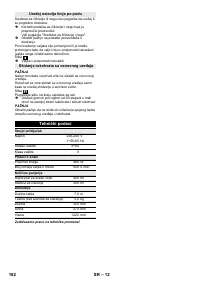
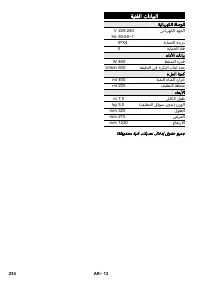
Характеристики

Остались вопросы?Не нашли свой ответ в руководстве или возникли другие проблемы? Задайте свой вопрос в форме ниже с подробным описанием вашей ситуации, чтобы другие люди и специалисты смогли дать на него ответ. Если вы знаете как решить проблему другого человека, пожалуйста, подскажите ему :)


