Пылесос Philips FC8230_01 - инструкция пользователя по применению, эксплуатации и установке на русском языке. Мы надеемся, она поможет вам решить возникшие у вас вопросы при эксплуатации техники.
Если остались вопросы, задайте их в комментариях после инструкции.
"Загружаем инструкцию", означает, что нужно подождать пока файл загрузится и можно будет его читать онлайн. Некоторые инструкции очень большие и время их появления зависит от вашей скорости интернета.


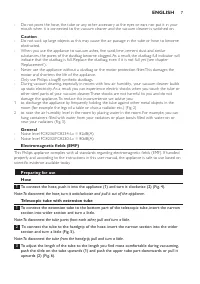


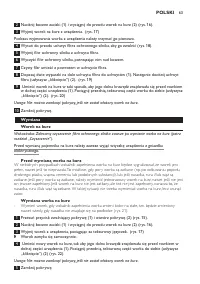


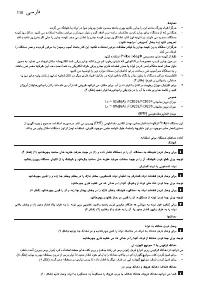


Make sure you hold the dustbag upright when you lift it out of the appliance.
4
Pull the motor protection ilter holder forwards to release it (Fig. 18).
5
Remove the motor protection ilter from ilter holder.
6
Shake the motor protection ilter over a dustbin to clean it.
7
Put the clean ilter back into the ilter holder.
8
Fit the two lugs at the bottom of the ilter holder into the brackets (1). Then press the ilter
holder home (‘click’) (2). (Fig. 19)
9
Place the bottom edge of the dustbag in front of the ridge on the bottom of the appliance
(1). Pull the cardboard front of the dustbag towards you (‘click’) (2). (Fig. 20)
Note: If no dustbag has been inserted, you cannot close the cover.
10
Close the cover.
replacement
Dustbag
Tip: We advise you to clean the motor protection ilter every time you replace the dustbag (see chapter
‘Cleaning’).
Always unplug the appliance before you replace the dustbag.
Before replacing the dustbag
In some cases, the dustbag-full indicator can indicate that the dustbag is full, even though it is not.
This may occur if the pores of the dustbag are clogged (e.g. when you have vacuumed ashes, ine
sand, lime, cement dust and similar substances) or if something is blocking the nozzle, tube and/or
hose. If the pores of the dustbag are clogged, you have to replace the dustbag, even if it is not full
yet. If the dustbag is not clogged but not full either, something is blocking the nozzle, tube and/or
hose. In this case, do not replace the dustbag but remove the obstruction.
replacing the dustbag
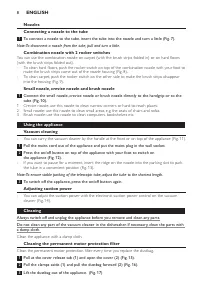
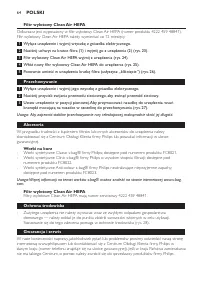
- Replace the dustbag as soon as the dustbag-full indicator has changed colour permanently, i.e.
even when the nozzle is not placed on the loor (Fig. 21).
1
Pull at the cover release tab (1) and open the cover (2) (Fig. 15).
2
Pull the clamps aside (1) and pull the dustbag forward (2) (Fig. 16).
3
Pull the cardboard tag upwards to lift the dustbag out of the appliance. (Fig. 17)
,
The dustbag is sealed automatically.
4
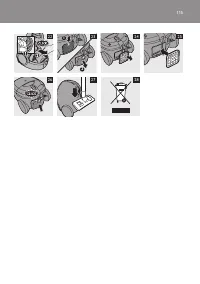
Place the bottom edge of the new dustbag in front of the ridge on the bottom of the
appliance (1). Pull the cardboard front of the dustbag towards you (‘click’) (2) (Fig. 22).
Note: If no dustbag has been inserted, you cannot close the cover.
5
Close the cover.
Clean air hEPa outlet ilter
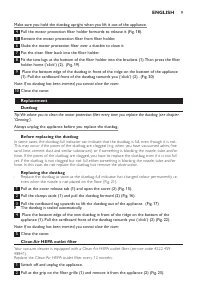
Your vacuum cleaner is equipped with a Clean Air HEPA outlet ilter (ser vice code 4222 459
48841).
Replace the Clean Air HEPA outlet ilter ever y 12 months.
1
Switch off and unplug the appliance.
2
Pull at the grip on the ilter grille (1) and remove it from the appliance (2) (Fig. 23).
English
9
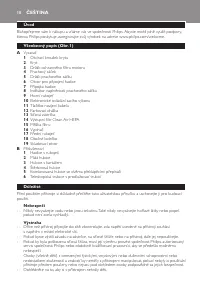
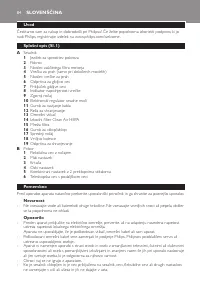
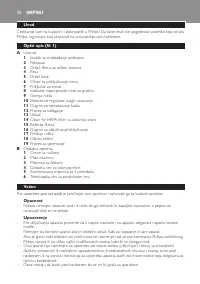
Содержание
- 73 Общее; вставьте узкую секцию в более широкую и слегка поверните.
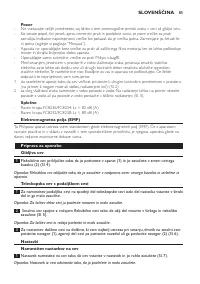
- 74 труднодоступных местах.; Эксплуатация прибора; длину трубки до минимальной.; регулировка мощности всасывания
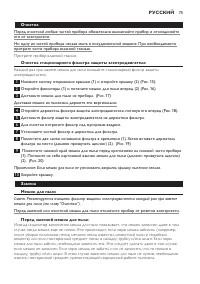
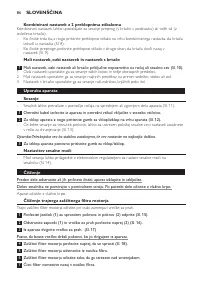
- 75 Очистка; протрите части прибора влажной тканью.; Очистка стационарного фильтра защиты электродвигателя; Доставая мешок из пылесоса, держите его вертикально.; замена
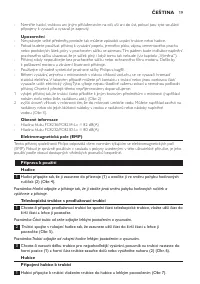
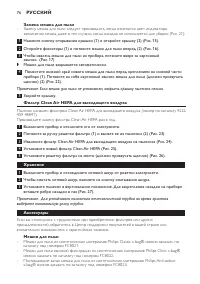
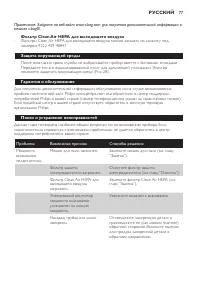
- 76 замена мешка для пыли; Мешок для пыли закрывается автоматически.; Фильтр Clean air hEPa для выходящего воздуха; Производите замену фильтра Clean Air HEPA раз в год.; Хранение; Чтобы смотать сетевой шнур, нажмите на кнопку сматывания шнура.; аксессуары; внимательно ознакомьтесь с гарантийным талоном.; Мешки для пыли; каталогу под номером FC8021.
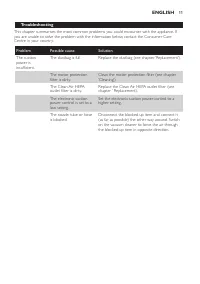
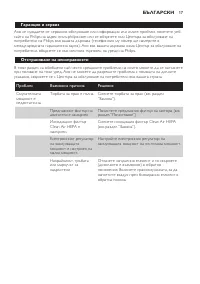
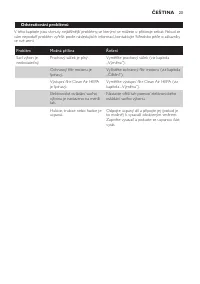
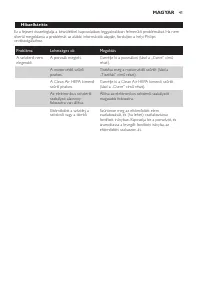
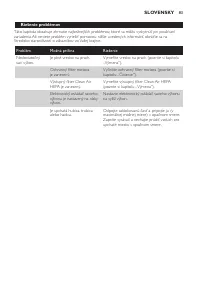
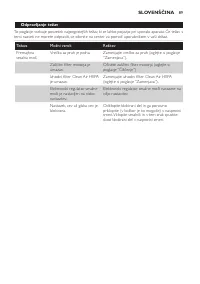
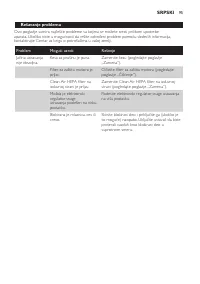
- 77 Проблема


