Пылесос Philips FC8146 - инструкция пользователя по применению, эксплуатации и установке на русском языке. Мы надеемся, она поможет вам решить возникшие у вас вопросы при эксплуатации техники.
Если остались вопросы, задайте их в комментариях после инструкции.
"Загружаем инструкцию", означает, что нужно подождать пока файл загрузится и можно будет его читать онлайн. Некоторые инструкции очень большие и время их появления зависит от вашей скорости интернета.


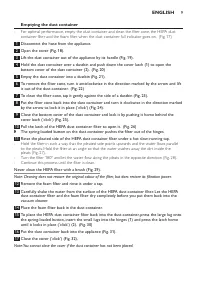


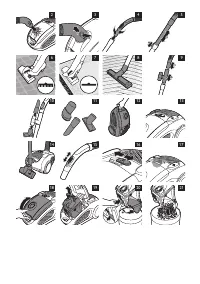


emptying the dust container
- For optimal performance, empty the dust container and clean the filter cone, the HEPA dust
container filter and the foam filter when the dust container full indicator goes on. (Fig. 17)
1
Disconnect the hose from the appliance.
2
Open the cover (Fig. 18).
3
Lift the dust container out of the appliance by its handle (Fig. 19).
4
Hold the dust container over a dustbin and push down the cover latch (1) to open the
bottom cover of the dust container (2). (Fig. 20)
5
Empty the dust container into a dustbin (Fig. 21).
6
To remove the filter cone, turn it anticlockwise in the direction marked by the arrow and lift
it out of the dust container. (Fig. 22)
7
To clean the filter cone, tap it gently against the side of a dustbin (Fig. 23).
8
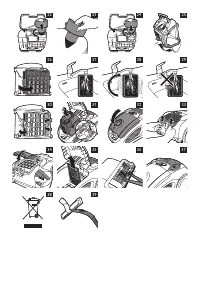
Put the filter cone back into the dust container and turn it clockwise in the direction marked
by the arrow to lock it in place (‘click’) (Fig. 24).
9
Close the bottom cover of the dust container and lock it by pushing it home behind the
cover latch (‘click’) (Fig. 25).
10
Pull the latch of the HEPA dust container filter to open it. (Fig. 26)
,
The spring-loaded button on the dust container pushes the filter out of the hinges.
11
Rinse the pleated side of the HEPA dust container filter under a hot slow-running tap.
- Hold the filter in such a way that the pleated side points upwards and the water flows parallel
to the pleats. Hold the filter at an angle so that the water washes away the dir t inside the
pleats (Fig. 27).
- Turn the filter 180° and let the water flow along the pleats in the opposite direction (Fig. 28).
- Continue this process until the filter is clean.
Never clean the HEPA filter with a brush (Fig. 29).
Note: Cleaning does not restore the original colour of the filter, but does restore its filtration power.
12
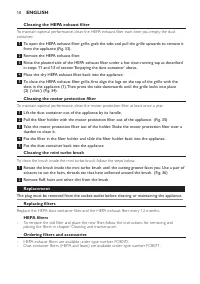
Remove the foam filter and rinse it under a tap.
13
Carefully shake the water from the surface of the HEPA dust container filter. Let the HEPA
dust container filter and the foam filter dry completely before you put them back into the
vacuum cleaner.
14
Place the foam filter back in the dust container.
15
To place the HEPA dust container filter back into the dust container, press the large lug onto
the spring-loaded button, insert the small lugs into the hinges (1) and press the latch home
until it locks in place (‘click’) (2). (Fig. 30)
16
Put the dust container back into the appliance (Fig. 31).
17
Close the cover (‘click’) (Fig. 32).
Note: You cannot close the cover if the dust container has not been placed.
English
9
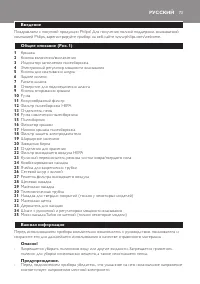
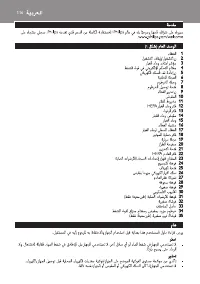
Содержание
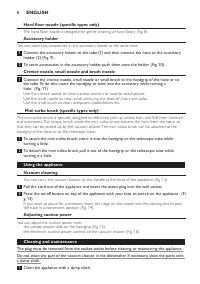
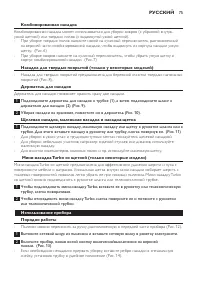
- 75 Держатель для насадок позволяет хранить сразу две насадки.; Щелевая насадка, маленькая насадка и насадка-щетка; или телескопической трубки.; использование прибора
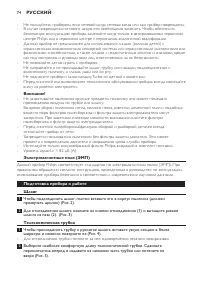
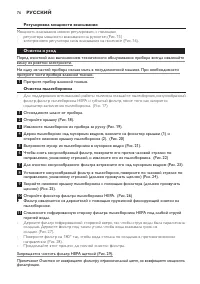
- 76 регулировка мощности всасывания; Мощность всасывания можно регулировать с помощью:; Очистка и уход; протрите части прибора влажной тканью.; Очистка пылесборника; Отсоедините шланг от прибора.
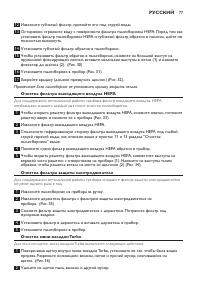
- 77 Очистка фильтра выходящего воздуха HePa; необходимо очищать каждый раз после очистки пылесборника.; Очистка мини-насадки turbo
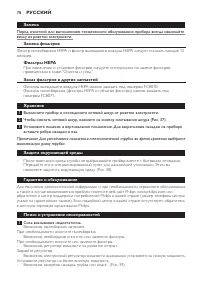
- 78 Замена; вилку из розетки электросети.; Замена фильтров; приведенным в главе “Очистка и уход”.; Заказ фильтров и других запчастей; вставьте ребро насадки в паз.; Защита окружающей среды; в местную торговую организацию Philips.; Поиск и устранение неисправностей; Сила всасывания недостаточна.
- 79 Горит индикатор заполнения пылесборника.


