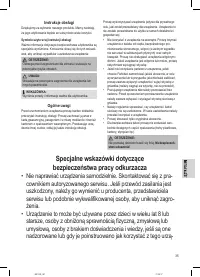
Пылесос Clatronic BS 1308 - инструкция пользователя по применению, эксплуатации и установке на русском языке. Мы надеемся, она поможет вам решить возникшие у вас вопросы при эксплуатации техники.
Если остались вопросы, задайте их в комментариях после инструкции.
"Загружаем инструкцию", означает, что нужно подождать пока файл загрузится и можно будет его читать онлайн. Некоторые инструкции очень большие и время их появления зависит от вашей скорости интернета.


32
BS1308_IM
01.08.17
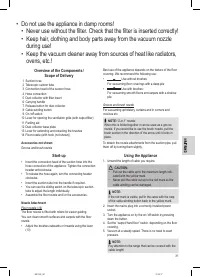
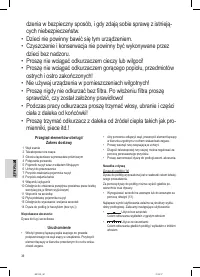
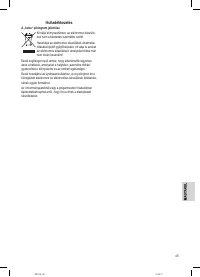
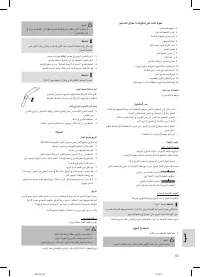
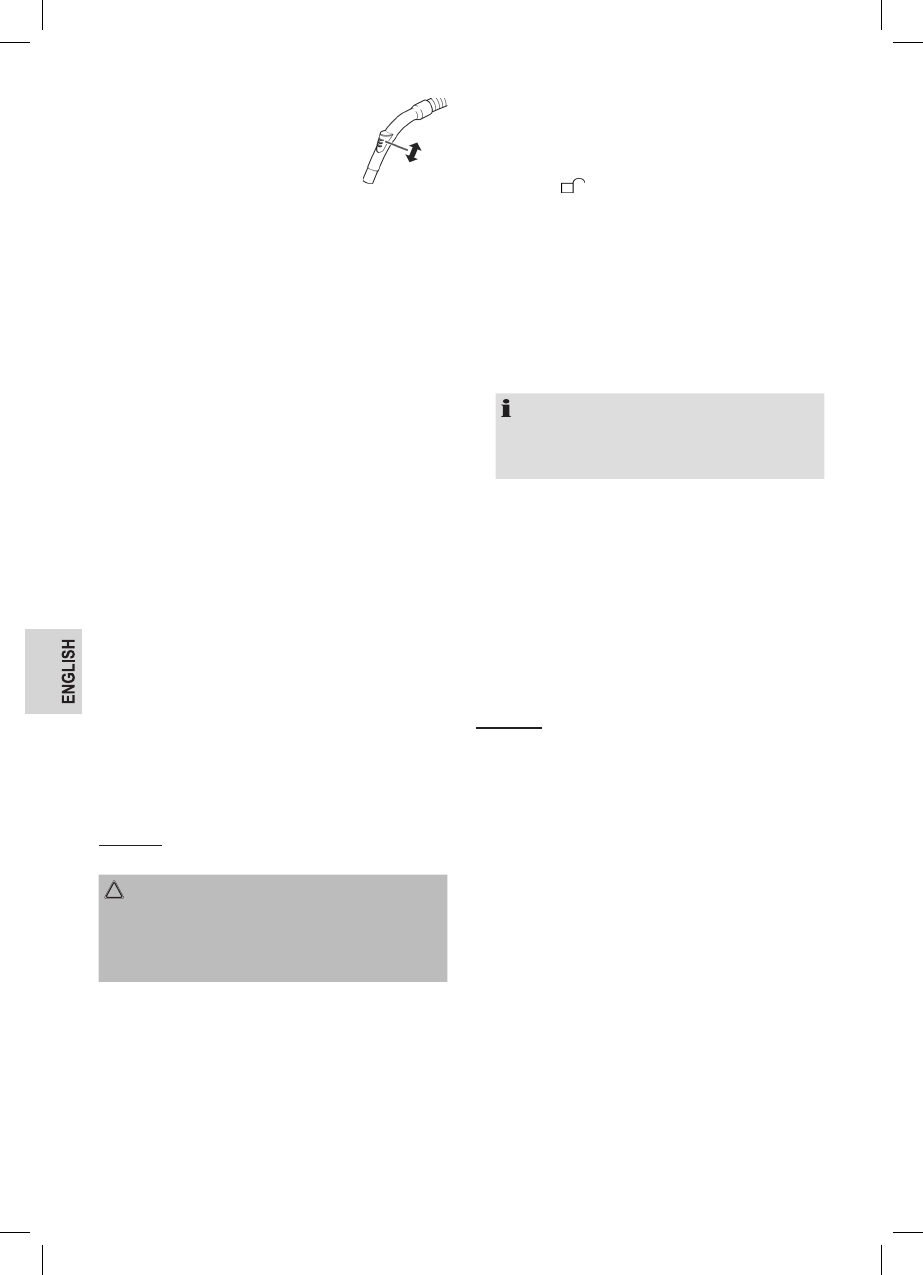
Air Slide
Open the air slide on the hose handle in
order to regulate the airflow or to clear any
particles sticking to the nozzle.
Switching off and Winding up the Mains Lead
1.
Turn the vacuum cleaner off by the on / off switch and
remove the plug from the socket.
2.
Keep the plug in your hand.
3.
Press the cable winding button and guide the cable. Hold
the cable to avoid wrapping.
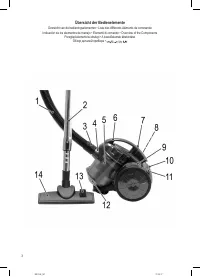
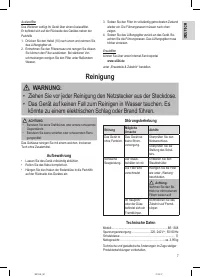
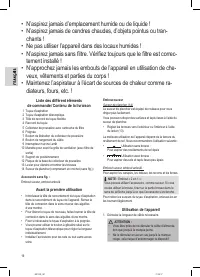
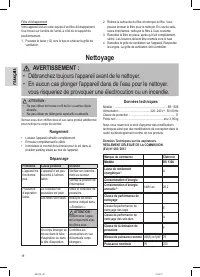
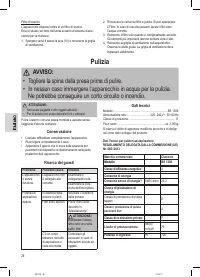
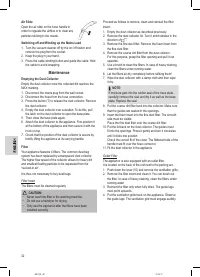
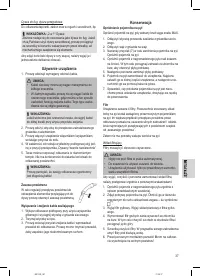
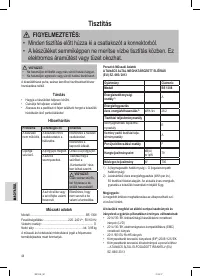
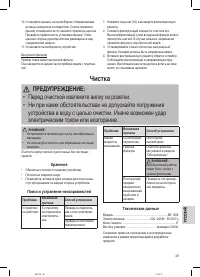
Maintenance
Emptying the Dust Collector
Empty the dust collector once the collected dirt reaches the
MAX marking.
1. Disconnect the mains plug from the wall socket.
2. Disconnect the hose from the hose connection.
3.
Press the button (7) to release the dust collector. Remove
the dust collector.
4.
Empty the dust collector over a dustbin. To do this, pull
the latch on the dust collector to open the base plate.
5.
Then close the base plate again.
6.
Attach the dust collector to the appliance. First position it
at the bottom of the appliance and then secure it with the
hook on top.
7.
Check that the position of the dust collector is secure by
briefly lifting the appliance at its carrying handle.
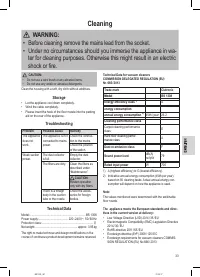
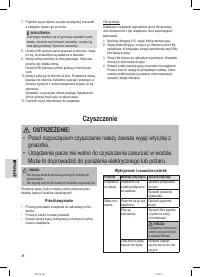
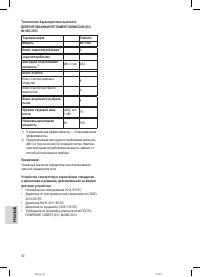
Filter
Your appliance features 4 filters. The common dust bag
system has been replaced by a transparent dust collector.
The higher flow speed of the collector allows for heavy dirt
and smallest floating particles to be separated from the
“sucked-in air”.
It is thus not necessary to buy dust bags.
Filter Insert
The filters must be cleaned regularly.
CAUTION:
•
Never wash the filter in the washing machine.
•
Do not use a hairdryer for drying.
•
Only use the appliance after the filters have been
installed correctly.
Proceed as follows to remove, clean and reinstall the filter
insert:
1.
Empty the dust collector as described previously.
2. Remove the dust collector lid. Turn it anticlockwise in the
direction of
.
3.
Remove the fine dust filter. Remove the foam insert from
the fine dust filter.
4.
Remove the coarse dirt filter from the dust collector.
For this purpose, grasp the filter opening and pull it out
upwards.
5. Use a brush to clean the filters. In case of heavy staining,
clean the filters under running water.
6. Let the filters air-dry completely before refitting them!
7. Wipe the dust collector with a damp cloth and then wipe
it dry.
NOTE:
If moisture gets into the rubber seal of the base plate,
carefully remove the seal and dry it as well as the base
plate. Replace the seal.
8.
Put the coarse dirt filter back into the collector. Make sure
that the guides are seated in the openings.
9.
Insert the foam insert into the fine dust filter. The smooth
side must be visible.
Place the fine dust filter onto the coarse dirt filter.
10.
Put the lid back on the dust collector. The guides must
fit into the openings. Press it gently and turn it clockwise
until it clicks into position
Check the correct fit of the cover. The flattened side of the
handle must fit over the hose connector.
11. Fit the dust collector in the appliance.
Outlet Filter
The appliance is also equipped with an outlet filter.
It is located on the back of the unit next to the parking aid.
1.
Push down the lever (10) and remove the ventilation grille.
2.
Remove the filter insert and clean it. You can brush out
the filter. In case of heavy staining, clean the filters under
running water.
3.
Reinsert the filter only when fully dried. The guide lugs
must point upwards.
4.
Put the ventilation grille back on the appliance. Observe
the guide lugs. The ventilation grid must engage audibly.


