Пылесос Clatronic BS 1281 - инструкция пользователя по применению, эксплуатации и установке на русском языке. Мы надеемся, она поможет вам решить возникшие у вас вопросы при эксплуатации техники.
Если остались вопросы, задайте их в комментариях после инструкции.
"Загружаем инструкцию", означает, что нужно подождать пока файл загрузится и можно будет его читать онлайн. Некоторые инструкции очень большие и время их появления зависит от вашей скорости интернета.


EN
GL
IS
H
33
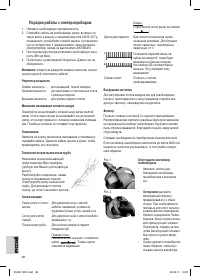
Cable winding device
Pull out the cable up to the maximum length indicated with the
yellow mark. Never pull the cable out up to the red mark as the
cable winding can be damaged. Said damages are not covered
by the warranty.
Winding
Press the cable winding button and guide the cable. Hold the
cable to avoid wrapping.
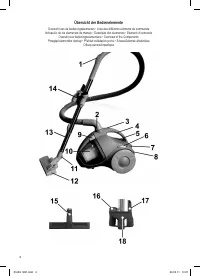
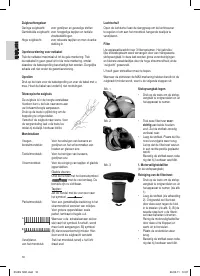
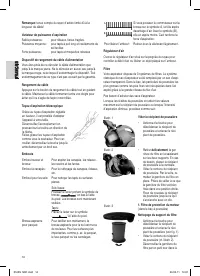
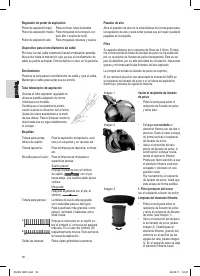
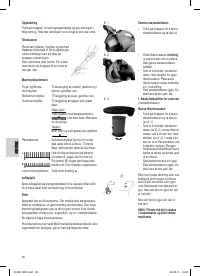
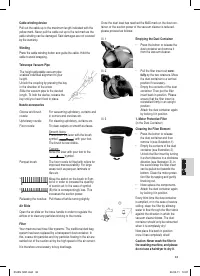
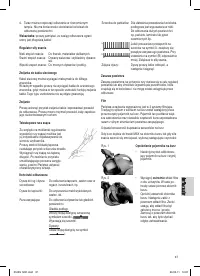
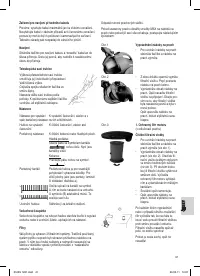
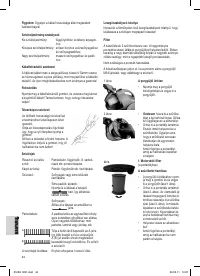
Telescope Vacuum Pipe
The height-adjustable vacuum pipe
enables individual alignment to your
height.
Unlock the coupling by pressing the key
in the direction of the arrow.
Slide the vacuum pipe to the desired
length. To lock the device, release the
key until you hear it lock in place.
Nozzle accessories
Groove and brush
nozzle:
For vacuuming upholstery, curtains and
in corners and crevices etc.
Upholstery nozzle:
For cleaning upholstery, curtains etc.
Floor nozzle:
To clean carpets or smooth surfaces.
Smooth floors:
Press down the lever with the brush
symbol „
“ with your foot.
The brush is now visible..
Carpets:
Move the lever with your foot to the
„
“symbol.
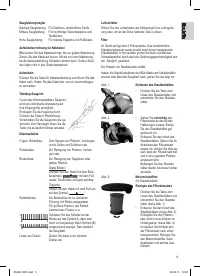
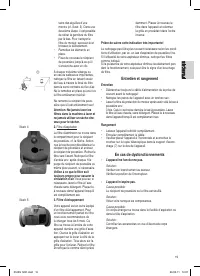
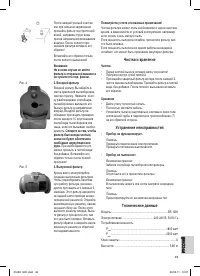
Parquet brush:
The floor nozzle is fitted with rollers for
improved manoeuvrability. For large
areas such as parquet, laminate or
tiles etc.
Move the switch on the brush to Sym-
bol A in order to increase the quantity
of suction air. In the case of symbol
(B) this is correspondingly less. This
increases the suction power.
Releasing the nozzles: Pull these off while turning slightly.
Air Slide
Open the air slide on the hose handle in order to regulate the
airflow or to clear any particles sticking to the nozzle.
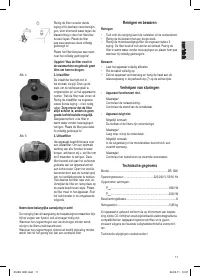
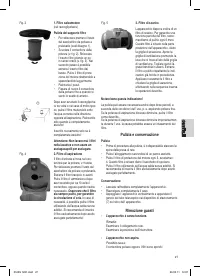
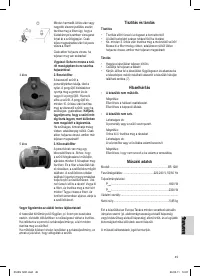
Filter
Your machine has three filter systems. The traditional dust bag
system has been replaced by a transparent dust container. In
this, coarse dirt particles and tiny particles floating in the air are
swirled out of the suction air by the high speed of the air current.
It is therefore unnecessary to buy dust bags.
Once the dust level has reached the MAX mark on the dust con-
tainer, or the suction power of the vacuum cleaner is reduced,
please proceed as follows:
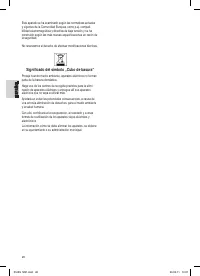
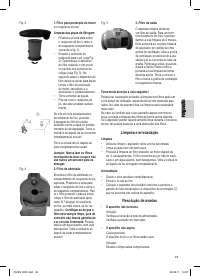
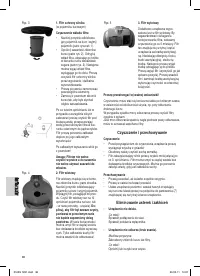
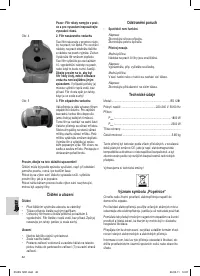
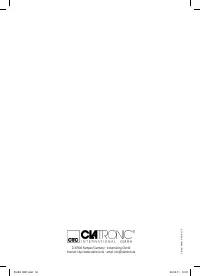
Ill. 1
Emptying the Dust Container
• Press the button to release the
dust container and remove it
from the vacuum cleaner.
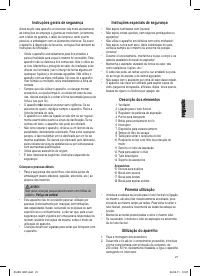
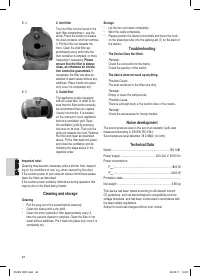
Ill. 2
• Pull the filter insert out
care-
fully
by the two retainers. Move
the dust container to a vertical
position if necessary.
• Empty the contents of the dust
container. Then put the filter
insert back in position. Please
ensure that the filter insert is
reinstalled firmly in an upright
position.
Attach the dust container again
by locking it in position.
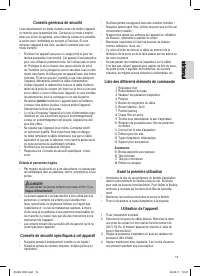
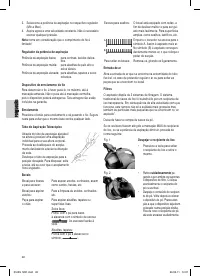
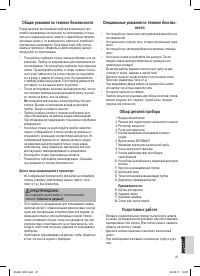
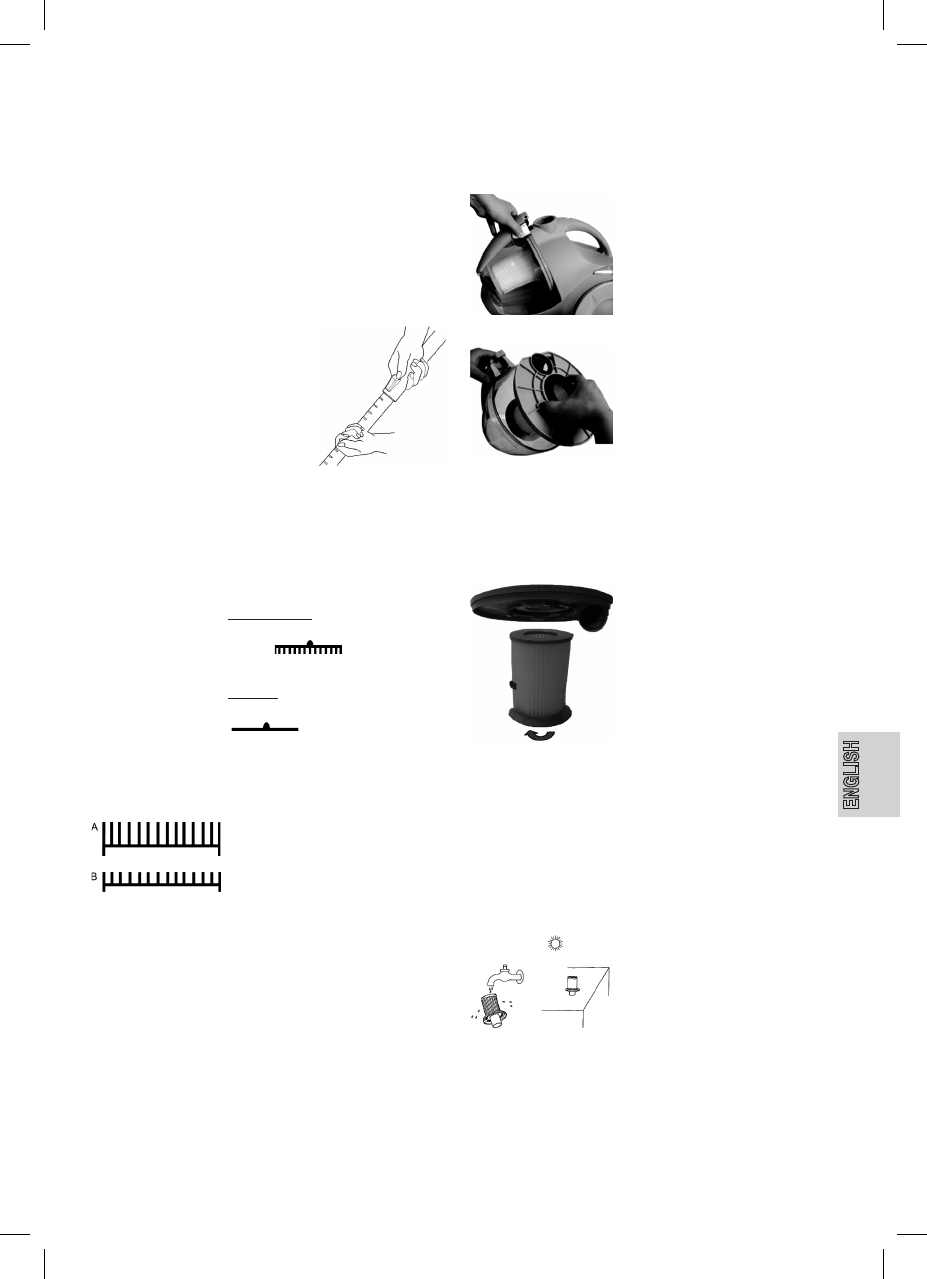
Ill. 3
1. Motor Protective Filter
(in the Dust Container)
Cleaning the Filter Element
• Press the button to release
the dust container and then
remove it (see illustration 1).
• Empty the contents of the dust
container (see Illustration 2).
Unlock the filter insert by turning
it a short distance in a clockwise
direction (see Illustration 3). In
the second step the filter insert
can be pulled out towards the
bottom. Clean the motor protec-
tion filter by tapping and gently
brushing out.
• Now replace the components.
• Attach the dust container again
by locking it in position.
Every third time the dust container
is emptied, or in the case of severe
soiling, clean the filter by allowing
water to flow through the filter fabric
against the direction in which the
vacuum cleaner blows. The dust
container should only be reinserted
when it is completely dry!
Now place this back in position
once it has completely dried!
Caution: Never wash the filter in
the washing machine, and please
do not use a hairdryer to dry it.
05-BS 1281.indd 33
23.03.11 12:01


