Плита Gorenje GI63393AX - инструкция пользователя по применению, эксплуатации и установке на русском языке. Мы надеемся, она поможет вам решить возникшие у вас вопросы при эксплуатации техники.
Если остались вопросы, задайте их в комментариях после инструкции.
"Загружаем инструкцию", означает, что нужно подождать пока файл загрузится и можно будет его читать онлайн. Некоторые инструкции очень большие и время их появления зависит от вашей скорости интернета.


265783
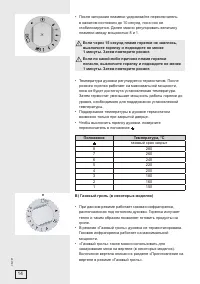
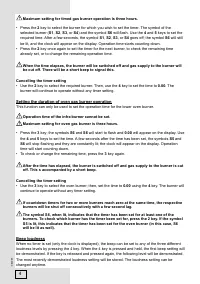
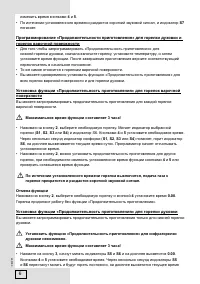
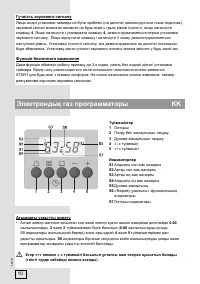
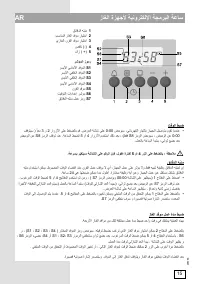
Maximum setting for timed gas burner operation is three hours.
• Press the
2
key to select the burner for which you wish to set the timer. The symbol of the
selected burner (
S1
,
S2
,
S3
, or
S4
) and the symbol
S6
will
fl
ash. Use the
4
and
5
keys to set the
required time. After a few seconds, the symbol
S1
,
S2
,
S3
, or
S4
goes off; the symbol
S6
will still
be lit, and the clock will appear on the display. Operation time starts counting down.
• Press the
2
key once again to set the timer for the next burner, to check the remaining time
already set, or to change the remaining operation time.
When the time elapses, the burner will be switched off and gas supply to the burner will
be cut off. There will be a short beep to signal this.
Cancelling the timer setting
• Use the
2
key to select the required burner. Then, use the
4
key to set the time to
0.00
. The
burner will continue to operate without any timer setting.
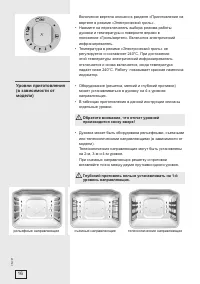
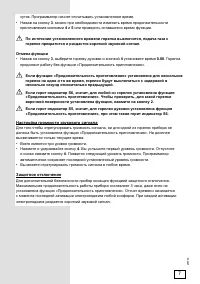
Setting the duration of oven gas burner operation
This function can only be used to set the operation time for the lower oven burner.
Operation time of the infra burner cannot be set.
Maximum setting for oven gas burner is three hours.
• Press the
3
key; the symbols
S6
and
S6
will start to
fl
ash and
0.00
will appear on the display. Use
the
4
and
5
keys to set the time. A few seconds after the time has been set, the symbols
S5
and
S6
will stop
fl
ashing and they are constantly lit; the clock will appear on the display. Operation
time will start counting down.
• To check or change the remaining time, press the
3
key again.
After the time has elapsed, the burner is switched off and gas supply to the burner is cut
off. This s accompanied by a short beep.
Cancelling the timer setting
• Use the
3
key to select the oven burner; then, set the time to
0.00
using the
4
key. The burner will
continue to operate without any timer setting.
If countdown timers for two or more burners reach zero at the same time, the respective
burners will be shut off consecutively with a few second lag.
The symbol S6, when lit, indicates that the timer has been set for at least one of the
burners. To check which burner has the timer been set for, press the 2 key. If the symbol
S5 is lit, this indicates that the timer has been set for the oven burner (in this case, S6
will be lit as well).
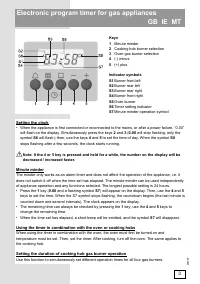
Beep loudness
When no timer is set (only the clock is displayed), the beep can be set to any of the three different
loudness levels by pressing the 4 key. When the 4 key is pressed and held, the
fi
rst beep setting will
be demonstrated. If the key is released and pressed again, the following level will be demonstrated.
The most recently demonstrated loudness setting will be stored. The loudness setting can be
changed anytime.
4


