
Перфораторы Makita HR001GZ - инструкция пользователя по применению, эксплуатации и установке на русском языке. Мы надеемся, она поможет вам решить возникшие у вас вопросы при эксплуатации техники.
Если остались вопросы, задайте их в комментариях после инструкции.
"Загружаем инструкцию", означает, что нужно подождать пока файл загрузится и можно будет его читать онлайн. Некоторые инструкции очень большие и время их появления зависит от вашей скорости интернета.


21 ENGLISH
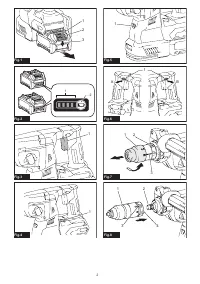
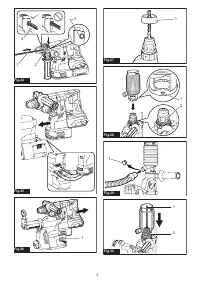
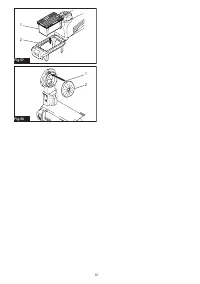
Connecting lanyard (tether strap) to
the hook
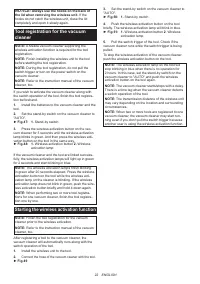
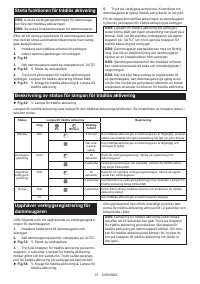
Safety warnings specific for use at height
Read all safety warnings and instructions.
Failure
to follow the warnings and instructions may result in
serious injury.
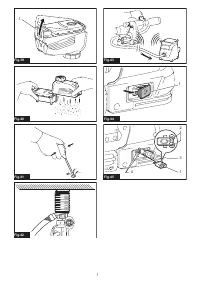
1.
Always keep the tool tethered when working
"at height". Maximum lanyard length is 2 m.
The maximum permissible fall height for lan-
yard (tether strap) must not exceed 2 m.
2.
Use only with lanyards appropriate for this tool
type and rated for at least 8.0 kg.
3.
Do not anchor the tool lanyard to anything on
your body or on movable components. Anchor
the tool lanyard to a rigid structure that can
withstand the forces of a dropped tool.
4.
Make sure the lanyard is properly secured at
each end prior to use.
5.
Inspect the tool and lanyard before each use
for damage and proper function (including
fabric and stitching). Do not use if damaged or
not functioning properly.
6.
Do not wrap lanyards around or allow them to
come in contact with sharp or rough edges.
7.
Fasten the other end of the lanyard outside
the working area so that a falling tool is held
securely.
8.
Attach the lanyard so that the tool will move
away from the operator if it falls.
Dropped tools
will swing on the lanyard, which could cause injury
or loss of balance.
9.
Do not use near moving parts or running
machinery.
Failure to do so may result in a crush
or entanglement hazard.
10.
Do not carry the tool by the attachment device
or the lanyard.
11.
Only transfer the tool between your hands
while you are properly balanced.
12.
Do not attach lanyards to the tool in a way that
keeps switches or trigger-lock (if supplied)
from operating properly.
13.
Avoid getting tangled in the lanyard.
14.
Keep lanyard away from the drilling area of the
tool.
15.
Use a locking carabiner (multi-action and
screw gate type). Do not use single action
spring clip carabiners.
16.
In the event the tool is dropped, it must be
tagged and removed from service, and should
be inspected by a Makita Factory or Authorized
Service Center.
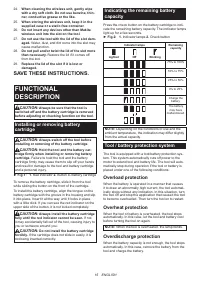
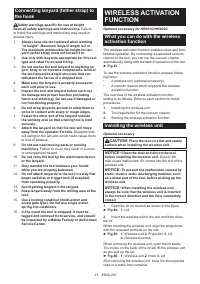
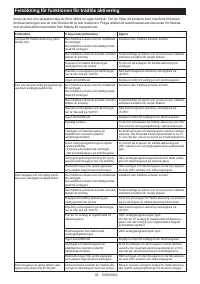
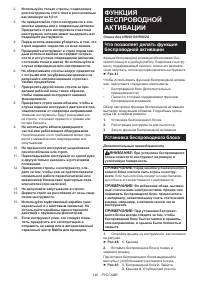
WIRELESS ACTIVATION
FUNCTION
Optional accessory for HR001G/HR002G
What you can do with the wireless
activation function
The wireless activation function enables clean and com-
fortable operation. By connecting a supported vacuum
cleaner to the tool, you can run the vacuum cleaner
automatically along with the switch operation of the tool.
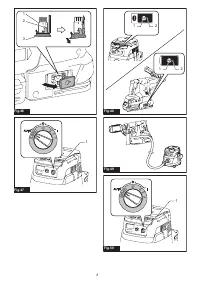
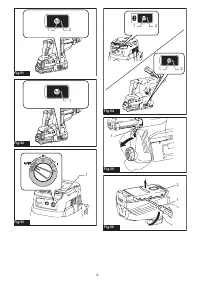
►
Fig.43
To use the wireless activation function, prepare follow-
ing items:
•
A wireless unit (optional accessory)
•
A vacuum cleaner which supports the wireless
activation function
The overview of the wireless activation function
setting is as follows. Refer to each section for detail
procedures.
1.
Installing the wireless unit
2.
Tool registration for the vacuum cleaner
3.
Starting the wireless activation function
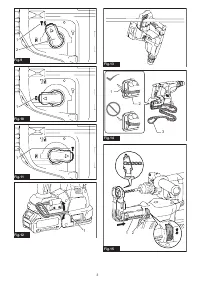
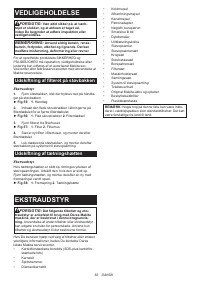
Installing the wireless unit
Optional accessory
CAUTION:
Place the tool on a flat and stable
surface when installing the wireless unit.
NOTICE:
Clean the dust and dirt on the tool
before installing the wireless unit.
Dust or dirt
may cause malfunction if it comes into the slot of the
wireless unit.
NOTICE:
To prevent the malfunction caused by
static, touch a static discharging material, such
as a metal part of the tool, before picking up the
wireless unit.
NOTICE:
When installing the wireless unit,
always be sure that the wireless unit is inserted
in the correct direction and the lid is completely
closed.
1.
Open the lid on the tool as shown in the figure.
►
Fig.44:
1.
Lid
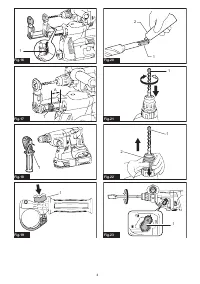
2.
Insert the wireless unit to the slot and then close
the lid.
When inserting the wireless unit, align the projections
with the recessed portions on the slot.
►
Fig.45:
1.
Wireless unit
2.
Projection
3.
Lid
4.
Recessed portion
When removing the wireless unit, open the lid slowly.
The hooks on the back of the lid will lift the wireless unit
as you pull up the lid.
►
Fig.46:
1.
Wireless unit
2.
Hook
3.
Lid
After removing the wireless unit, keep it in the supplied
case or a static-free container.
Содержание
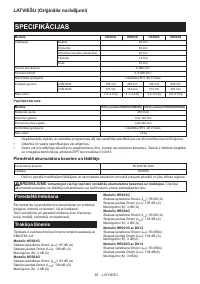
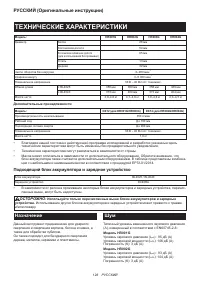
- 128 ТЕХНИЧЕСКИЕ ХАРАКТЕРИСТИКИ; Подходящий блок аккумулятора и зарядное устройство; Назначение
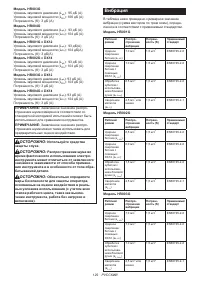
- 129 Вибрация
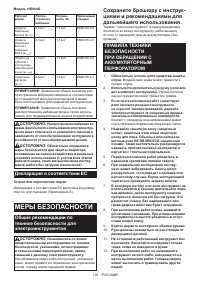
- 130 МЕРЫ БЕЗОПАСНОСТИ; Сохраните брошюру с инструк
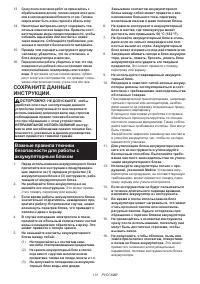
- 131 СОХРАНИТЕ ДАННЫЕ; Важные правила техники
- 133 ОПИСАНИЕ РАБОТЫ; Защита от перегрузки
- 135 Выбор режима действия
- 136 СБОРКА
- 137 ЭКСПЛУАТАЦИЯ
- 138 Сверление с ударным действием
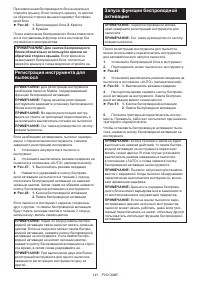
- 140 ФУНКЦИЯ; Что позволяет делать функция
- 141 Регистрация инструмента для
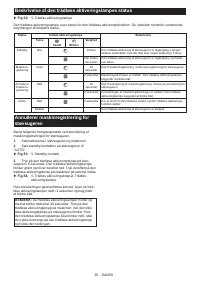
- 142 Описание статуса лампы беспроводной активации
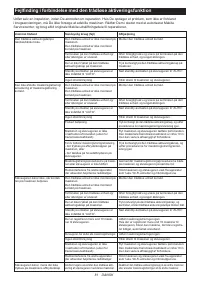
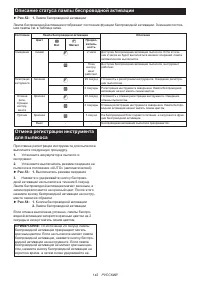
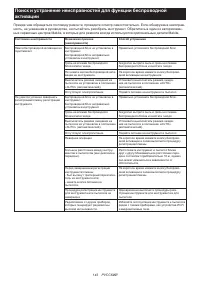
- 143 Поиск и устранение неисправностей для функции беспроводной
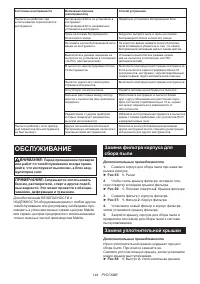
- 144 ОБСЛУЖИВАНИЕ; Замена фильтра корпуса для; Замена уплотнительной крышки
- 145 ДОПОЛНИТЕЛЬНЫЕ
Характеристики

Остались вопросы?Не нашли свой ответ в руководстве или возникли другие проблемы? Задайте свой вопрос в форме ниже с подробным описанием вашей ситуации, чтобы другие люди и специалисты смогли дать на него ответ. Если вы знаете как решить проблему другого человека, пожалуйста, подскажите ему :)


