
Пароочистители Karcher KST 2 - инструкция пользователя по применению, эксплуатации и установке на русском языке. Мы надеемся, она поможет вам решить возникшие у вас вопросы при эксплуатации техники.
Если остались вопросы, задайте их в комментариях после инструкции.
"Загружаем инструкцию", означает, что нужно подождать пока файл загрузится и можно будет его читать онлайн. Некоторые инструкции очень большие и время их появления зависит от вашей скорости интернета.


– 6
The scope of delivery of your appliance is illustrated on
the packaging. Check the contents of the appliance for
completeness when unpacking.
In the event of missing accessories or any transport
damage, please contact your dealer.
Illustrations on fold-out page!
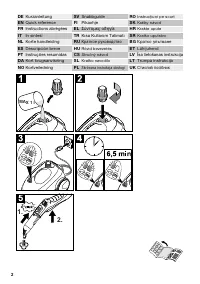
Illustrations on Page 2
Illustration
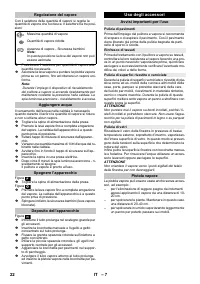
Unscrew the safety lock and fill the steam cleaner
with a max. of 1 litre of water.
Illustration
Screw in safety cap.
Illustration
Plug in the mains plug.
The green and orange indicator lights are on.
Illustration
Wait until the orange indicator lamp goes out.
Illustration
Connect the accessories to the steam gun.
The steam cleaner is ready to use.
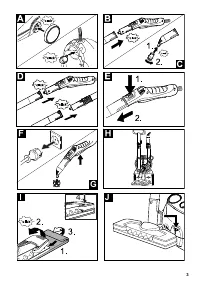
Illustration
Insert steering roller and transport wheels and lock
them.
Illustration
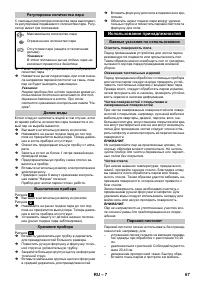
Connect the required accessories (see Chapter
"How to use the accessories“) to the steam gun. In-
sert the open end of the accessory on the steam
gun and push onto the steam gun until the unlock-
ing button of the steam gun locks into place.
Illustration
Use the extension tubes if necessary. To do so,
connect one or both extension tubes to the steam
gun. Insert the required accessories on the free
end of the extension tube.
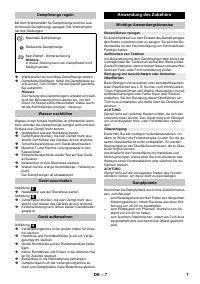
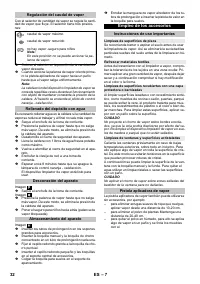
Move the selector switch for the steam volume
back (steam lever locked).
Illustration
To detach the accessory parts, press the unlocking
button and pull the items apart.
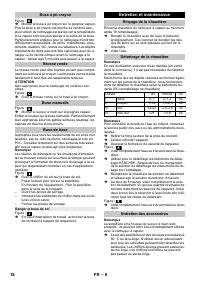
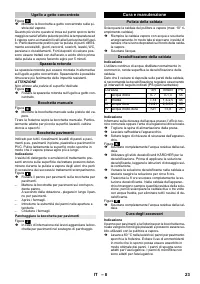
Notes
In case of continuous use of commercially available
distilled water, no descaling of the boiler is neces-
sary.
You can reduce the heating-up time by using warm
water.
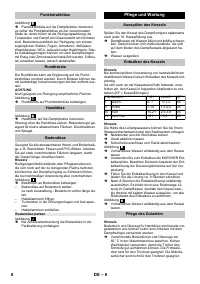
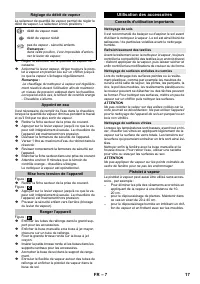
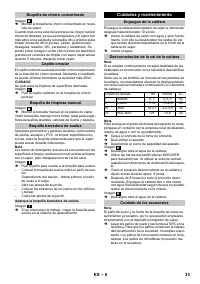
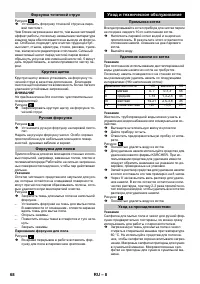
Remove the safety lock from the device.
Illustration
Completely empty the steam boiler to remove exist-
ing water.
Fill the boiler with a maximum of 1 liters of fresh tap
water.
Screw the safety cap back onto the device.
Place the unit securely on a firm surface.
Insert the mains plug into a socket.
Both indicator lamps must illuminate.
The orange indicator lamp goes out after approxi-
mately 8 minutes.
The steam cleaner is ready to use.
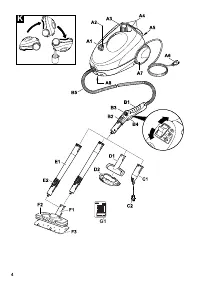
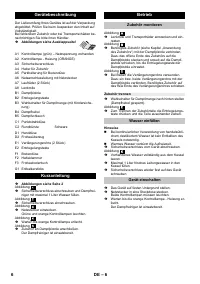
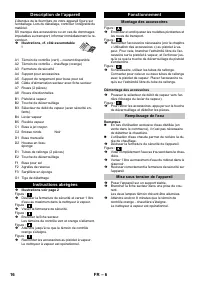
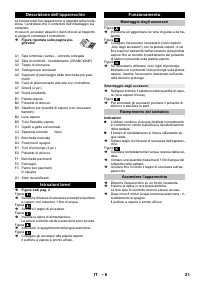
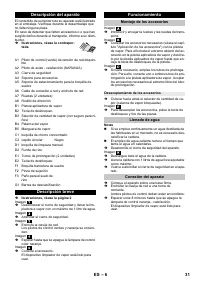
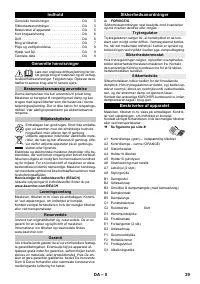
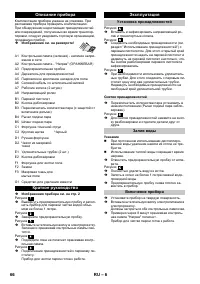
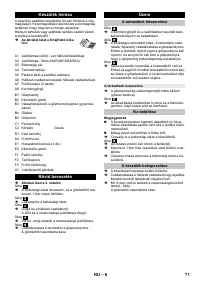
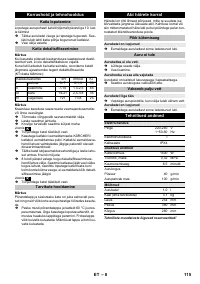
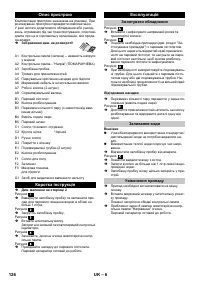
Description of the Appliance
A1 Indicator lamp (green) – line voltage is on
A2 Indicator lamp - heater (ORANGE)
A3 Safety cap
A4 Holder for accessories
A5 Storage holder for floor nozzle
A6 Mains cable with mains plug
A7 Running wheels (2 ea.)
A8 Steering roller
B1 Steam gun
B2 Unlocking button
B3 Selector switch for the steam volume (with child
protection)
B4 Steam lever
B5 Steam hose
C1 Detail nozzle
C2 Round brush
Black
D1 Hand nozzle
D2 Terry cloth cover
E1 Extension tubes (two tubes)
E2 Unlocking button
F1 Floor nozzle
F2 Retaining clip
F3 Terry floor cloth
G1 Decalcifying sticks
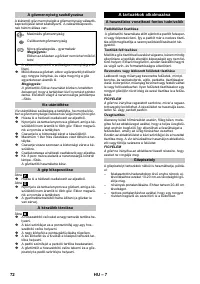
Quick Reference
Operation
Attaching the Accessories
Removing the Accessories
Fill up with water
Turning on the Appliance
11
EN
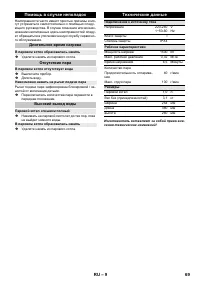
Характеристики

Остались вопросы?Не нашли свой ответ в руководстве или возникли другие проблемы? Задайте свой вопрос в форме ниже с подробным описанием вашей ситуации, чтобы другие люди и специалисты смогли дать на него ответ. Если вы знаете как решить проблему другого человека, пожалуйста, подскажите ему :)


