
Обогреватели Timberk TIR HP1 1800 - инструкция пользователя по применению, эксплуатации и установке на русском языке. Мы надеемся, она поможет вам решить возникшие у вас вопросы при эксплуатации техники.
Если остались вопросы, задайте их в комментариях после инструкции.
"Загружаем инструкцию", означает, что нужно подождать пока файл загрузится и можно будет его читать онлайн. Некоторые инструкции очень большие и время их появления зависит от вашей скорости интернета.


www.timberk.com • electric ceiling heater
5
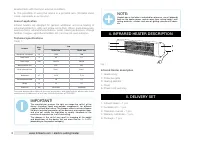
NOTE:
To improve the product quality, the design and technical
specifications of the infrared heater, as well as its delivery set can be
modified by the manufacturer without preliminary notification.
NOTE:
Depending on material and design of ceiling structural elements, the
heater is secured onto appropriate fasteners chosen on basis of the
strength condition. Strength of the ceiling or structural elements, to
which the heater is secured, should be sufficient to endure 5-fold
weight of the heater.
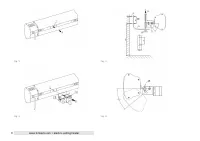
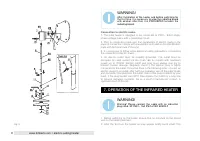
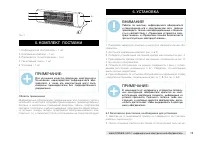
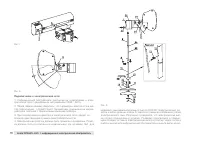
1. Expand the original packaging and carefully remove the heater
2. Remove the mounting kit
3. Collect the installation wall mount holes as shown in Fig. 2
4. Connect the hardware to the instructions shown in Fig. 3, 4, 5
5. Hang the heater on the smooth surface of the wall with the observance
of the distance specified in item 6.1. Make sure that the mounting screws
firmly fastened
6. If necessary, install the heater, bracket, follow the instructions shown on
Fig. 6, 7, 8, 9 and specified in item 6.3
6.1 Safe distances required for installation
1. Never install the unit on the surface of plastic, nylon, cardboard and
other
2. After installing the unit, the distance from the floor should not be less
than 1.8 meters
3. Distance from a wall to a device must be at least of 0.65 meters
4. The distance from the device to a ceiling should be no less than 0.3
meters
5. The distance from the protective grille device to easily flammable (cloth,
paper, plastic and other) and combustible materials must be at least 1.5-2
meters
6. The distance from the device to find the man should be not less than
1 meter
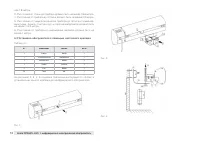
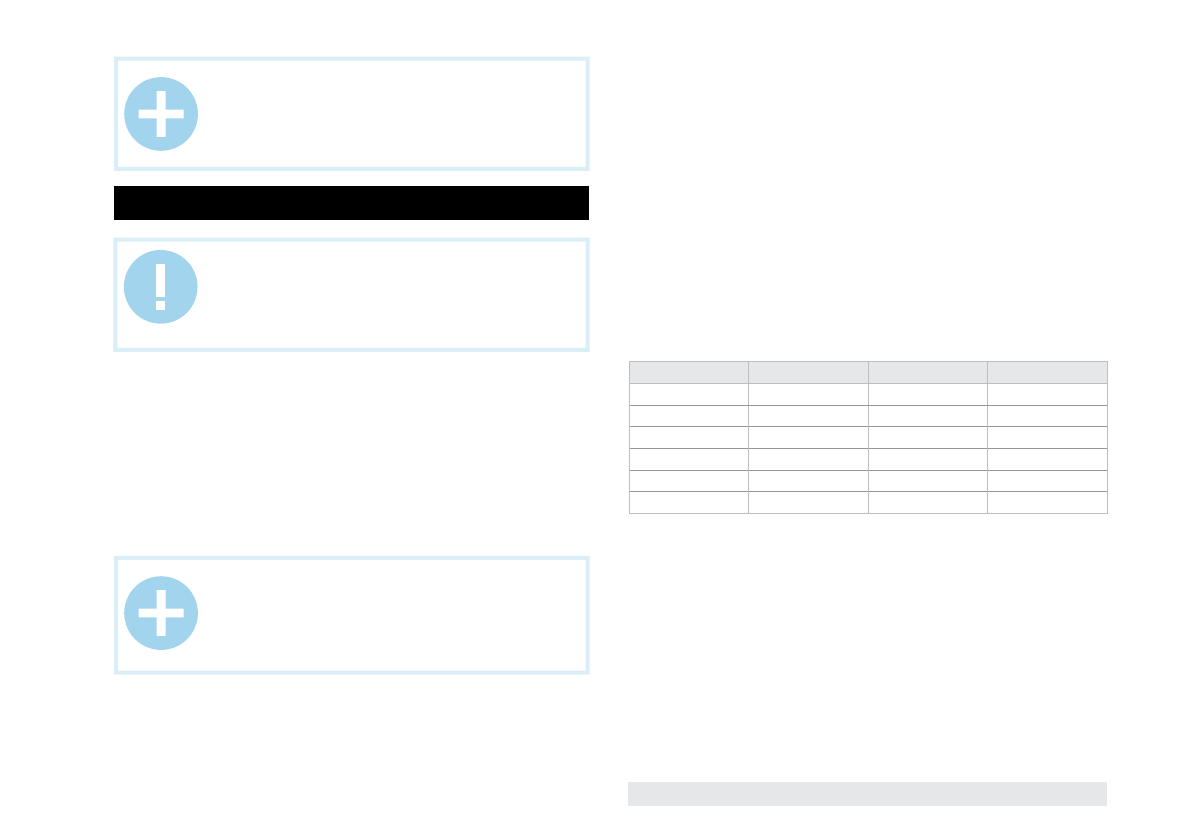
6.2 Installation of the heater using the wall fasteners
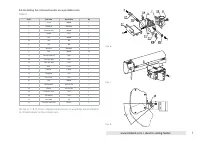
Table 2.
On Fig. 2, 3, 4, 5 shows stepwise instructions on assembly and installation
of wall fasteners for infrared heater.
6. INSTALLATION
WARNING!
Mounting of the infrared heater and its connection to the
electric mains should be carried out only by qualified
specialists according to the Electrical Installation
Regulations and Power System Safety Standards.
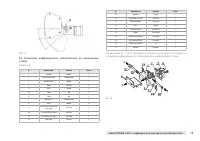
№
Parts name
Specification
Qty
1
Screw
M6x20
1
2
Bracket set
Aluminum
1
3
Expansion bolt
M6x60
2
4
Hanger
STEEL
1
5
Bolt
M8х60
1
5A
Nut
M8
1
Содержание
- 2 бора без специального уведомления.; Instruction manual; Инфракрасный; Руководство по эксплуатации включает в себя гаратийный талон
- 11 Уважаемый покупатель!; МЕРЫ ПРЕДОСТОРОЖНОСТИ
- 12 инфракрасный электрический обогреватель; РАБОЧИЕ ХАРАКТЕРИСТИКИ; Принцип работы; Производитель рассматривает данный вид полом-
- 13 онным обогревом, где энергия существенно расходуется на обогрев; Технические характеристики; ОПИСАНИЕ ИНФРАКРАСНОГО
- 14 Область применения; Инфракрасные обогреватели предназначены для основного, допол-; КОМПЛЕКТ ПОСТАВКИ; Раскройте заводскую упаковку и аккуратно извлеките из нее обо-; Безопасное расстояние, необходимое для установки; Никогда не устанавливайте прибор на поверхности из пластика,
- 15 Установка обогревателя с помощью настенного крепежа; На рисунках 2, 3, 4, 5 показана поэтапная инструкция по сборке и
- 16 Установка инфракрасного обогревателя на переносную; На рисунках 6, 7, 8, 9 показана поэтапная инструкция по сборке и
- 17 Подключение к электрической сети
- 18 ЭКСПЛУАТАЦИЯ ИНФРАКРАСНОГО; Пожалуйста, подключайте кабель питания к розетке; ЭЛЕКТРИЧЕСКАЯ СХЕМА
- 20 Гарантийные обязательства; Если изделие использовалось в соответствии с его
- 22 Изготовитель не несет гарантийных обязательств за изделие в
- 23 Бланк гарантийного талона.; Заполняется фирмой-продавцом; Без подписи покупателя Гарантийный талон является недей-; ности (если прибор проверялся в его присутствии при продаже) приоб-
- 24 Отрывной талон«А»
- 25 Заполняется сервисным центром
- 28 Если вы заметили ошибку в руководстве по эксплуатации,


