Обогреватели Ardesto OFH-E09X2 - инструкция пользователя по применению, эксплуатации и установке на русском языке. Мы надеемся, она поможет вам решить возникшие у вас вопросы при эксплуатации техники.
Если остались вопросы, задайте их в комментариях после инструкции.
"Загружаем инструкцию", означает, что нужно подождать пока файл загрузится и можно будет его читать онлайн. Некоторые инструкции очень большие и время их появления зависит от вашей скорости интернета.


EN
16
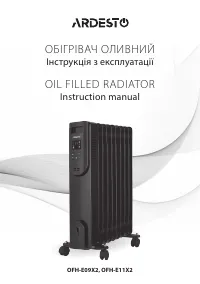
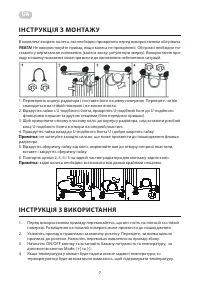
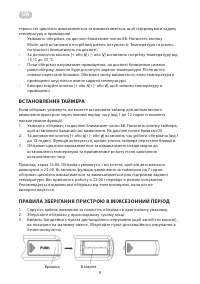
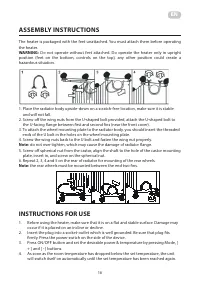
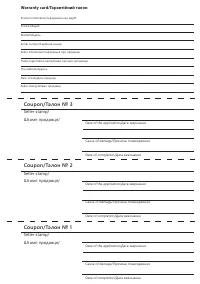
ASSEMBLY INSTRUCTIONS
The heater is packaged with the feet unattached. You must attach them before operating
the heater.
WARNING:
Do not operate without feet attached. Do operate the heater only in upright
position (feet on the bottom, controls on the top), any other position could create a
hazardous situation.
1. Place the radiator body upside-down on a scratch-free location, make sure it is stable
and will not fall.
2. Screw off the wing nuts from the U-shaped bolt provided, attach the U-shaped bolt to
the U-facing flange between first and second fins (near the front cover).
3. To attach the wheel mounting plate to the radiator body, you should insert the threaded
ends of the U bolt in the holes on the wheel mounting plate.
4. Screw the wing nuts back to the U bolt and fasten the wing nut properly.
Note:
do not over tighten, which may cause the damage of radiator flange.
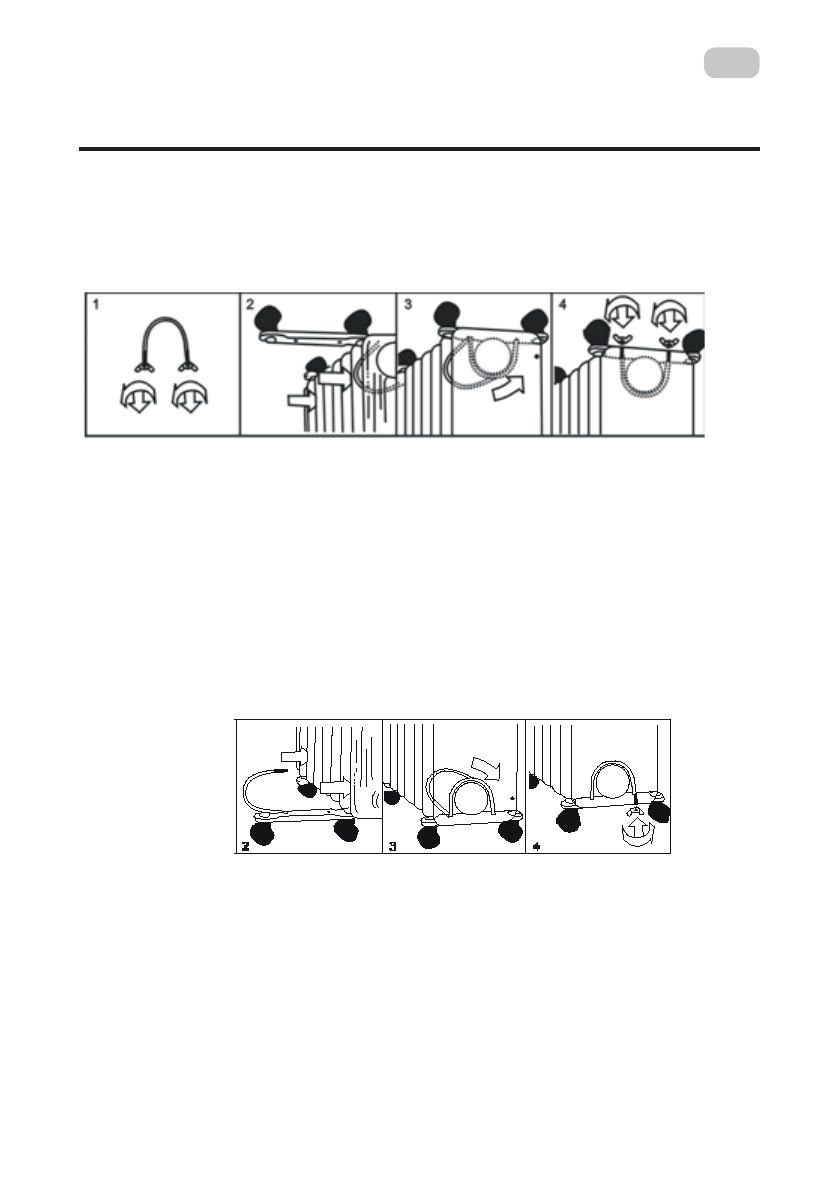
5. Screw off spherical nut from the castor, align the shaft to the hole of the castor mounting
plate, insert in, and screw on the spherical nut.
6. Repeat 2, 3, 4 and 5 on the rear of radiator for mounting of the rear wheels.
Note:
the rear wheels must be mounted between the end two fins.
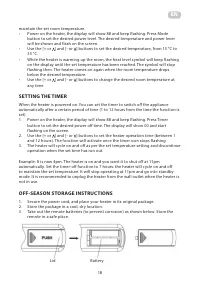
INSTRUCTIONS FOR USE
1. Before using the heater, make sure that it is on a flat and stable surface. Damage may
occur if it is placed on an incline or decline.
2. Insert the plug into a socket-outlet which is well grounded. Be sure that plug fits
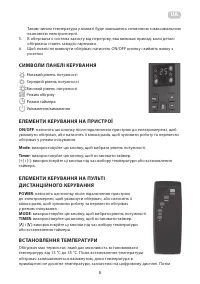
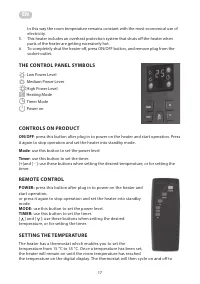
firmly. Press the power switch on the side of the device.
3. Press ON/OFF button and set the desirable power & temperature by pressing Mode, [
+ ] and [ - ] buttons.
4. As soon as the room temperature has dropped below the set temperature, the unit
will switch itself on automatically until the set temperature has been reached again.
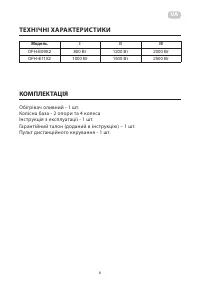
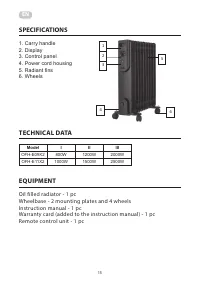
Характеристики

Остались вопросы?Не нашли свой ответ в руководстве или возникли другие проблемы? Задайте свой вопрос в форме ниже с подробным описанием вашей ситуации, чтобы другие люди и специалисты смогли дать на него ответ. Если вы знаете как решить проблему другого человека, пожалуйста, подскажите ему :)
