Мойки высокого давления Karcher K 3 500 Garden - инструкция пользователя по применению, эксплуатации и установке на русском языке. Мы надеемся, она поможет вам решить возникшие у вас вопросы при эксплуатации техники.
Если остались вопросы, задайте их в комментариях после инструкции.
"Загружаем инструкцию", означает, что нужно подождать пока файл загрузится и можно будет его читать онлайн. Некоторые инструкции очень большие и время их появления зависит от вашей скорости интернета.

– 6
16 Spray lance with Dirtblaster
17 Spray lance with pressure regulation
(Vario Power)
Optional
18 Water filter (order no. 4.730-059)
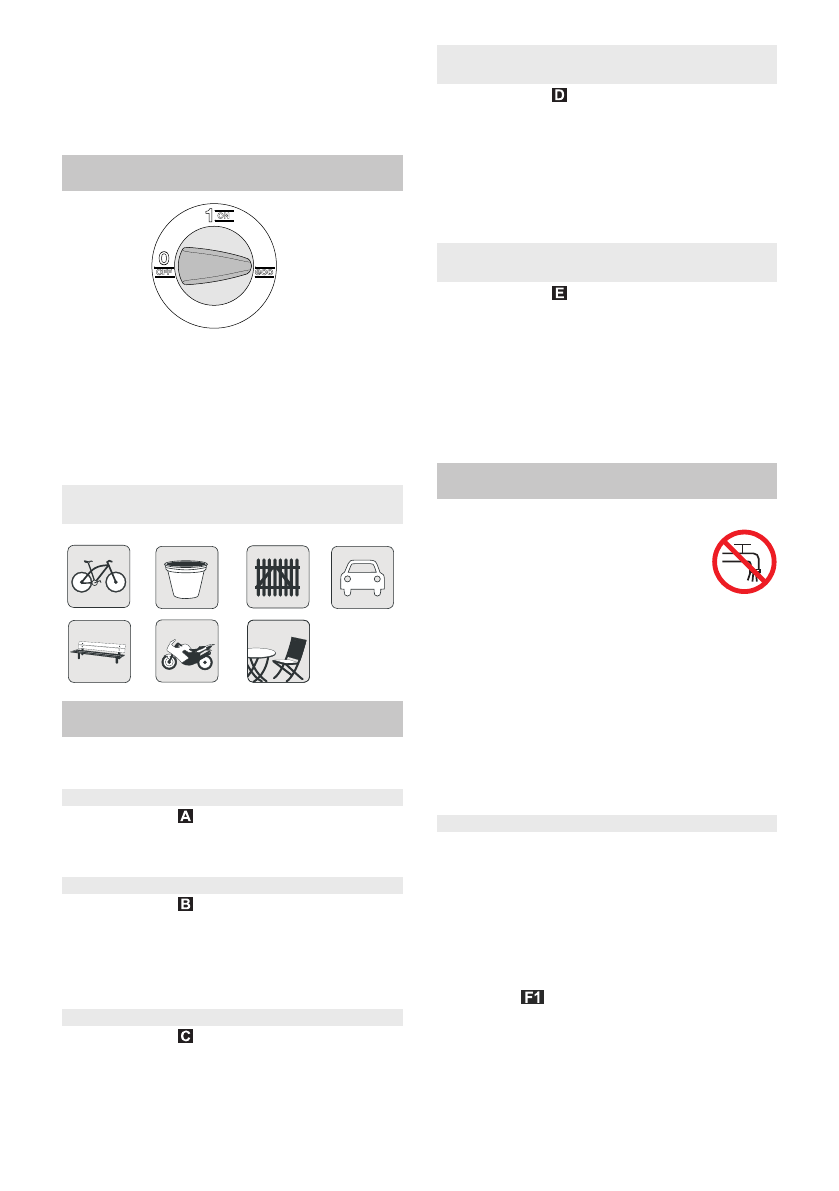
There are the switch positions "1/ON" and
"eco" to switch the appliance on.
Note:
The switch position "eco" allows the
control of pressure and leads to water and
energy savings of approx. 20% by using the
spray lance.
Mount loose parts delivered with appliance
prior to start-up.
Illustration
Secure the wheels using the included
plug. Align the plug properly!
Illustration
Place the transport handle into the in-
take until you feel resistance. Use the
heel of your hand or a soft rubber mallet
to position it.
Illustration
Hook the accessories net into the hooks
shown in the illustration.
Illustration
Push the high pressure hose into the
trigger gun until it locks audibly.
Note:
Make sure the connection nipple
is aligned correctly.
Check the secure connection by pulling
on the high pressure hose.
Illustration
Insert the high pressure hose tightly into
the quick coupling on the appliance, it
will lock in audibly.
Note:
Make sure the connection nipple
is aligned correctly.
Check the secure connection by pulling
on the high pressure hose.
몇
Warning
According to the applicable regula-
tions, the appliance must never be
used on the drinking water supply
without a system separator. Use a
suitable system separator manufactured by
KÄRCHER; or, as an alternative, a system
separator as per EN 12729 Type BA. Water
flowing through a system separator is con-
sidered non-drinkable.
Caution
Always connect the system separator to
the water supply, never directly to the appli-
ance!
Observe regulations of water supplier.
For connection values, see type plate/tech-
nical data.
Use a fibre-reinforced water hose (not
included) with a standard coupling.
(Minimum diameter 1/2 inch (13 mm),
minimum length 7.5 m).
Figure
1 Screw the coupling element to the wa-
ter connection on the appliance.
2 Push the water supply hose onto the
coupling unit.
Switch position "eco"
Recommended application ranges for
switch position "eco"
Before Startup
Install wheels
Install the transport handle
Attach the accessories net
Connect the high pressure hose to the
hand spray gun
Connect high pressure hose to the
appliance
Water supply
Water supply from mains
15
EN


