
Морозильные камеры Kraft KF-HS230WNF - инструкция пользователя по применению, эксплуатации и установке на русском языке. Мы надеемся, она поможет вам решить возникшие у вас вопросы при эксплуатации техники.
Если остались вопросы, задайте их в комментариях после инструкции.
"Загружаем инструкцию", означает, что нужно подождать пока файл загрузится и можно будет его читать онлайн. Некоторые инструкции очень большие и время их появления зависит от вашей скорости интернета.


37
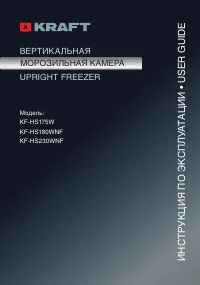
ВЕРТИКАЛЬНАЯ МОРОЗИЛЬНАЯ КАМЕРА
UPRIGHT FREEZER
ИНСТРУКЦИЯ ПО ЭКСПЛУАТАЦИИ • USER GUIDE
manufacturer’s instructions for a 4 star frozen food compartment and should be put in
the freezer as soon as possible after purchase. Your freezer provides for long
term storage which generally means up to 3 months but the length of the time
can vary and it is important to follow the recommended times shown on packets of
commercially frozen food. Do not place sealed containers or carbonated liquids such
as fizzy drinks into the freezer as it creates pressure on the container which may cause
it to explode leading to damage to the freezer. Ice cubes and ice lollies should not be
consumed immediately after removal from the freezer as it may result in low temperature
skin abrasions.
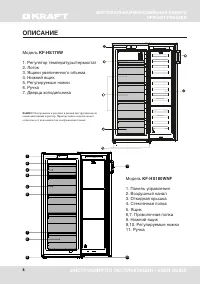
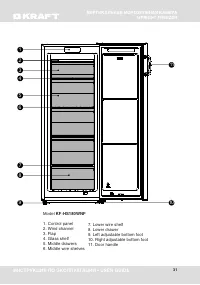
For the model
KF-HS180WNF
and
KF-HS230WNF.
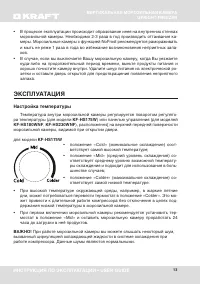
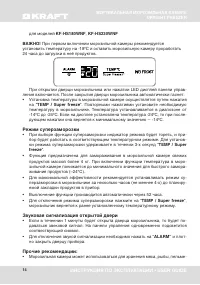
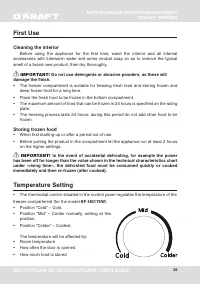
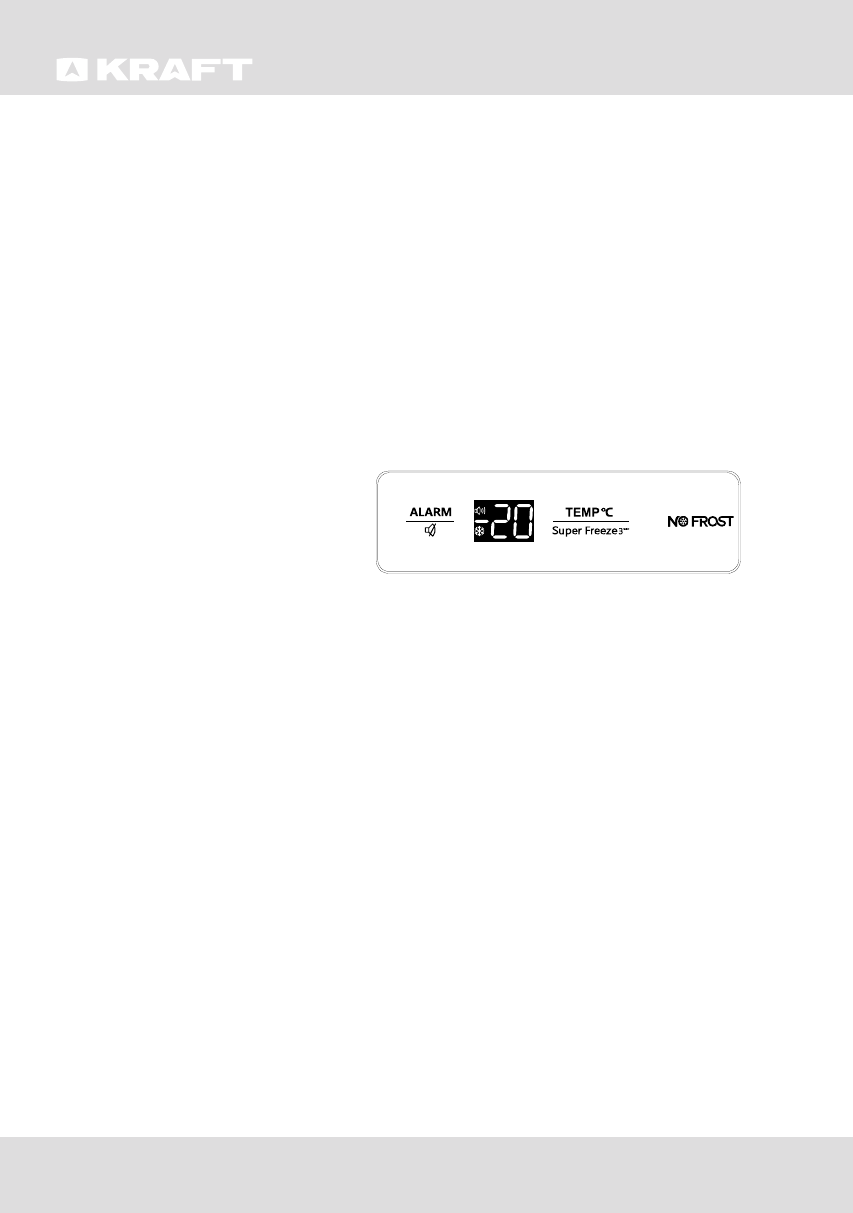
The control panel that controls the temperature inside the freezer compartment
is located inside the freezer. Use your appliance according to the following control
regulations, your appliance has the corresponding functions and modes as the control
panel showed in the picture below.
When the appliance is powered on
for the first time, the backlighting
of the icons on display panel starts
working. The doors are closed, the
back lighting will turn off
Controlling the temperature
IMPORTANT!
For optimum food preservation, we recommend that when you start
your refrigerator for the first time, the temperature for the freezer is set to -18°C. If you
want to change the temperature, follow the instructions below.
NOTE:
High temperature setting will
accelerate food waste.
CAUTION!
When you set a temperature, you set an average temperature for the whole refrigerator
cabinet. Temperatures inside compartment may vary from the temperatures displayed
on the panel, depending on how much food you store and where you place it. High or low
room temperature may also affect the actual temperature inside the appliance
.
Mode
Super Freeze
Super Freeze will quickly lower the temperature within the freezer so food will freeze
faster. This can lock in the vitamins and nutrients of fresh food and keep food fresh
longer.
• Press “TEMP / Super freeze” button after 3 seconds to select the Super Freeze
function. The screen display “-24” and the indicator will be on.
• For the maximum amount of food to be frozen, several hours before placing fresh
food in the freezer compartment, switch on super freezing to prevent an unwanted
temperature rise.
• If the freezing capacity according to the rating plate is to be used, switch on super
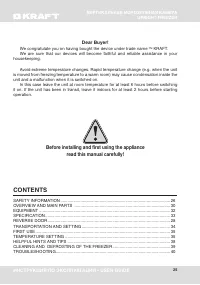
Содержание
- 3 Содержание
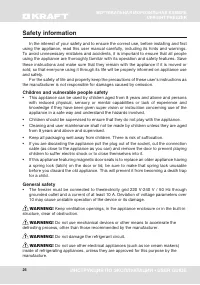
- 4 МЕРЫ БЕЗОПАСНОСТИ; Общая информация; ханических повреждений, а также работоспособность.; Использование детьми и недееспособными людьми
- 6 Для подключения к электросети тщательно соблюдайте
- 7 титесь в авторизованный сервисный центр.
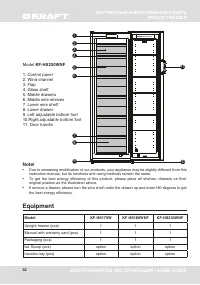
- 8 ОПИСАНИЕ; Модель
- 9 КОМПЛЕКТАЦИЯ
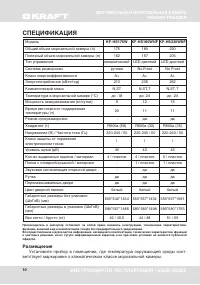
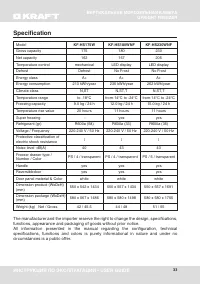
- 10 СПЕЦИФИКАЦИЯ; Размещение
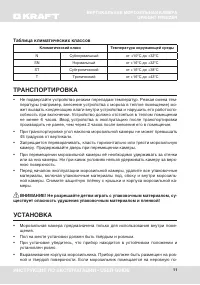
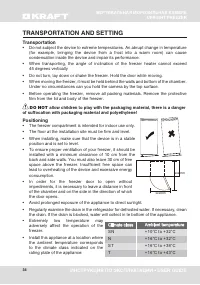
- 11 ТРАНСПОРТИРОВКА; 5 градусов от вертикали.; ВНИМАНИЕ! Не разрешайте детям играть с упаковочным материалом, су-; УСТАНОВКА
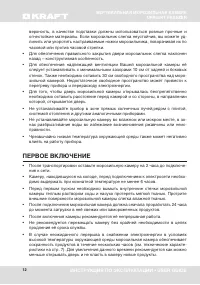
- 12 ПЕРВОЕ ВКЛЮЧЕНИЕ
- 13 ЭКСПЛУАТАЦИЯ; Настройка температуры
- 14 TEMP / Super freeze; Режим суперзаморозки; freeze; Звуковая сигнализация открытой двери; ALARM”
- 15 помещения их в морозильник.
- 16 ся хранить в дверной корзине слишком много продуктов.; ОБСЛУЖИВАНИЕ; Советы по экономии электроэнергии; РАЗМОРАЖИВАНИЕ И ОЧИСТКА; РАЗМОРАЖИВАНИЕ
- 17 стите в прохладное место.; ОЧИСТКА; для предотвращения появления запаха.
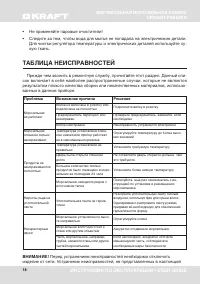
- 18 ТАБЛИЦА НЕИСПРАВНОСТЕЙ; Перед устранением неисправностей необходимо отключить
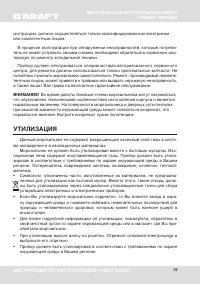
- 19 Во время работы боковые стенки морозильника могут нагреваться,; УТИЛИЗАЦИЯ; ме охлаждения и в изоляционных материалах.
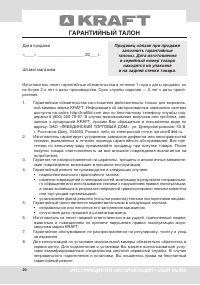
- 20 Дата продажи; ГАРАНТИЙНЫЙ ТАЛОН
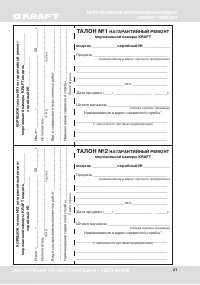
- 21 НА ГАРАНТИЙНЫЙ РЕМОНТ; ТАЛОН No2
- 23 ТАЛОН No3; ТАЛОН No4
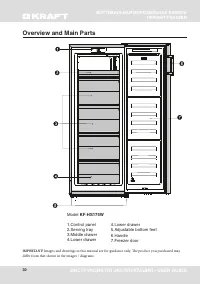
- 30 Overview and Main Parts; Model


