Mikrotik RouterBOARD RB951Ui-2HnD - Инструкция по эксплуатации
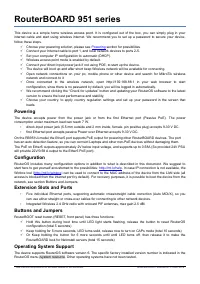
Руководство пользователя для точки беспроводного доступа серии RouterBOARD 951 содержит основные процедуры настройки, включая варианты питания, начальную конфигурацию через веб-интерфейс, а также аппаратные элементы управления, такие как порты расширения и функции кнопок. Документ также охватывает соответствие нормативным требованиям — например, сертификаты FCC и CE — для соблюдения регламентов по помехам, радиационному воздействию и региональному использованию частот. Ключевые темы включают эксплуатационные требования, рабочие процессы настройки и стандарты безопасности для беспроводного развертывания.
Содержание:
- Страница 1 – Настройка и аппаратная конфигурация серии RouterBOARD 951
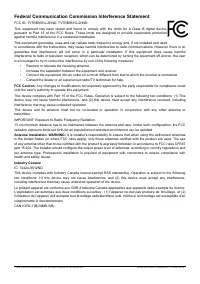
- Страница 2 – Соответствие радиочастотным требованиям и правила безопасности
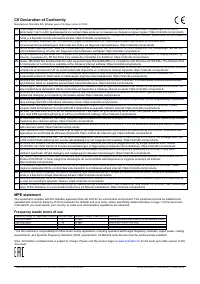
- Страница 3 – Декларация CE и спецификации использования частот
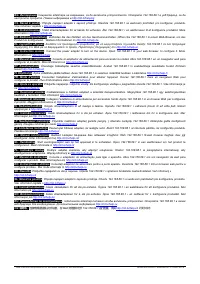
- Страница 4 – Инструкции по настройке через веб-интерфейс
RouterBOARD 951 series
This device is a simple home wireless access point. It is configured out of the box, you can simply plug in your
internet cable and start using wireless internet. We recommend you to set up a password to secure your device,
follow these steps.
Choose your powering solution, please see
Connect your Internet cable to port 1, and local network devices to ports 2-5.
Set your computer IP configuration to
automatic
(DHCP).
Wireless access point mode is enabled by default.
Connect your direct input power jack if not using POE, to start up the device.
The device will boot up and after short beep Wireless network will be available for connecting.
Open network connections on your pc, mobile phone or other device and search for MikroTik wireless
network and connect to it.
Once connected to the wireless network, open http://192.168.88.1 in your web browser to start
configuration, since there is no password by default, you will be logged in automatically.
We recommend clicking the “Check for updates” button and updating your RouterOS software to the latest
version to ensure the best performance and stability,
Choose your country, to apply country regulation settings and set up your password in the screen that
loads.
Powering
The device accepts power from the power jack or from the first Ethernet port (Passive PoE). The power
consumption under maximum load can reach 7 W.
•
direct-input power jack (5.5 mm outside and 2 mm inside, female, pin positive plug) accepts 9-30 V DC.
•
first Ethernet port accepts passive Power over Ethernet accepts 9-30 V DC.
On the RB951Ui model the Ether5 port supports PoE output for powering other RouterBOARD devices. The port
has an auto detection feature, so you can connect Laptops and other non-PoE devices without damaging them.
The PoE on Ether5 outputs approximately 2V below input voltage, and supports up to 0.58A (So provided 24V PSU
will provide 22V/0.58 A output to the Ether5 PoE port).
Configuration
RouterOS includes many configuration options in addition to what is described in this document. We suggest to
start here to get yourself accustomed to the possibilities:
. In case IP connection is not available, the
Winbox tool (
) can be used to connect to the MAC address of the device from the LAN side (all
access is blocked from the internet port by default). For recovery purposes, it is possible to boot the device from the
network, see section Buttons and Jumpers.
Extension Slots and Ports
•
Five individual Ethernet ports, supporting automatic cross/straight cable correction (Auto MDI/X), so you
can use either straight or cross-over cables for connecting to other network devices.
•
Integrated Wireless 2.4 GHz radio with onboard PIF antennas, max gain 2.5 dBi
Buttons and Jumpers
RouterBOOT reset button (RESET, front panel) has three functions:
Hold this button during boot time until LED light starts flashing, release the button to reset RouterOS
configuration (total 5 seconds)
Keep holding for 5 more seconds, LED turns solid, release now to turn on CAPs mode (total 10 seconds)
Or Keep holding the button for 5 more seconds until until LED turns off, then release it to make the
RouterBOARD look for Netinstall servers (total 15 seconds)
Operating System Support
The device supports RouterOS software version 6. The specific factory installed version number is indicated in the
RouterOS menu /system resource. Other operating systems have not been tested.
See mikrotik.com/products for the latest version of this document.
Document #49417 Modified on: 21.MAY.2019
"Загрузка инструкции" означает, что нужно подождать пока файл загрузится и можно будет его читать онлайн. Некоторые инструкции очень большие и время их появления зависит от вашей скорости интернета.
Была ли эта инструкция полезной?
Об этой инструкции
- Бренд
- Mikrotik
- Модель
- RouterBOARD RB951Ui-2HnD
- Тип документа
- Инструкция по эксплуатации
- Категория
- Роутер
- Язык(и)
- Русский
- Страницы
- 4
- Размер файла
- 283,1 KB
- Формат
Краткое содержание
Инструкции по вариантам питания, процедурам первоначальной настройки, настройке через веб-браузер, сведения о портах расширения, функциях кнопок и поддерживаемых операционных системах....
Заявления о соответствии требованиям FCC и Министерства промышленности Канады, подробно описывающие правила помех, требования к установке антенн, правила безопасности при воздействии радиочастотного излучения и соответствующие предупреждения....
Декларация соответствия CE Директиве ЕС 2014/53/EU, заявления MPE относительно пределов излучения, а также таблица с указанием диапазонов частот, каналов, максимальной выходной мощности и ограничений по использованию....
Задать вопрос
Похожие инструкции
Ещё модели: роутеры Mikrotik
 Mikrotik RB4011iGS+5HacQ2HnD-IN Инструкция по эксплуатации
 Mikrotik RouterBOARD 951G-2HnD Инструкция по эксплуатации
 Mikrotik RouterBOARD 1100AHx4 13xGE, 1xSFP Инструкция по эксплуатации
 Mikrotik RouterBOARD 2011iL-RM 5xFE, 5xGE Инструкция по эксплуатации
- Mikrotik RouterBOARD 2011iLS 5xFE, 5xGE Инструкция по эксплуатации
- Mikrotik RouterBOARD 2011UiAS 5xFE, 5xGE Инструкция по эксплуатации
 Mikrotik RouterBOARD RB2011UiAS-2HnD-IN Инструкция по эксплуатации
 Mikrotik RouterBOARD RB4011iGS+5HacQ2HnD-IN Инструкция по эксплуатации
 Mikrotik SXT LTE6 Инструкция по эксплуатации
 Mikrotik wAP R ac (RBwAPGR-5HacD2HnD) Инструкция по эксплуатации
 Mikrotik CCR1009 Инструкция по эксплуатации
 Mikrotik CCR1016 Инструкция по эксплуатации
 Mikrotik CCR1036 Инструкция по эксплуатации
 Mikrotik CCR2004 Инструкция по эксплуатации
 Mikrotik CCR2216 Инструкция по эксплуатации
 Mikrotik Cloud Core Router CCR1009-7G-1C-PC Инструкция по эксплуатации
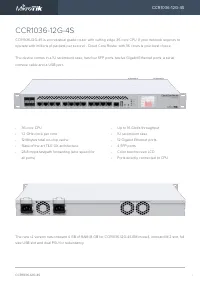 Mikrotik Cloud Core Router CCR1036-12G-4S Инструкция по эксплуатации
 Mikrotik hAP Инструкция по эксплуатации
 Mikrotik hAP ac Инструкция по эксплуатации
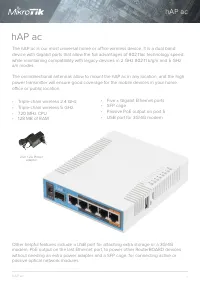 Mikrotik hAP ac (RB962UiGS-5HacT2HnT) Инструкция по эксплуатации