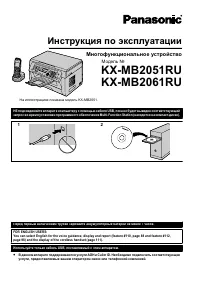
МФУ Panasonic KX-MB2051RU / KX-MB2061RU - инструкция пользователя по применению, эксплуатации и установке на русском языке. Мы надеемся, она поможет вам решить возникшие у вас вопросы при эксплуатации техники.
Если остались вопросы, задайте их в комментариях после инструкции.
"Загружаем инструкцию", означает, что нужно подождать пока файл загрузится и можно будет его читать онлайн. Некоторые инструкции очень большие и время их появления зависит от вашей скорости интернета.


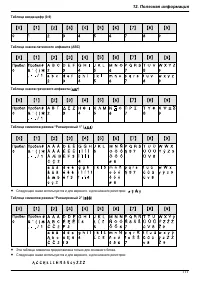


16.2.2
n
:
DECT (DТРТЭКХ EЧСКЧМОН CШЫНХОЬЬ TОХОМШЦЦЮЧТМКЭТШЧЬ:
-
)
GAP (
)
n
:
120
n
:
1,88
(GHг) 1,90
(GHг)
n
:
TDMA (TТЦО DТЯТЬТШЧ MЮХЭТЩХО AММОЬЬ:
)
n
:
1 728
(ФHг)
n
:
1 152
/ (ФЛТЭ/Ь)
n
:
GFSK (GКЮЬЬТКЧ FЫОqЮОЧМв SСТПЭ KОвТЧР:
-
)
n
:
. 10
(ЦА) (
)
n
:
ADPCM (
-
-
) 32
/ (ФЛТЭ/Ь)
n
:
0 °C - 40 °C,
20 % - 80 %
n
:
.
48 (ЦЦ)
´
30 (ЦЦ)
´
158 (ЦЦ)
n
(
):
130 (Р)
16.2.3
n
:
0 °C - 40 °C,
20 % - 80 %
n
:
.
75 (ЦЦ)
´
88 (ЦЦ)
´
52 (ЦЦ)
n
(
):
. 60 (Р)
n
:
:
. 0,2 (А)
:
. 3,2 (А)
n
:
(220 - 240 (V)
, 50/60 (Hг))
-
.
-
.
,
-
.
1
2 000
.
Table of Contents1.
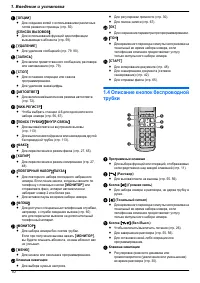
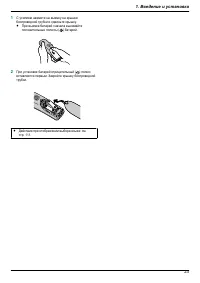
1. Table of Contents 1. Introduction and Installation Accessories
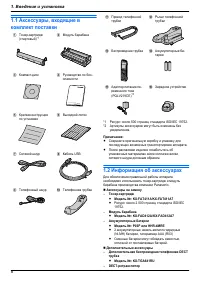
1.1 Included accessories.1.2 Accessory information.Finding the Controls
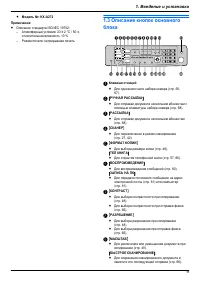
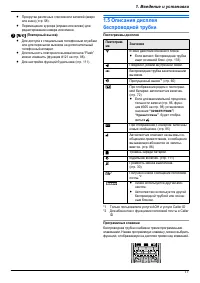
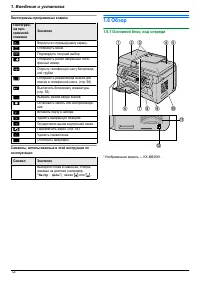
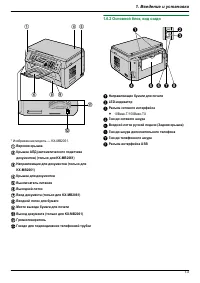
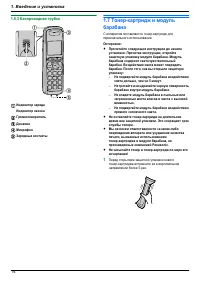
1.3 Description of buttons.1.4 Overview Installation
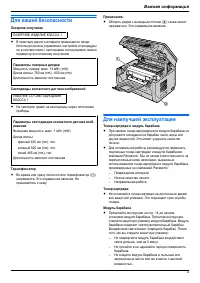
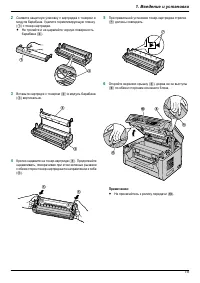
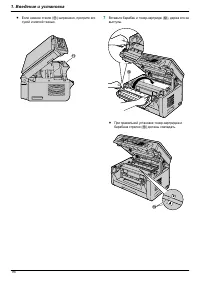
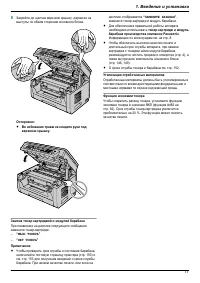
1.5 Toner cartridge and drum unit
1.6 Document tray 1.7 Output tray1.8 Recording paper2. Preparation
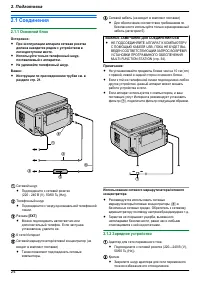
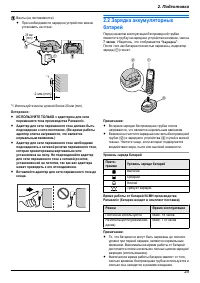
2.1 Connections 2.2 Turning the power switch ON Help Button2.3 Help function Volume
4. PC Operations/ Setup 4.1 Connecting to a computer
4.2 Installing Multi-Function Station 4.3 Starting Multi-Function Station Printing
4.4 Using the unit as a printer Scanning 4.5 Using the unit as a scannerRemote Control
4.6 Operating the unit from your computer.
4.7 Fax sending/receiving using Multi-Function Station
4.8 Registering the computer in the LANnetwork with the optional LAN board
4.9 Confirming the status of the unit 5. Case / Setup
5.1 Selecting the way to use your unit 5.2 Case 1: FAX ONLY
Table of Contents2.
1. Table of Contents
1.1 Included accessories.1.2 Accessory information.Finding the Controls
1.3 Description of buttons.1.4 Overview Installation1.5 Toner cartridge and drum unit
1.6 Document tray 1.7 Output tray1.8 Recording paper2. Preparation
2.1 Connections 2.2 Turning the power switch ON Help Button2.3 Help function Volume
Thank you for purchasing a Panasonic fax machine.
Things you should keep a record of
Attach your sales receipt here.
For your future reference
Date of purchase
2
1 000
.
Table of Contents1.
1. Table of Contents / Introduction and Installation Accessories
1.1 Included accessories.
1.2 Accessory information.Finding the Controls
1.3 Description of buttons.
1.4 Overview Installation
1.5 Toner cartridge and drum unit 1.6 Document tray
1.7 Output tray 1.8 Recording paper
2. Preparation
2.1 Connections
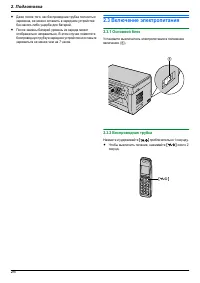
2.2 Turning the power switch ON Help Button
2.3 Help function Volume
2.4 Adjusting volume Initial Programming
2.5 Dialing mode 2.6 Date and time.
2.7 Your logo. 2.8 Your fax number
Thank you for purchasing a Panasonic fax machine.
Things you should keep a record of
Attach your sales receipt here.
For your future reference
Date of purchase
Serial number (found on the rear of the unit)
3
650
.
Table of Contents1.
1. Table of Contents / Introduction and Installation Accessories
1.1 Included accessories.
1.2 Accessory information.Finding the Controls
1.3 Description of buttons.
1.4 Overview Installation
1.5 Toner cartridge and drum unit 1.6 Document tray
1.7 Output tray 1.8 Recording paper
2. Preparation
2.1 Connections
Thank you for purchasing a Panasonic fax machine.
Things you should keep a record of
Attach your sales receipt here.
For your future reference
Date of purchase
Serial number (found on the rear of the unit)
:
R
-
:
,
152
16.
щ


