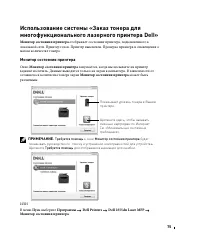
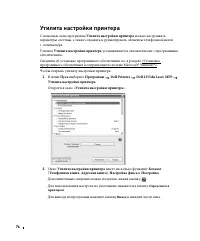
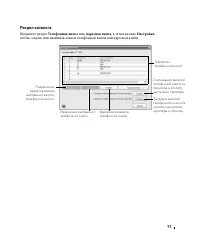
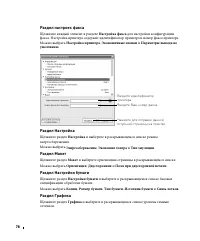
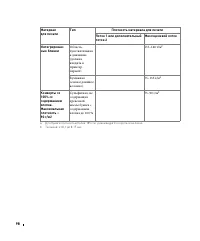
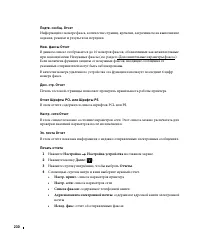
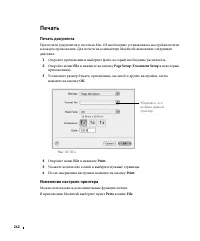
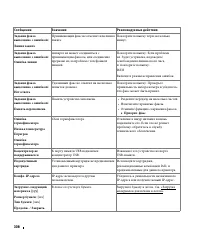
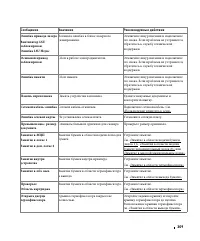
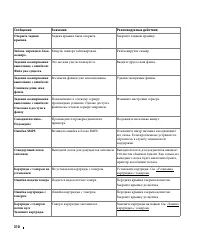
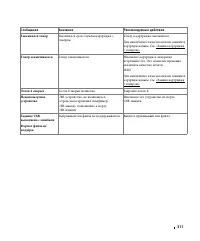
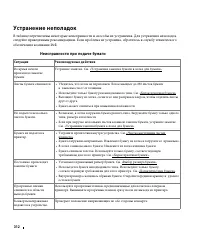
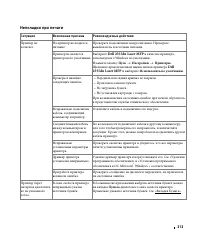
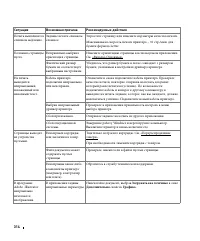
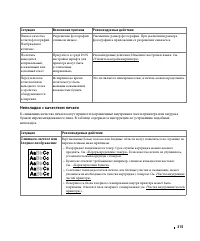
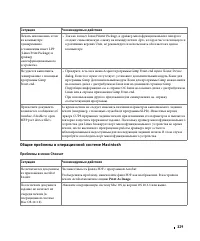
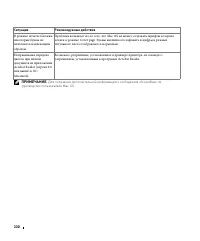
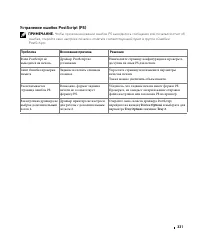
МФУ Dell 2355dn - инструкция пользователя по применению, эксплуатации и установке на русском языке. Мы надеемся, она поможет вам решить возникшие у вас вопросы при эксплуатации техники.
Если остались вопросы, задайте их в комментариях после инструкции.
"Загружаем инструкцию", означает, что нужно подождать пока файл загрузится и можно будет его читать онлайн. Некоторые инструкции очень большие и время их появления зависит от вашей скорости интернета.


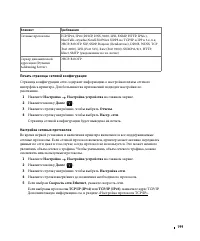


19
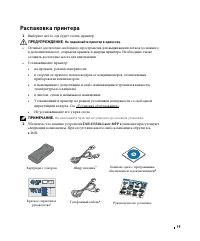
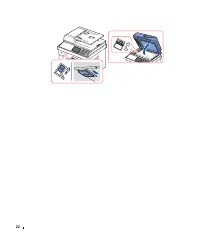
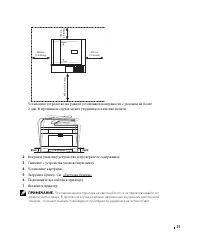
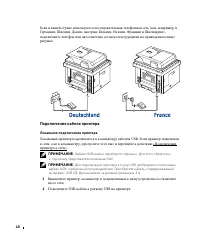
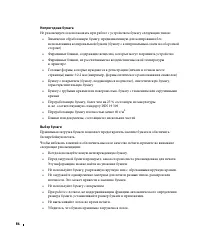
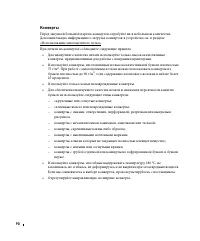
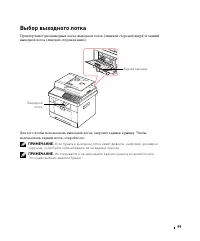
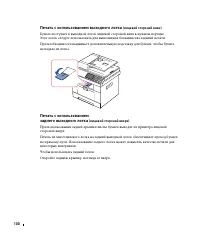
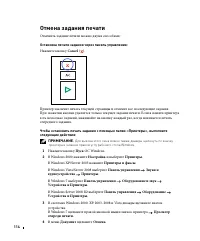
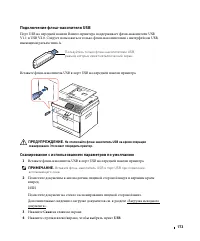
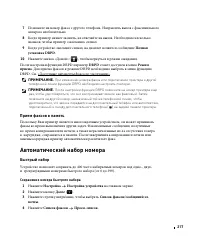
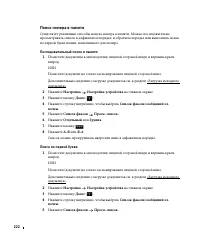
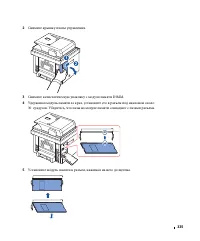
Распаковка принтера
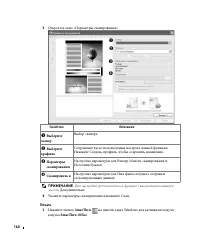
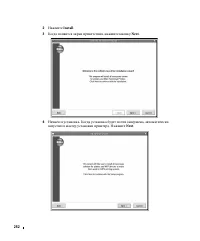
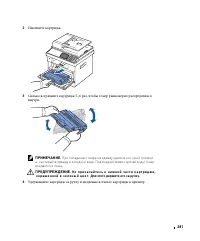
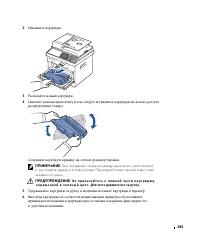
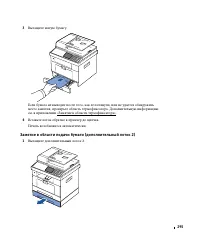
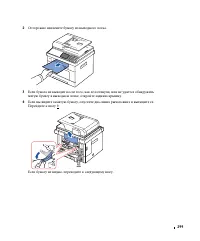
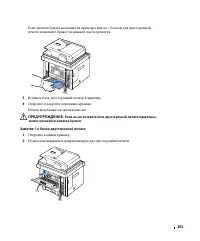
1
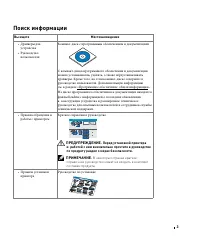
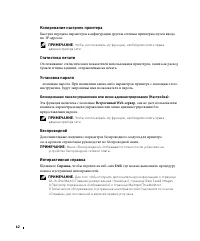
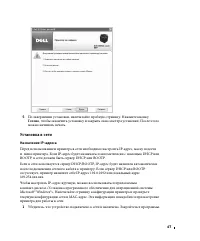
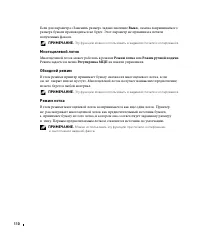
Выберите место, где будет стоять принтер.
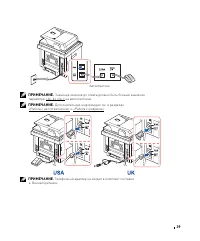
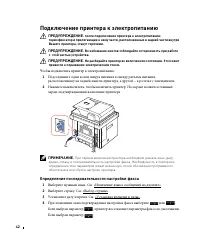
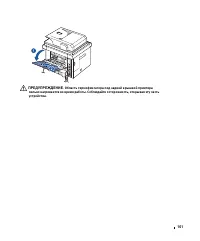
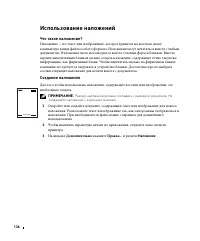
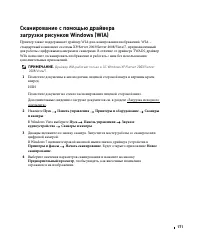
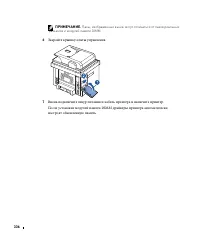
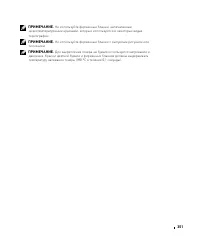
ПРЕДУПРЕЖДЕНИЕ.
Не поднимайте принтер в одиночку.
•
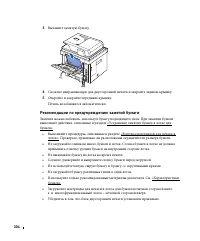
Оставьте достаточно свободного пространства для выдвижения лотков (основного
и дополнительного), открытия крышек и дверцы принтера. Необходимо также
оставить достаточно места для вентиляции.
•
Устанавливайте принтер:
•
на прочной, ровной поверхности;
•
в стороне от прямого потока воздуха от кондиционеров, отопительных
приборов или вентиляторов;
•
в помещениях с допустимым и слабо изменяющимся уровнем влажности,
температуры и освещения;
•
в чистом, сухом и непыльном помещении;
•
Устанавливайте принтер на ровной устойчивой поверхности со свободной
циркуляцией воздуха. См. «Установка оборудования».
•
Не устанавливайте его у края стола.
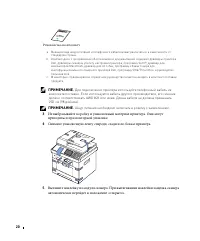
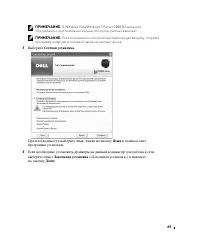
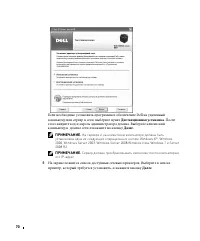
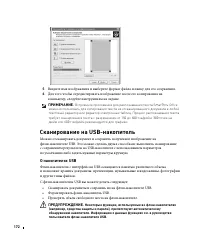
ПРИМЕЧАНИЕ.
Не извлекайте принтер из упаковки до момента установки.
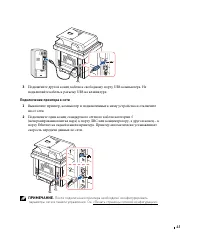
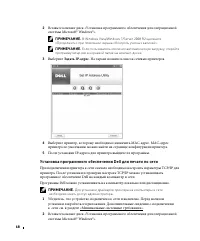
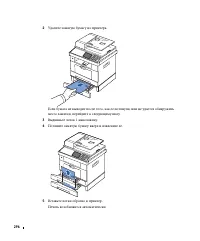
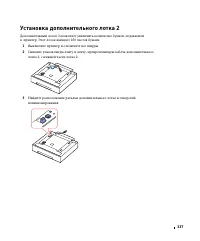
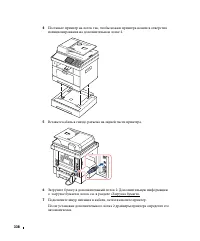
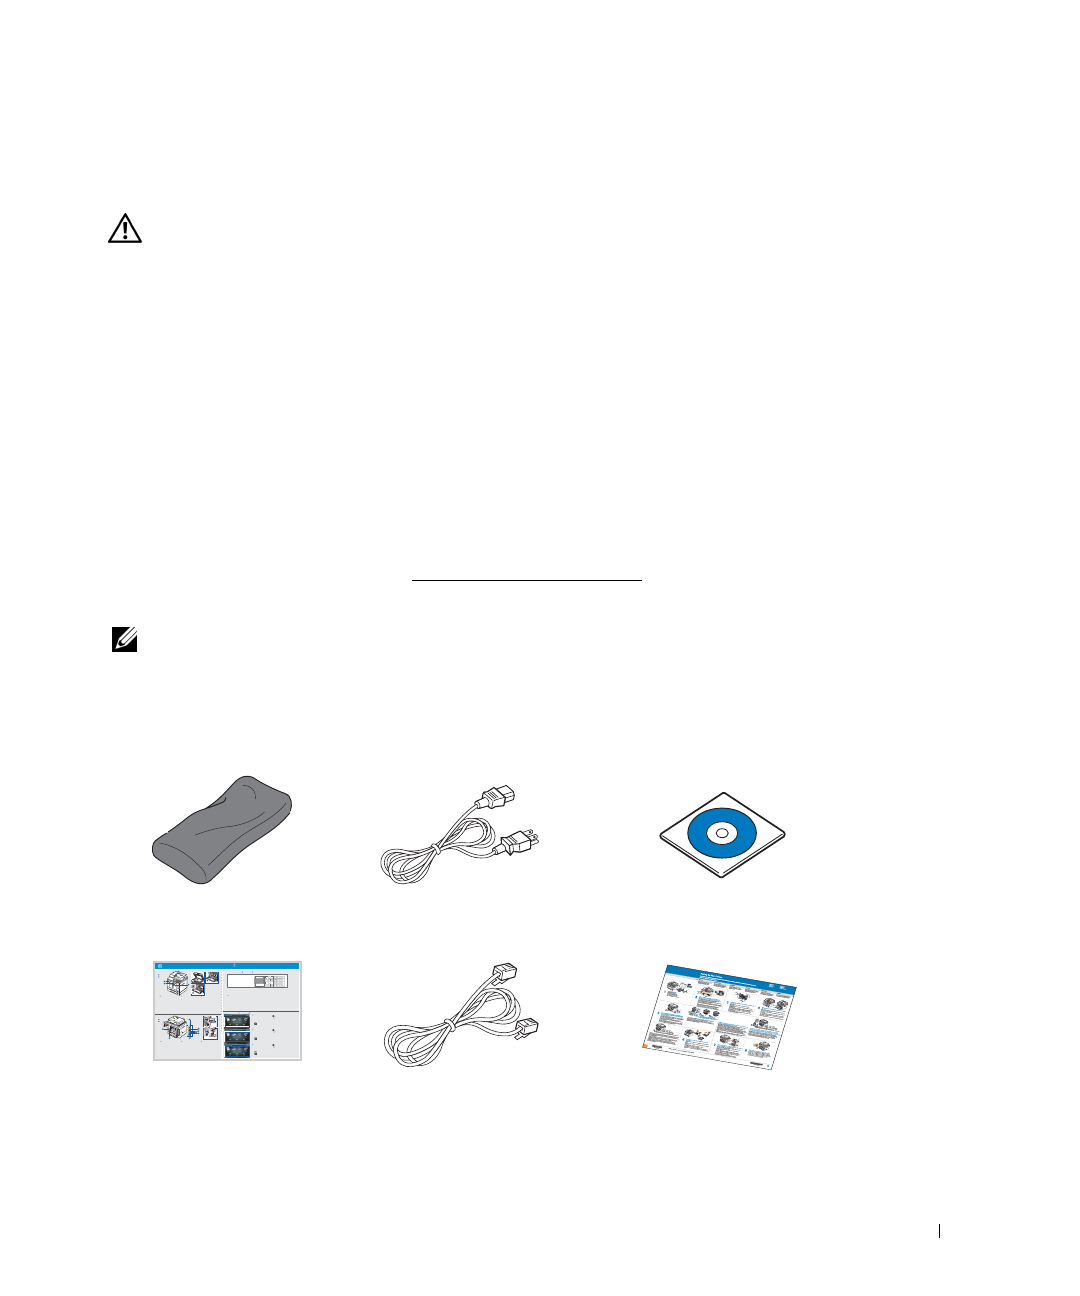
2
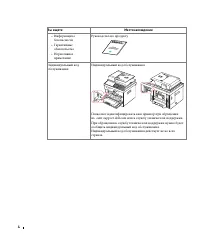
Убедитесь, что помимо устройства
Dell 2355dn Laser MFP
в упаковке присутствуют
следующие компоненты. При отсутствии какого-либо компонента обратитесь
в Dell:
Картридж с тонером
Шнур питания
a
Компакт-диск с программным
обеспечением и документацией
b
Краткое справочное
руководство
c
Телефонный кабель
а
Руководство по установке
Dell 2355dn MFP Quick Reference Guide
l
e
n
a
P
r
o
t
a
r
e
p
O
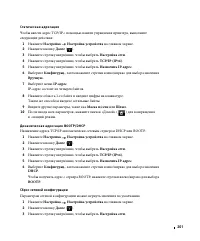
Touch Screen
Front
Back
Quick Reference Guide
Quick Reference Guide
Front
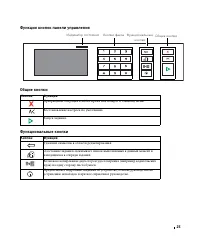
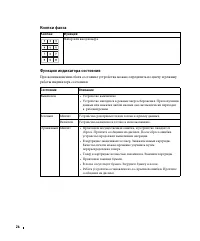
1. LCD: Display.
2. Status LED: Shows the status of your machine.
3. Job Status button: Shows the jobs.
4. M/C Setup button: Leads you to the machine setup and advanced settings.
5 Start button: Initiate operation.
6. Cancel button: Cancel displayed operation.
1. LCD: Display.
2. Status LED: Shows the status of your machine.
3. Job Status button: Shows the jobs.
4. M/C Setup button: Leads you to the machine setup and advanced settings.
5 Start button: Initiate operation.
6. Cancel button: Cancel displayed operation.
1. LCD: Display.
2. Status LED: Shows the status of your machine.
3. Job Status button: Shows the jobs.
4. M/C Setup button: Leads you to the machine setup and advanced settings.
5 Start button: Initiate operation.
6. Cancel button: Cancel displayed operation.
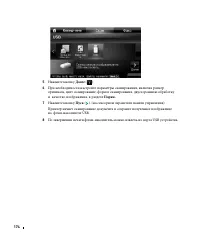
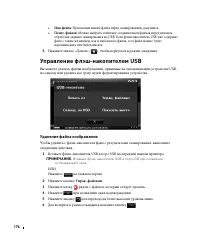
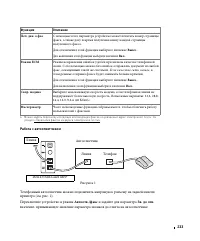
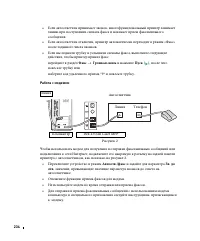
1. USB port
2. Locking slot
3. Network port
4. Optional tray 2 cable
connector
5. Telephone line socket (Line)
6. Extension telephone socket (EXT)
7. Rear door
8. Power receptacle
9. Power switch
10. Express
ervice code
11. Optional memory
12. Optional wireless card
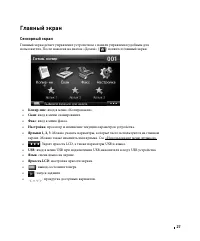
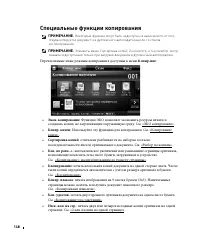
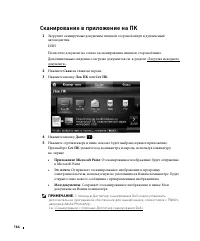
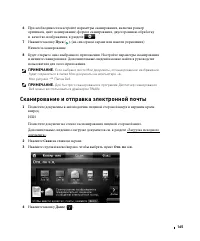
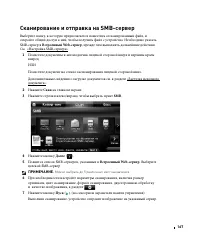
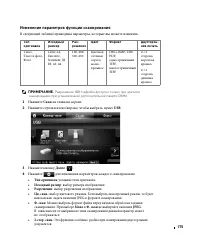
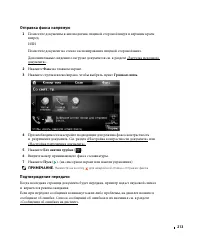
1.Copy: Enters the copy menu.
2. Fax: Enters the fax menu.
3. Scan: Enters the scan menu.
4. Setup: Enters the advanced settings.
5. None: You can set the option which is frequently uses on
main screen. Also you can change shortcut name as well.
6. : Shows the main screen.
7. : Enters the LCD brightness, the USB memory,
language, and job status.
8. : Return to the upper menu.
9. : Scroll through available options.
10. : Start a job.
Front
Front
Operator Panel
Operator Panel
Touch Screen
Touch Screen
13
1
7
1
3
4
7
8
5
2
6
9
10
11
12
14
15
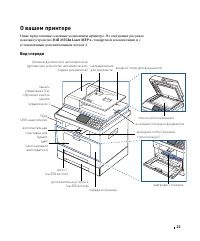
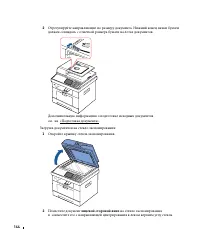
1. DADF
2. Document width guides
3. Document input tray
4. Document output tray
5. Operator panel
6. Output tray (face down)
7. MPF (Multi purpose feeder)
8. Front cover
9. Tray 1
10. Optional tray 2
11. USB memory port
12. Paper output extension
13. Document glass
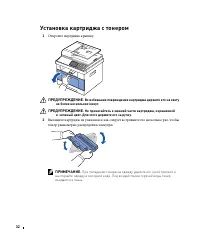
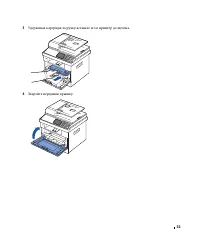
14. Toner cartridge
15. Express
ervice code
1. DADF
2. Document width guides
3. Document input tray
4. Document output tray
5. Operator panel
6. Output tray (face down)
7. MPF (Multi purpose feeder)
8. Front cover
9. Tray 1
10. Optional tray 2
11. USB memory port
12. Paper output extension
13. Document glass
14. Toner cartridge
15. Express
ervice code
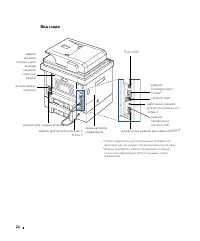
Back
Back
1
2
3
5
4
6
8
9
10
11
12
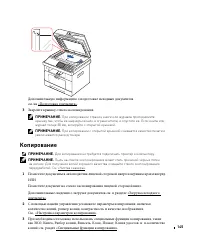
1. USB port
2. Locking slot
3. Network port
4. Optional tray 2 cable
connector
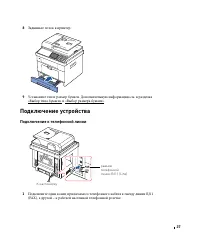
5. Telephone line socket (Line)
6. Extension telephone socket (EXT)
7. Rear door
8. Power receptacle
9. Power switch
10. Express
ervice code
11. Optional memory
12. Optional wireless card
1. USB port
2. Locking slot
3. Network port
4. Optional tray 2 cable
connector
5. Telephone line socket (Line)
6. Extension telephone socket (EXT)
7. Rear door
8. Power receptacle
9. Power switch
10. Express
ervice code
11. Optional memory
12. Optional wireless card
1.Copy: Enters the copy menu.
2. Fax: Enters the fax menu.
3. Scan: Enters the scan menu.
4. Setup: Enters the advanced settings.
5. None: You can set the option which is frequently uses on
main screen. Also you can change shortcut name as well.
6. : Shows the main screen.
7. : Enters the LCD brightness, the USB memory,
language, and job status.
8. : Return to the upper menu.
9. : Scroll through available options.
10. : Start a job.


