
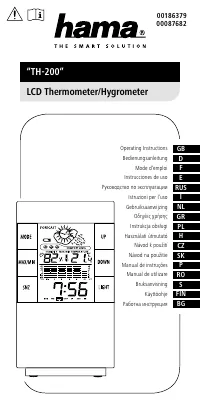
Метеостанции Hama TH-200, серебристый/черный (H-87682) - инструкция пользователя по применению, эксплуатации и установке на русском языке. Мы надеемся, она поможет вам решить возникшие у вас вопросы при эксплуатации техники.
Если остались вопросы, задайте их в комментариях после инструкции.
"Загружаем инструкцию", означает, что нужно подождать пока файл загрузится и можно будет его читать онлайн. Некоторые инструкции очень большие и время их появления зависит от вашей скорости интернета.


4. Getting Started
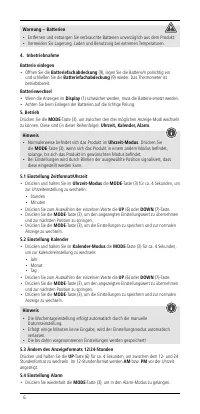
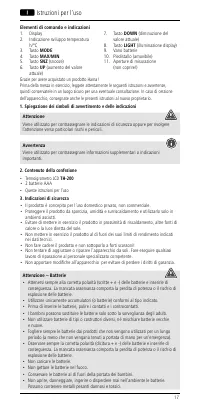
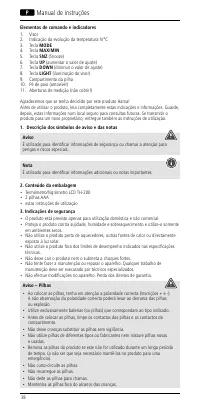
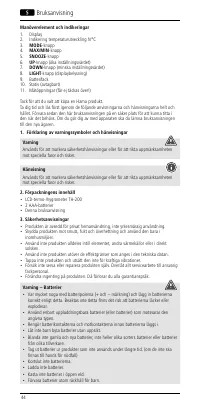
Inserting the battery
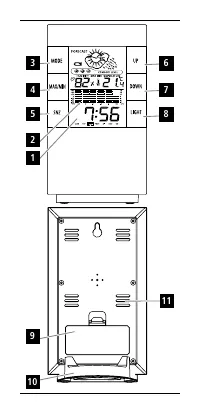
• Open the
battery compartment
(9), insert the battery/batteries, ensuring that
the batteries are inserted correctly in terms of polarity, and then close the
battery
compartment
(9). The thermometer is now ready for use.
Replacing the batteries
• If the
display
(1) becomes dimmer, you must replace the battery.
• When inserting the batteries, ensure that the polarity is correct.
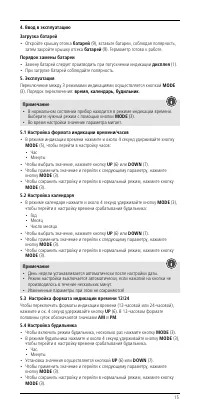
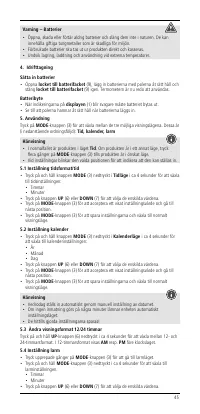
5. Operation
• Press the
MODE
button (3) to switch between the three display modes available. The
modes are as follows (in that order):
clock, calendar, alarm
.
Note
• The product is usually in
clock mode
. If the product is in another mode, press the
MODE
button (3) until it is in the mode you want.
• When you adjust the settings, the selected item will flash to indicate that it can be set.
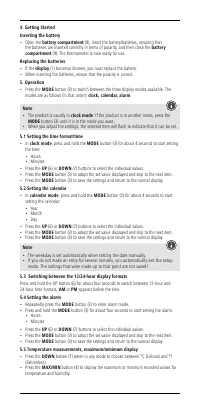
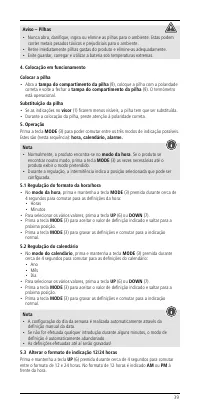
5.1 Setting the time format/time
• In
clock mode
, press and hold the
MODE
button (3) for about 4 seconds to start setting
the time:
• Hours
• Minutes
• Press the
UP
(6) or
DOWN
(7) buttons to select the individual values.
• Press the
MODE
button (3) to adopt the set value displayed and skip to the next item.
• Press the
MODE
button (3) to save the settings and return to the normal display.
5.2 Setting the calendar
• In
calendar mode
, press and hold the
MODE
button (3) for about 4 seconds to start
setting the calendar:
• Year
• Month
• Day
• Press the
UP
(6) or
DOWN
(7) buttons to select the individual values.
• Press the
MODE
button (3) to adopt the set value displayed and skip to the next item.
• Press the
MODE
button (3) to save the settings and return to the normal display.
Note
• The weekday is set automatically when setting the date manually.
• If you do not make an entry for several minutes, you automatically exit the setup
mode. The settings that were made up to that point are not saved!
5.3 Switching between the 12/24-hour display formats
Press and hold the UP button (6) for about four seconds to switch between 12-hour and
24-hour time formats,
AM
or
PM
appears before the time.
5.4 Setting the alarm
• Repeatedly press the
MODE
button (3) to enter alarm mode.
• Press and hold the
MODE
button (3) for about four seconds to start setting the alarm.
• Hours
• Minutes
• Press the
UP
(6) or
DOWN
(7) buttons to select the individual values.
• Press the
MODE
button (3) to adopt the set value displayed and skip to the next item.
• Press the
MODE
button (3) to save the settings and return to the normal display.
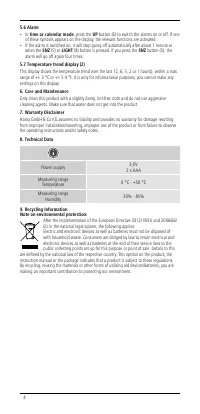
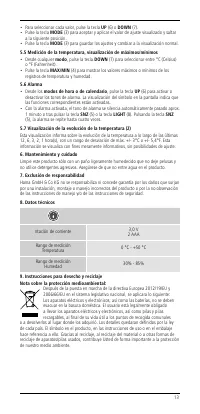
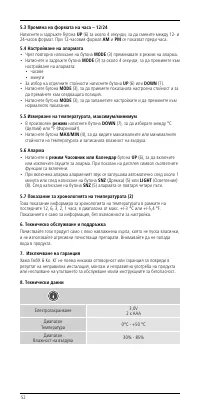
5.5 Temperature measurements, maximum/minimum display
• Press the
DOWN
button (7) when in any mode to choose between °C (Celsius) and °F
(Fahrenheit).
• Press the
MAX/MIN
button (4) to display the maximum or minimum recorded values for
temperature and humidity.


