Машинки для стрижки Remington PG9100 - инструкция пользователя по применению, эксплуатации и установке на русском языке. Мы надеемся, она поможет вам решить возникшие у вас вопросы при эксплуатации техники.
Если остались вопросы, задайте их в комментариях после инструкции.
"Загружаем инструкцию", означает, что нужно подождать пока файл загрузится и можно будет его читать онлайн. Некоторые инструкции очень большие и время их появления зависит от вашей скорости интернета.


4
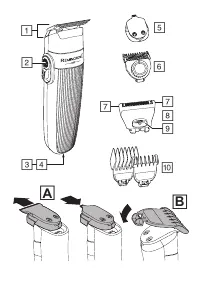
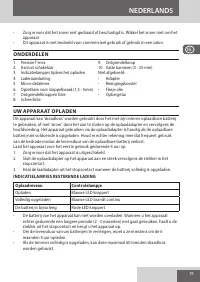
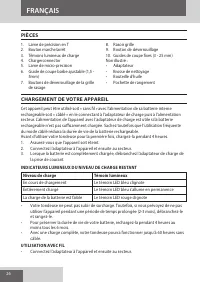
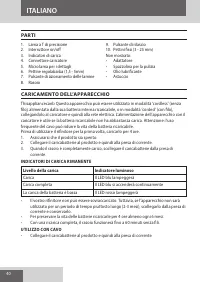
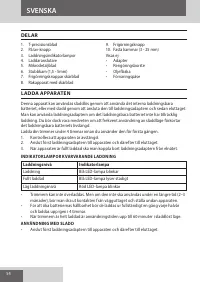
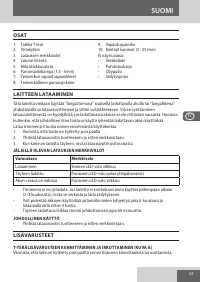
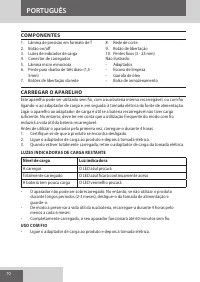
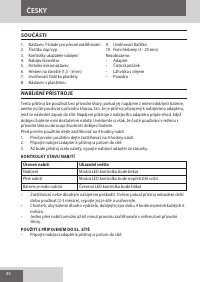
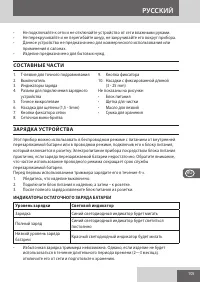
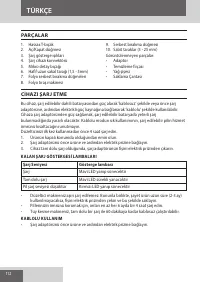
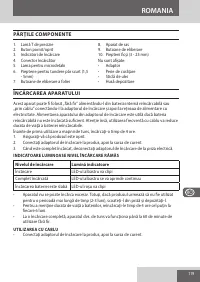
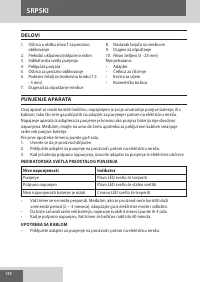
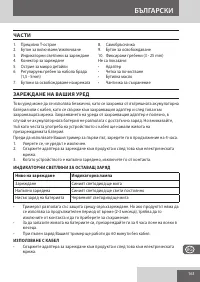
PARTS
1. Precision T-blade
2. On/off switch
3. Charging indicator lights
4. Charger connector
5. Micro detail blade
6. Adjustable stubble comb (1.5 - 5mm)
7. Foil release buttons
8. Foil shaver
9. Release button
10. Fixed combs (3 - 25 mm)
Not shown:
• Adaptor
• Cleaning brush
• Oil bottle
• Storage pouch
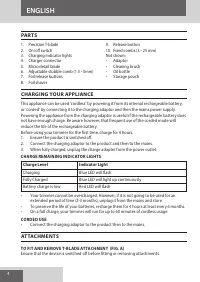
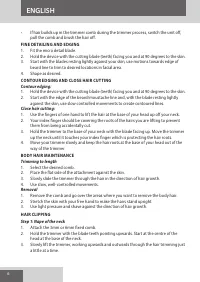
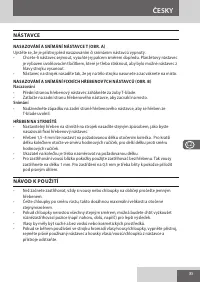
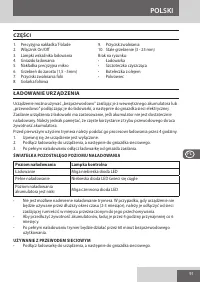
CHARGING YOUR APPLIANCE
This appliance can be used ‘cordless’ by powering it from its internal rechargeable battery,
or ‘corded’ by connecting it to the charging adaptor and then the mains power supply.
Powering the appliance from the charging adaptor is useful if the rechargeable battery does
not have enough charge. Be aware however, that frequent use of the corded mode will
reduce the life of the rechargeable battery.
Before using your trimmer for the first time, charge for 4 hours.
1. Ensure the product is switched off.
2. Connect the charging adaptor to the product and then to the mains.
3. When fully charged, unplug the charge adapter from the power outlet.
CHARGE REMAINING INDICATOR LIGHTS
Charge Level
Indicator Light
Charging
Blue LED will flash
Fully Charged
Blue LED will light up continuously
Battery charge is low
Red LED will flash
•
Your trimmer cannot be overcharged. However, if it is not going to be used for an
extended period of time (2-3 months), unplug it from the mains and store.
•
To preserve the life of your batteries, recharge them for 4 hours at least every 6 months.
•
On a full charge, your trimmer will run for up to 60 minutes of cordless usage.
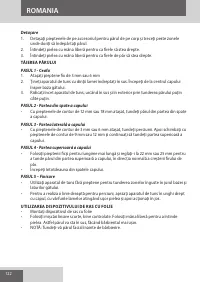
CORDED USE
•
Connect the charging adaptor to the product then to the mains.
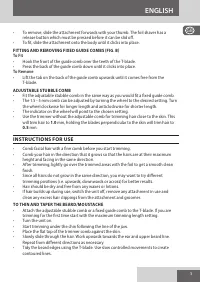
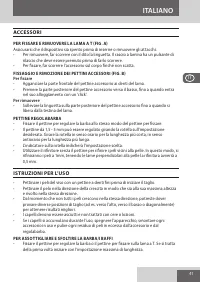
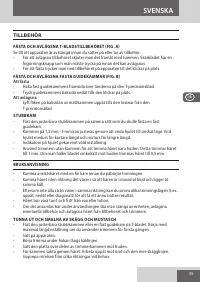
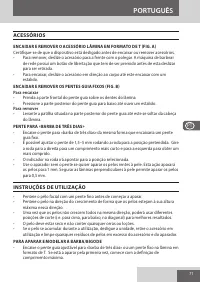
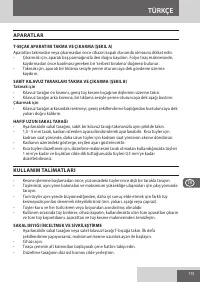
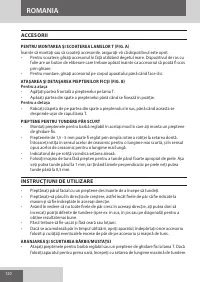
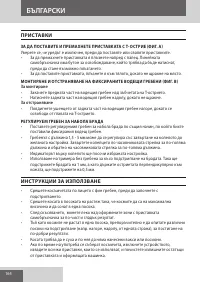
ATTACHMENTS
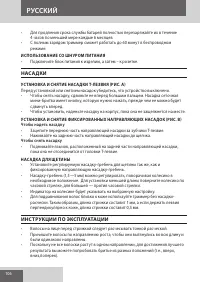
TO FIT AND REMOVE T-BLADE ATTACHMENT (FIG. A)
Ensure that the device is switched off before fitting or removing attachments.
ENGLISH
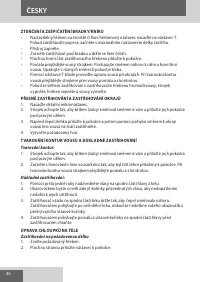
Содержание
- 105 СОСТАВНЫЕ ЧАСТИ; ИНДИКАТОРЫ ОСТАТОЧНОГО ЗАРЯДА БАТАРЕИ
- 106 ИСПОЛЬЗОВАНИЕ СО ШНУРОМ ПИТАНИЯ; НАСАДКИ; УСТАНОВКА И СНЯТИЕ ФИКСИРОВАННЫХ НАПРАВЛЯЮЩИХ НАСАДОК (РИС. B); ИНСТРУКЦИИ ПО ЭКСПЛУАТАЦИИ
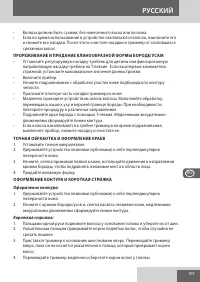
- 107 ПРОРЕЖИВАНИЕ И ПРИДАНИЕ КЛИНООБРАЗНОЙ ФОРМЫ БОРОДЕ/УСАМ
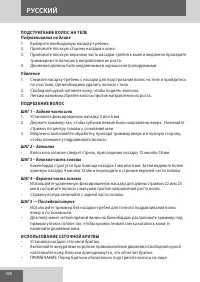
- 108 ПОДСТРИГАНИЕ ВОЛОС НА ТЕЛЕ
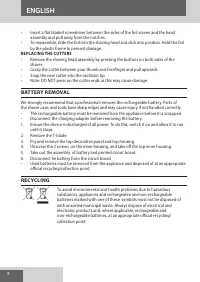
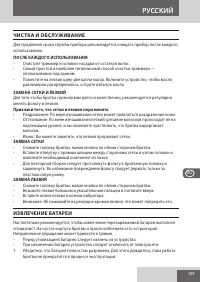
- 109 ЧИСТКА И ОБСЛУ ЖИВАНИЕ; ПОСЛЕ КАЖДОГО ИСПОЛЬЗОВАНИЯ; ИЗВЛЕЧЕНИЕ БАТАРЕИ
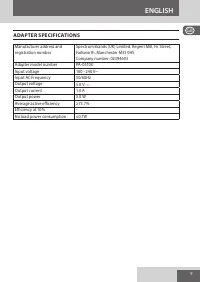
Характеристики

Остались вопросы?Не нашли свой ответ в руководстве или возникли другие проблемы? Задайте свой вопрос в форме ниже с подробным описанием вашей ситуации, чтобы другие люди и специалисты смогли дать на него ответ. Если вы знаете как решить проблему другого человека, пожалуйста, подскажите ему :)


