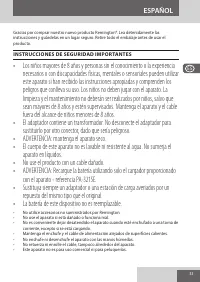
Машинки для стрижки Remington PG4005 - инструкция пользователя по применению, эксплуатации и установке на русском языке. Мы надеемся, она поможет вам решить возникшие у вас вопросы при эксплуатации техники.
Если остались вопросы, задайте их в комментариях после инструкции.
"Загружаем инструкцию", означает, что нужно подождать пока файл загрузится и можно будет его читать онлайн. Некоторые инструкции очень большие и время их появления зависит от вашей скорости интернета.


6
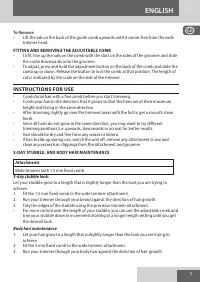
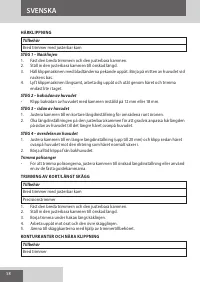
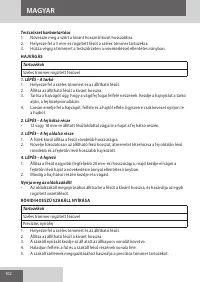
HAIR CLIPPING
Attachments
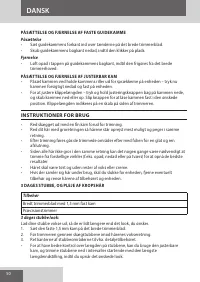
Wide trimmer with adjustable comb
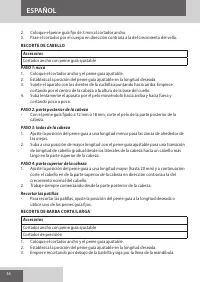
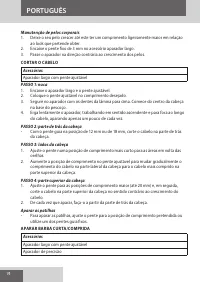
Step 1: Nape of the neck
1. Fit the wide trimmer and adjustable comb.
2. Set the adjustable comb to the desired length.
3. Hold the clipper with the blade teeth pointing upwards. Begin starting at the centre of
the head at the base of the neck.
4. Slowly lift the clipper, working upwards and outwards through the hair, trimming just a
little at a time.
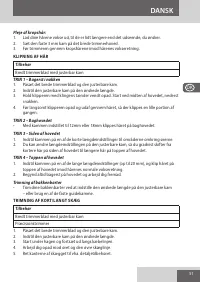
Step 2: Back of the head
•
With the comb set at 12mm or 18mm, cut the hair at the back of the head.
Step 3: Side of the head
1. Adjust the comb to a shorter length setting for the areas around the ears.
2. Increase the length setting on the adjustable comb to gradually transition the length
of hair on the side of the head to the longer hair on the top of the head.
Step 4: Top of the head
1. Adjust the comb to the longer length settings (up to 20 mm) then cut the hair on top of
the head against the direction in which the hair normally grows.
2. Always work from the back of the head.
Trim the sideburns
•
To trim the sideburns, adjust the comb to the desired length setting, or use one of the
fixed guide combs.
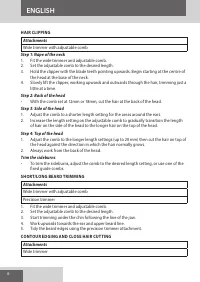
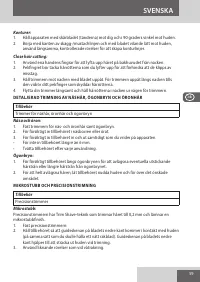
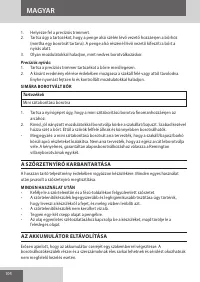
SHORT/LONG BEARD TRIMMING
Attachments
Wide trimmer with adjustable comb
Precision trimmer
1. Fit the wide trimmer and adjustable comb.
2. Set the adjustable comb to the desired length.
3. Start trimming under the chin following the line of the jaw.
4. Work upwards towards the ear and upper beard line.
5. Tidy the beard edges using the precision trimmer attachment.
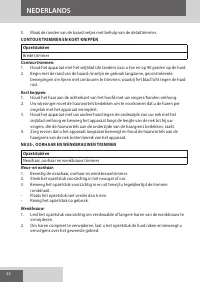
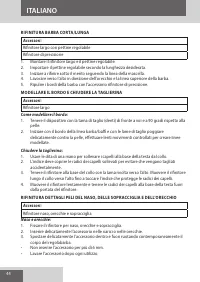
CONTOUR EDGING AND CLOSE HAIR CUTTING
Attachments
Wide trimmer
ENGLISH
Содержание
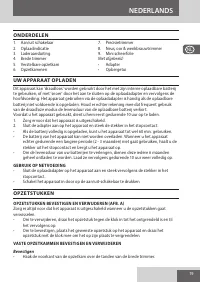
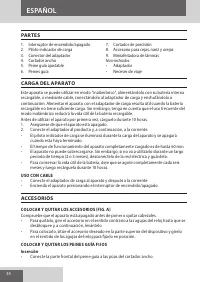
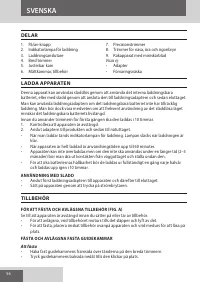
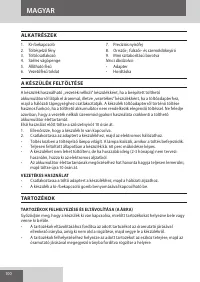
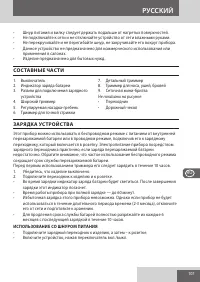
- 107 СОСТАВНЫЕ ЧАСТИ; Не показаны на рисунке:; ЗАРЯДКА УСТРОЙСТВА; ИСПОЛЬЗОВАНИЕ СО ШНУРОМ ПИТАНИЯ
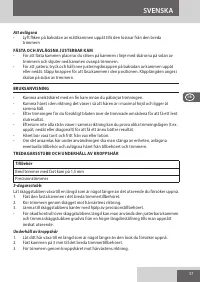
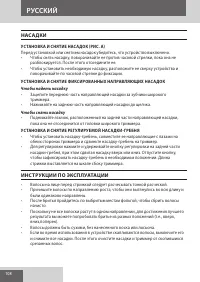
- 108 НАСАДКИ; УСТАНОВКА И СНЯТИЕ ФИКСИРОВАННЫХ НАПРАВЛЯЮЩИХ НАСАДОК; Чтобы надеть насадку; УСТАНОВКА И СНЯТИЕ РЕГУЛИРУЕМОЙ НАСАДКИ-ГРЕБНЯ; ИНСТРУКЦИИ ПО ЭКСПЛУАТАЦИИ
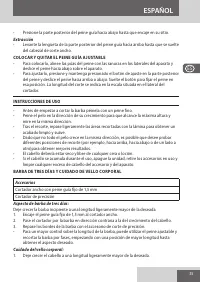
- 109 СТРИЖКА «ТРЕХДНЕВНАЯ ЩЕТИНА» И ПОДСТРИГАНИЕ ВОЛОС НА ТЕЛЕ
- 110 ШАГ 4 – Верхняя часть головы; ПОДРАВНИВАНИЕ КОРОТКОЙ/ДЛИННОЙ БОРОДЫ; ОФОРМЛЕНИЕ КОНТУРА И КОРОТКАЯ СТРИЖКА; Насадки
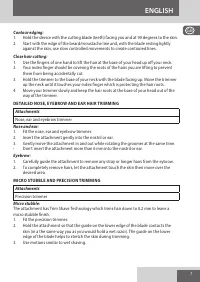
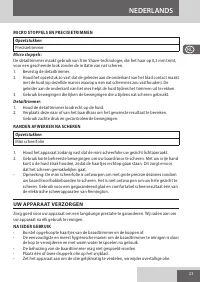
- 111 ТЩАТЕЛЬНОЕ ПОДРАВНИВАНИЕ БРОВЕЙ, ВОЛОС В НОСУ И УШАХ
- 112 УХОД ЗА ТРИММЕРОМ; ПОСЛЕ КАЖДОГО ИСПОЛЬЗОВАНИЯ; ИЗВЛЕЧЕНИЕ БАТАРЕИ
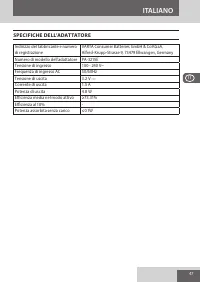
Характеристики

Остались вопросы?Не нашли свой ответ в руководстве или возникли другие проблемы? Задайте свой вопрос в форме ниже с подробным описанием вашей ситуации, чтобы другие люди и специалисты смогли дать на него ответ. Если вы знаете как решить проблему другого человека, пожалуйста, подскажите ему :)


