Машинки для стрижки Remington PG2000 - инструкция пользователя по применению, эксплуатации и установке на русском языке. Мы надеемся, она поможет вам решить возникшие у вас вопросы при эксплуатации техники.
Если остались вопросы, задайте их в комментариях после инструкции.
"Загружаем инструкцию", означает, что нужно подождать пока файл загрузится и можно будет его читать онлайн. Некоторые инструкции очень большие и время их появления зависит от вашей скорости интернета.


4
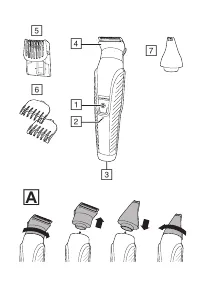
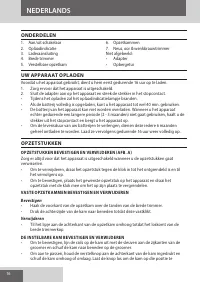
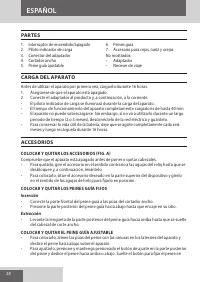
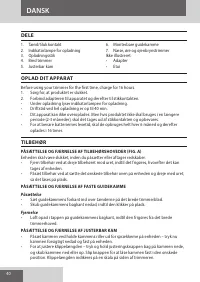
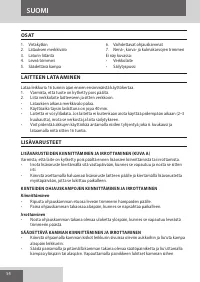
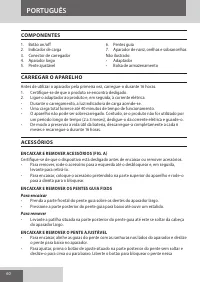
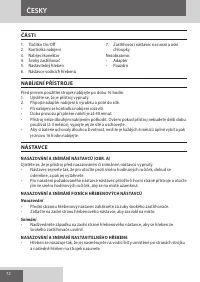
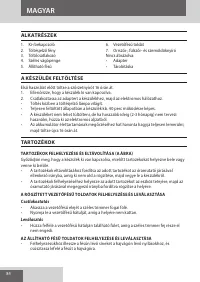
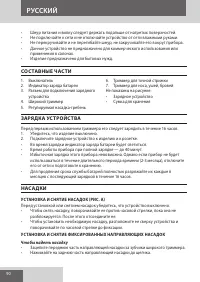
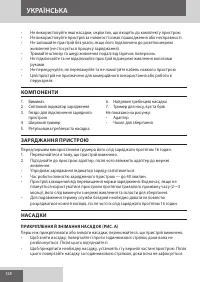
PARTS
1. On/Off switch
2. Charging indicator light
3. Charging connector
4. Wide trimmer
5. Adjustable comb
6. Attachment guide combs
7. Nose, ear, eyebrow trimmer
Not shown
• Adaptor
• Storage pouch
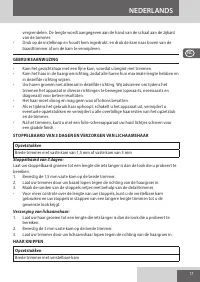
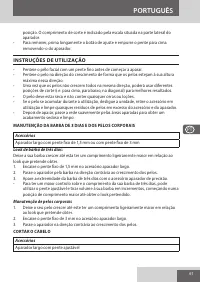
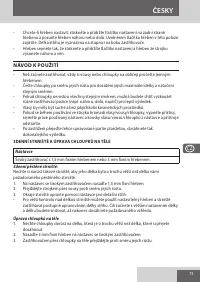
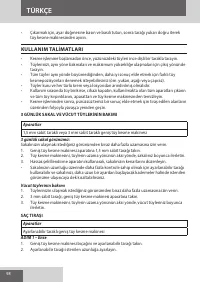
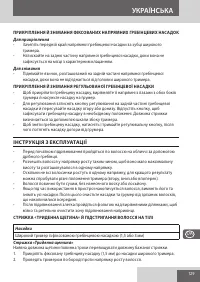
CHARGING YOUR APPLIANCE
Before using your trimmer for the first time, charge for 16 hours.
1. Ensure the product is switched off.
2. Connect the charging adaptor to the product and then to the mains.
•
When charging, the charge indicator light will light up.
•
Run time from fully charged is up to 40 minutes.
•
Your trimmer cannot be overcharged. However, if it is not going to be used for an
extended period of time (2-3 months), unplug it from the mains and store.
•
To preserve the life of your batteries, let them run out every 6 months then recharge
for 16 hours.
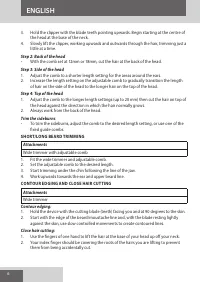
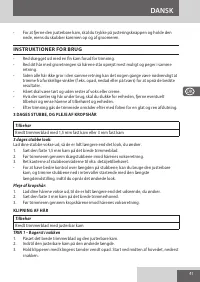
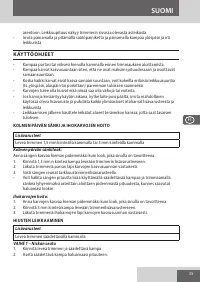
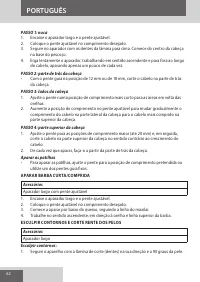
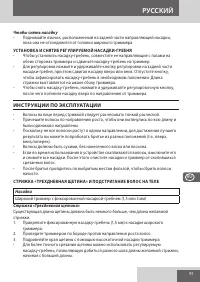
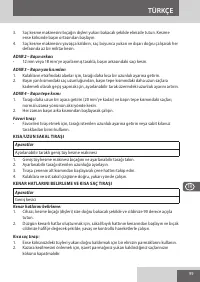
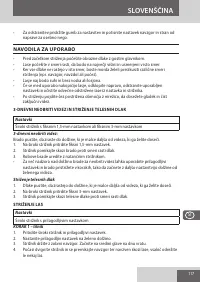
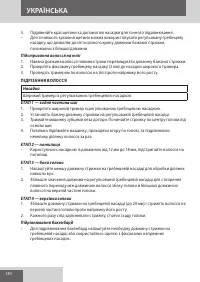
ATTACHMENTS
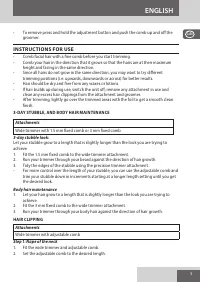
TO FIT AND REMOVE ATTACHMENTS (FIG. A)
Ensure that the device is switched off before fitting or removing attachments.
•
To remove, rotate the attachment anti-clockwise until it unlocks and then lift it off.
•
To fit, place the desired attachment on top of the device and rotate the attachment
clockwise to lock it into place.
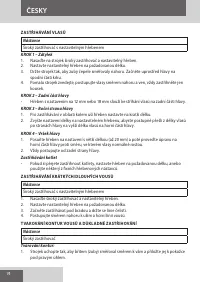
FITTING AND REMOVING FIXED GUIDE COMBS
To Fit
•
Hook the front of the guide comb over the teeth of the wide trimmer.
•
Press the back of the guide comb down until it clicks into place.
To Remove
•
Lift the tab on the back of the guide comb upwards until it comes free from the wide
trimmer head.
FITTING AND REMOVING THE ADJUSTABLE COMB
•
To fit, line up the rails on the comb with the slots on the sides of the groomer and slide
the comb downwards onto the groomer.
•
To adjust, press and hold the adjustment button on the back of the comb and slide the
comb up or down. Release the button to lock the comb at that position. The length of
cut is indicated by the scale on the side of the trimmer.
ENGLISH
Содержание
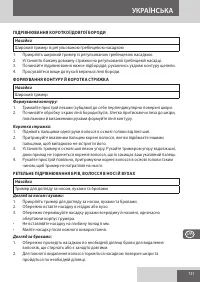
- 90 УСТАНОВКА И СНЯТИЕ ФИКСИРОВАННЫХ НАПРАВЛЯЮЩИХ НАСАДОК; Чтобы надеть насадку
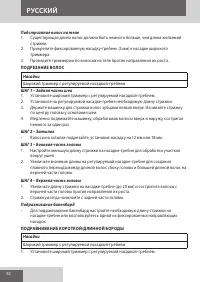
- 91 Чтобы снять насадку; УСТАНОВКА И СНЯТИЕ РЕГУЛИРУЕМОЙ НАСАДКИ-ГРЕБНЯ; ИНСТРУКЦИИ ПО ЭКСПЛУАТАЦИИ; СТРИЖКА «ТРЕХДНЕВНАЯ ЩЕТИНА» И ПОДСТРИГАНИЕ ВОЛОС НА ТЕЛЕ; Насадки
- 92 ПОДРЕЗАНИЕ ВОЛОС
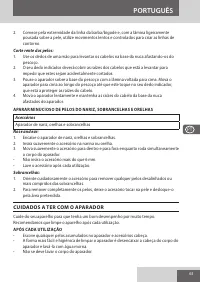
- 93 ОФОРМЛЕНИЕ КОНТУРА И КОРОТКАЯ СТРИЖКА; ТЩАТЕЛЬНОЕ ПОДРАВНИВАНИЕ БРОВЕЙ, ВОЛОС В НОСУ И УШАХ
- 94 ЕДВА ЗАМЕТНАЯ ЩЕТИНА И ВЫСОКОТОЧНОЕ ПОДРАВНИВАНИЕ; УХОД ЗА ТРИММЕРОМ; ПОСЛЕ КАЖДОГО ИСПОЛЬЗОВАНИЯ; ИЗВЛЕЧЕНИЕ БАТАРЕИ
- 95 ПОВТОРНАЯ ПЕРЕРАБОТКА
Характеристики

Остались вопросы?Не нашли свой ответ в руководстве или возникли другие проблемы? Задайте свой вопрос в форме ниже с подробным описанием вашей ситуации, чтобы другие люди и специалисты смогли дать на него ответ. Если вы знаете как решить проблему другого человека, пожалуйста, подскажите ему :)


