
Машинки для стрижки Remington HC335 - инструкция пользователя по применению, эксплуатации и установке на русском языке. Мы надеемся, она поможет вам решить возникшие у вас вопросы при эксплуатации техники.
Если остались вопросы, задайте их в комментариях после инструкции.
"Загружаем инструкцию", означает, что нужно подождать пока файл загрузится и можно будет его читать онлайн. Некоторые инструкции очень большие и время их появления зависит от вашей скорости интернета.


6
,
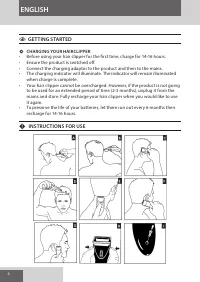
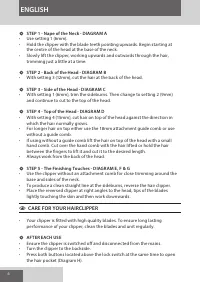
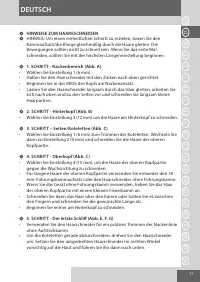
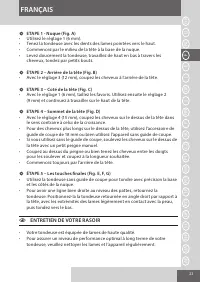
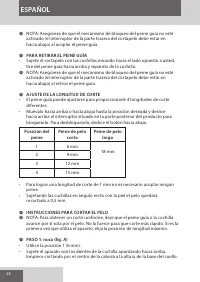
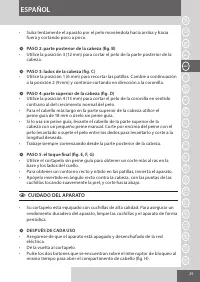
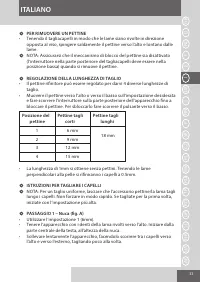
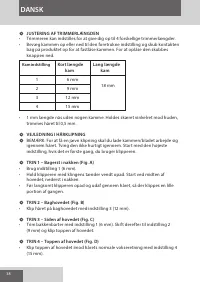
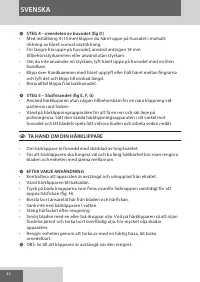
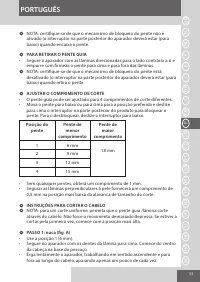
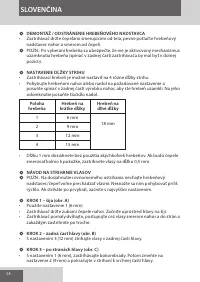
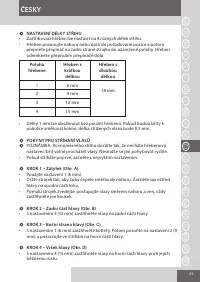
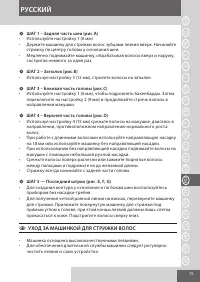
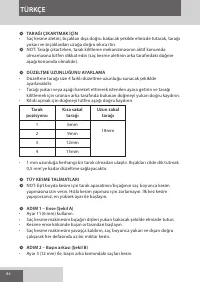
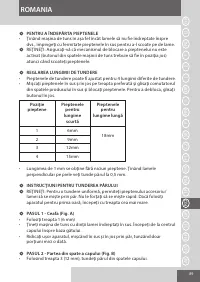
STEP 1 - Nape of the Neck - DIAGRAM A
•
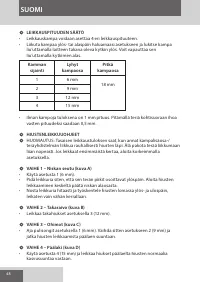
Use setting 1 (6mm).
•
Hold the clipper with the blade teeth pointing upwards. Begin starting at
the centre of the head at the base of the neck.
•
Slowly lift the clipper, working upwards and outwards through the hair,
trimming just a little at a time.
,
STEP 2 - Back of the Head - DIAGRAM B
•
With setting 3 (12mm), cut the hair at the back of the head.
,
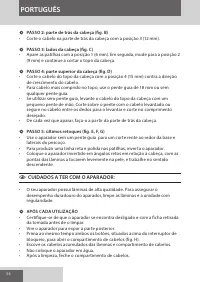
STEP 3 - Side of the Head - DIAGRAM C
•
With setting 1 (6mm), trim the sideburns. Then change to setting 2 (9mm)
and continue to cut to the top of the head.
,
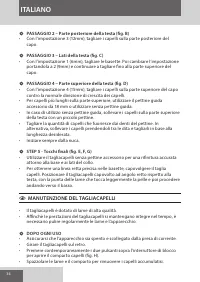
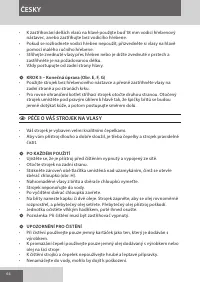
STEP 4 - Top of the Head - DIAGRAM D
•
With setting 4 (15mm), cut hair on top of the head against the direction in
which the hair normally grows.
•
For longer hair on top either use the 18mm attachment guide comb or use
without a guide comb.
•
If using without a guide comb lift the hair on top of the head with a small
hand comb. Cut over the hand comb with the hair lifted or hold the hair
between the fingers to lift it and cut it to the desired length.
•
Always work from the back of the head.
,
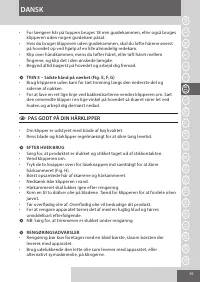
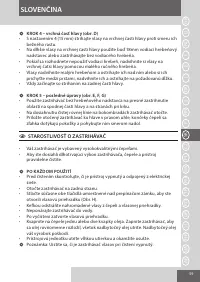
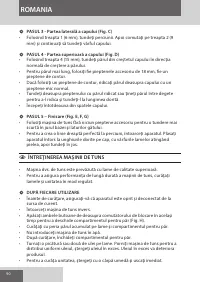
STEP 5 - The Finishing Touches - DIAGRAM E, F & G
•
Use the clipper without an attachment comb for close trimming around the
base and sides of the neck.
•
To produce a clean straight line at the sideburns, reverse the hair clipper.
•
Place the reversed clipper at right angles to the head, tips of the blades
lightly touching the skin and then work downwards.
C
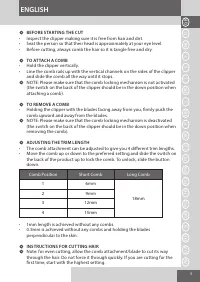
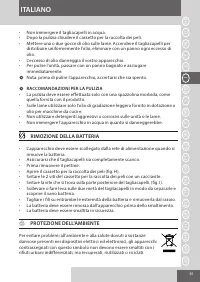
CARE FOR YOUR HAIRCLIPPER
•
Your clipper is fitted with high quality blades. To ensure long lasting
performance of your clipper, clean the blades and unit regularly.
,
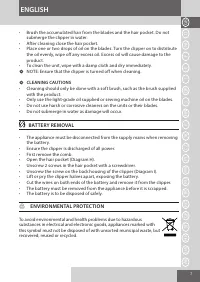
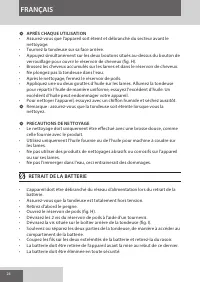
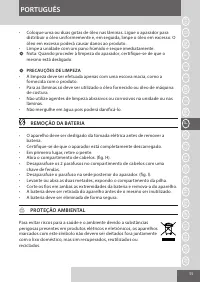
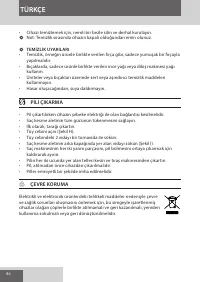
AFTER EACH USE
•
Ensure the clipper is switched off and disconnected from the mains.
•
Turn the clipper to the backside.
•
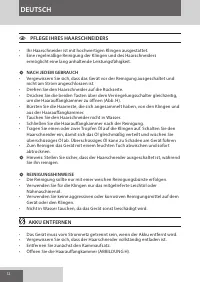
Press both buttons located above the lock switch at the same time to open
the hair pocket (Diagram H).
ENGLISH
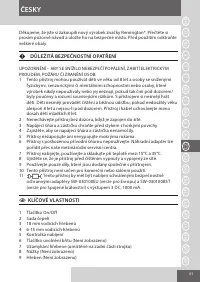
Характеристики

Остались вопросы?Не нашли свой ответ в руководстве или возникли другие проблемы? Задайте свой вопрос в форме ниже с подробным описанием вашей ситуации, чтобы другие люди и специалисты смогли дать на него ответ. Если вы знаете как решить проблему другого человека, пожалуйста, подскажите ему :)


