Машинки для стрижки Philips QS6141/32 - инструкция пользователя по применению, эксплуатации и установке на русском языке. Мы надеемся, она поможет вам решить возникшие у вас вопросы при эксплуатации техники.
Если остались вопросы, задайте их в комментариях после инструкции.
"Загружаем инструкцию", означает, что нужно подождать пока файл загрузится и можно будет его читать онлайн. Некоторые инструкции очень большие и время их появления зависит от вашей скорости интернета.


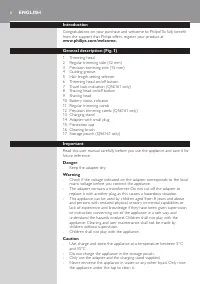


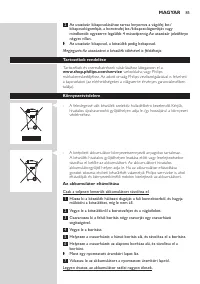

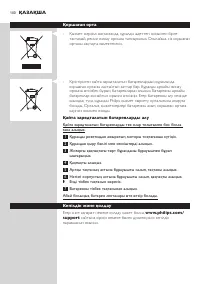
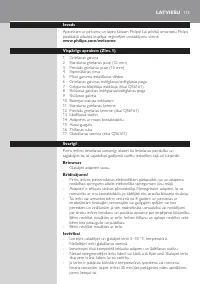


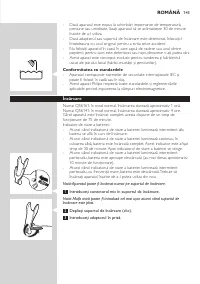


- If the appliance is subjected to a major change in temperature, pressure
or humidity, let the appliance acclimatise for 30 minutes before you use it.
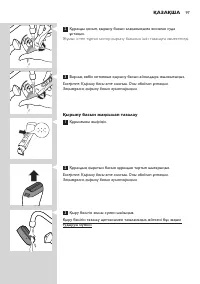
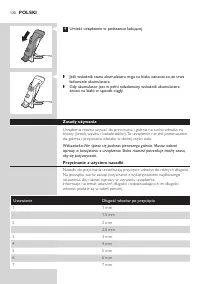
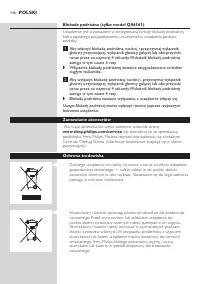
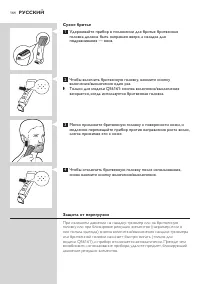
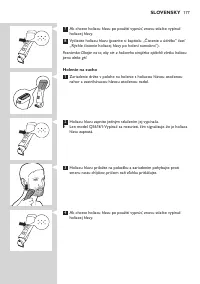
- If the adapter or the charging stand is damaged, always have it replaced
with one of the original types in order to avoid a hazard.
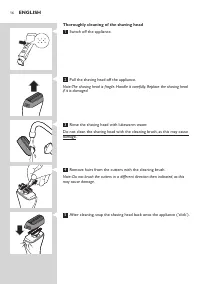
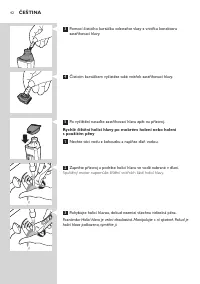
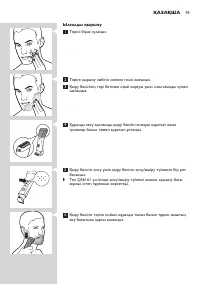
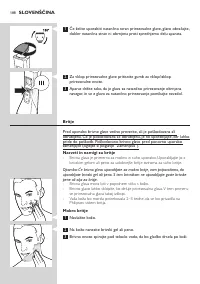
- Do not use the appliance if the shaving head or one of the trimming
combs is damaged or broken, as this may cause injur y.
- This appliance is only intended for trimming and dr y shaving facial hair
(beard, moustache and sideburns).
Compliance with standards
- The appliance complies with the internationally approved IEC safety
regulations and can be safely used in the bath or shower.
- This Philips appliance complies with all applicable standards and
regulations regarding exposure to electromagnetic fields.
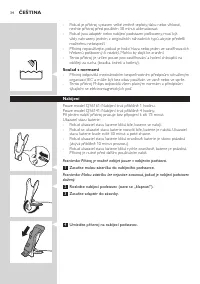
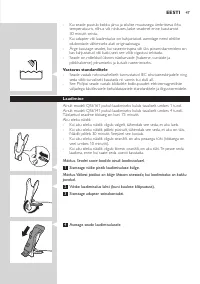
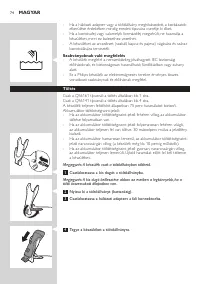
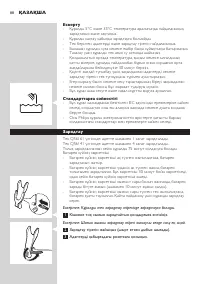
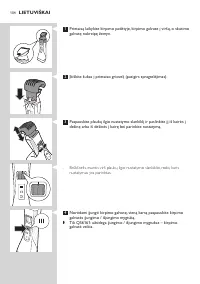
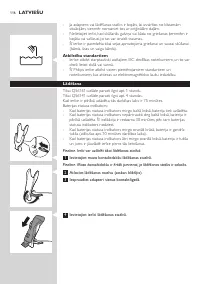
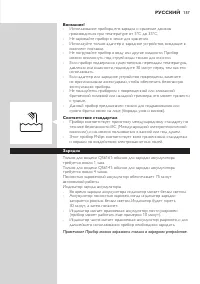
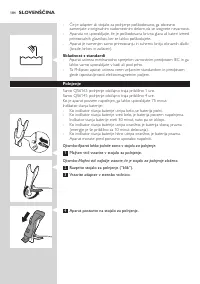
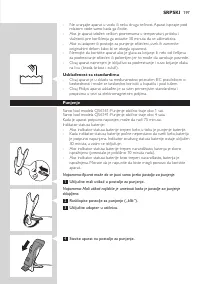
Charging
QS6161 only: Charging normally takes approx. 1 hour.
QS6141 only: Charging normally takes approx. 4 hours.
When the appliance is fully charged, it has an operating time of 75 minutes.
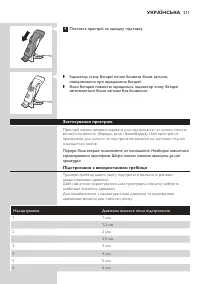
Batter y status indicator :
-
When the batter y status indicator flashes white, the batter y is charging.
- When the batter y status indicator lights up white continuously, the
batter y is fully charged. This indication is shown for 30 minutes. Then
the batter y status indicator goes out.
-
When the batter y status indicator flashes orange, the batter y is almost
empty (approx. 10 minutes of operating time left).
-
When the batter y status indicator flashes orange quickly, the batter y is
empty. You have to charge the appliance before you can use it again.
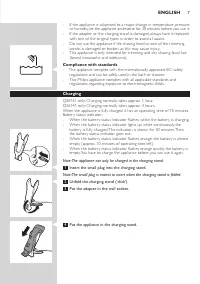
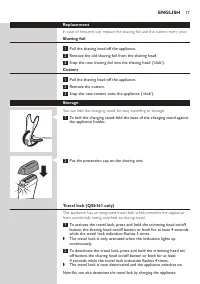
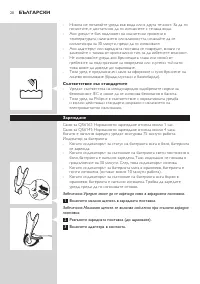
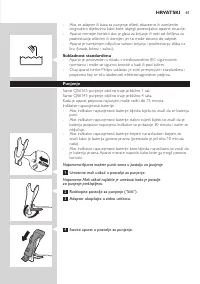
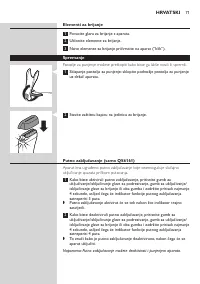
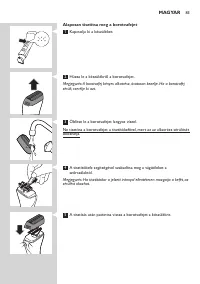
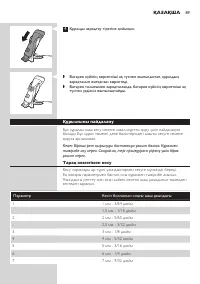
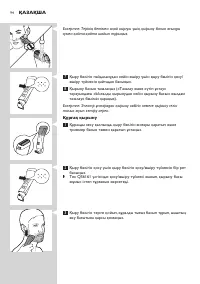
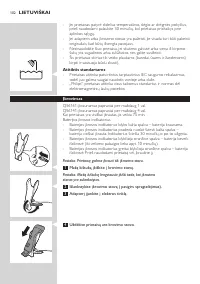
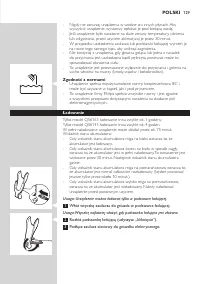
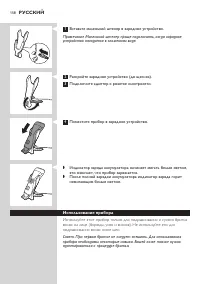
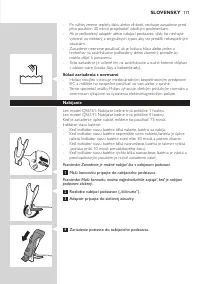
Note: The appliance can only be charged in the charging stand.
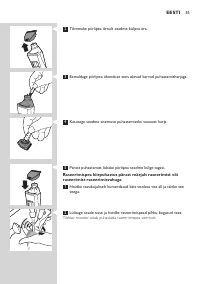
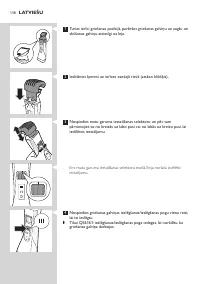
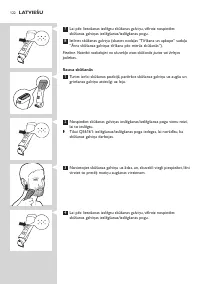
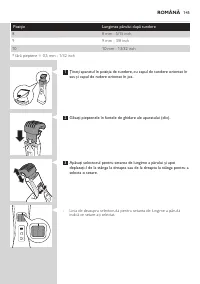
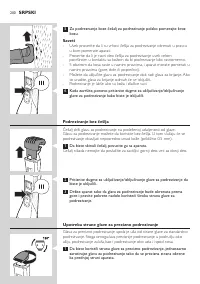
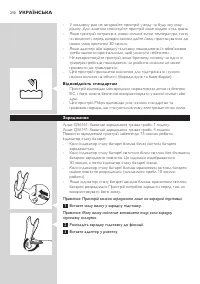
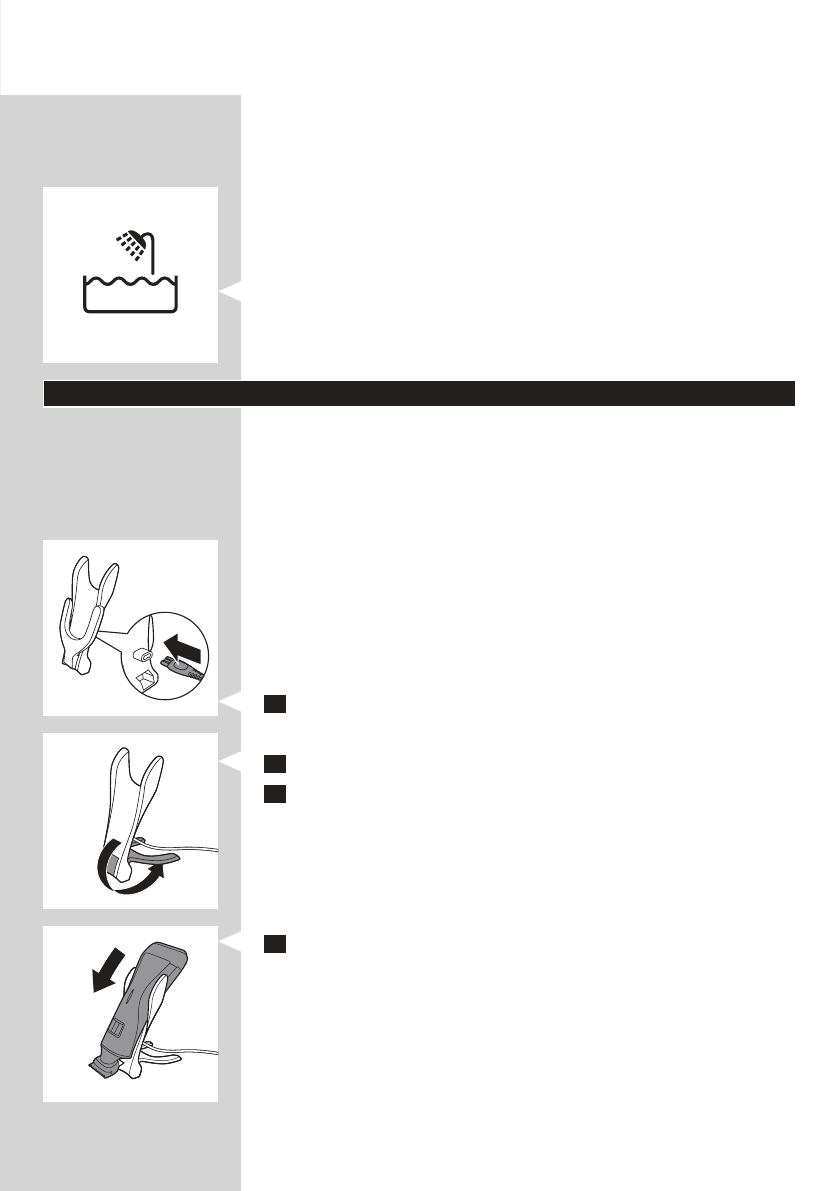
1
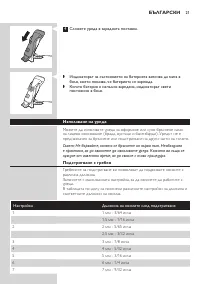
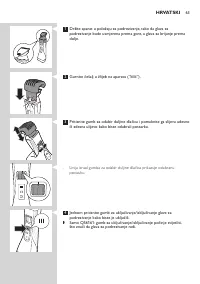
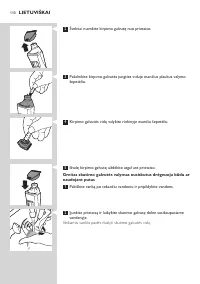
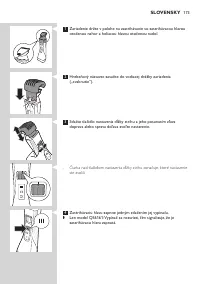
Insert the small plug into the charging stand.
Note: The small plug is easiest to insert when the charging stand is folded.
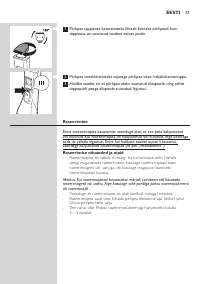
2
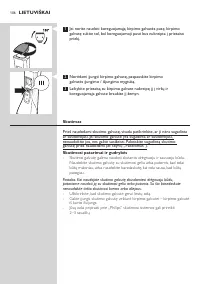
Unfold the charging stand (‘click’).
3
Put the adapter in the wall socket.
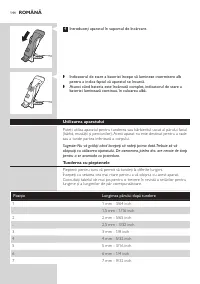
4
Put the appliance in the charging stand.
ENGLISH
7
Содержание
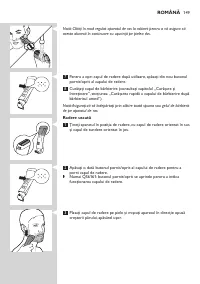
- 157 Примечание Прибор можно заряжать только в зарядном устройстве.
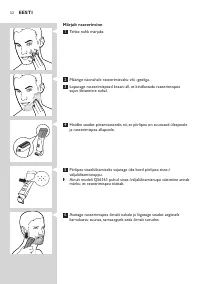
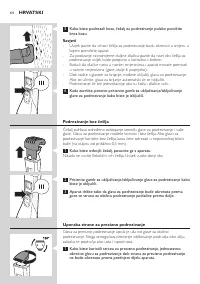
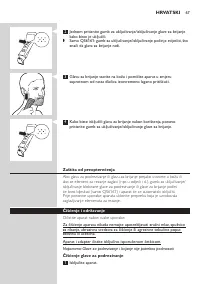
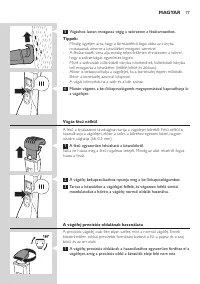
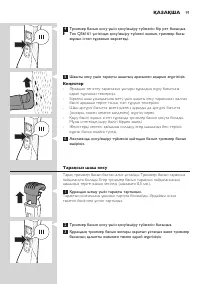
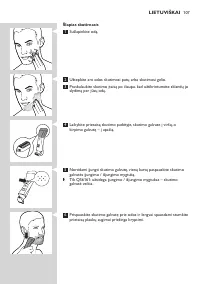
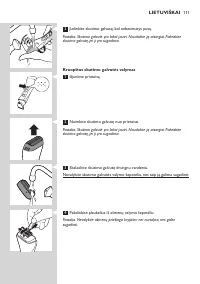
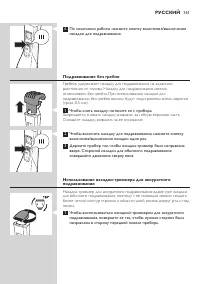
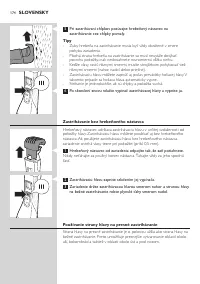
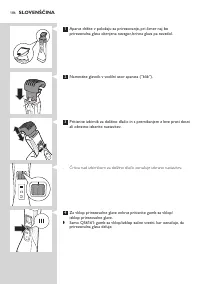
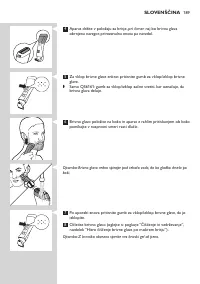
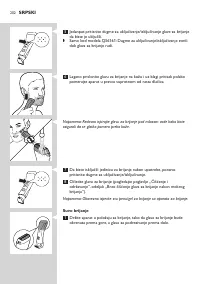
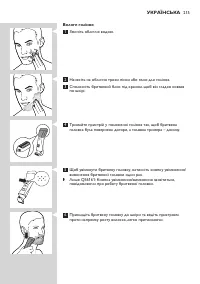
- 158 Использование прибора; подравнивания волос ниже шеи.
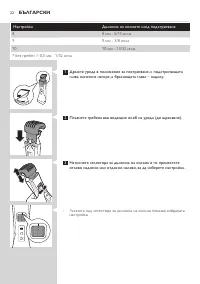
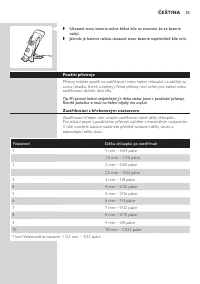
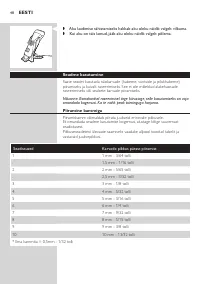
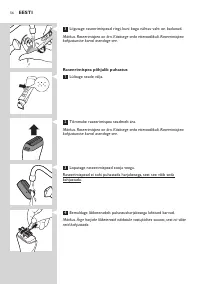
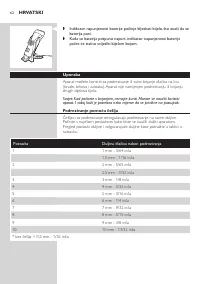
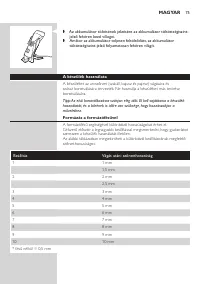
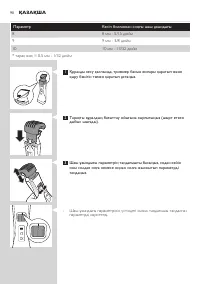
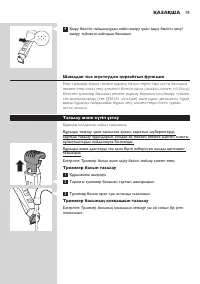
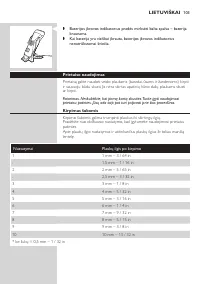
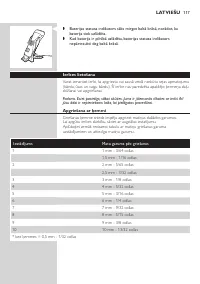
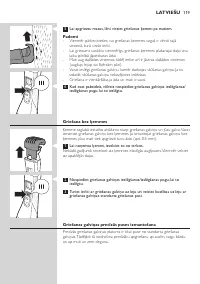
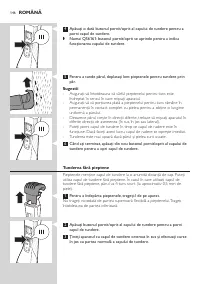
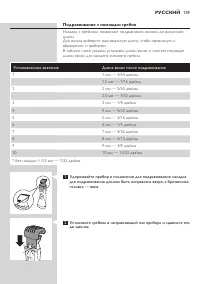
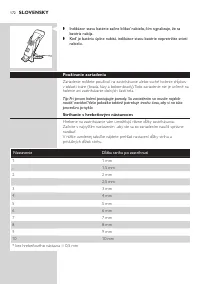
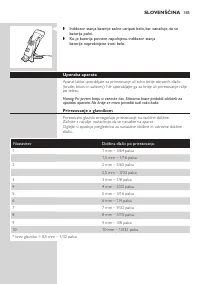
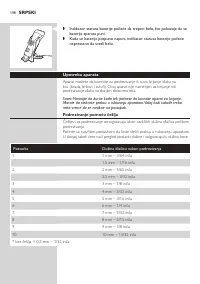
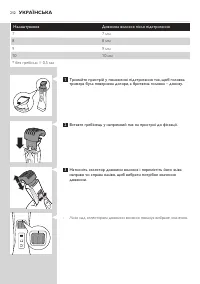
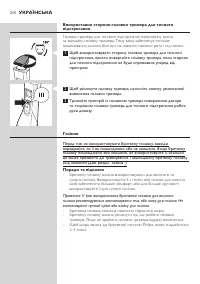
- 159 Подравнивание с помощью гребня; Насадки с гребнями позволяют подравнивать волосы до различной
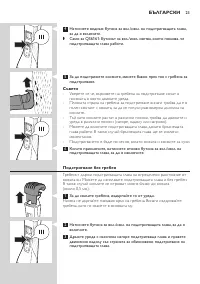
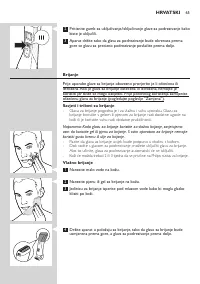
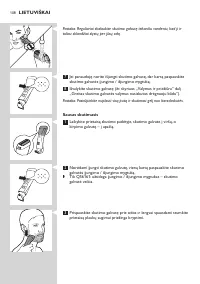
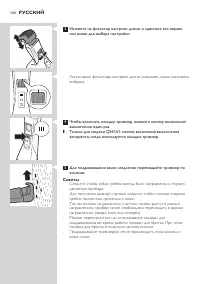
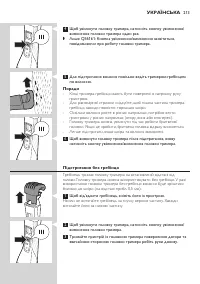
- 160 Советы
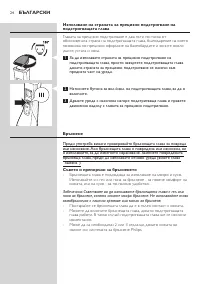
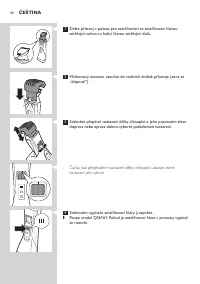
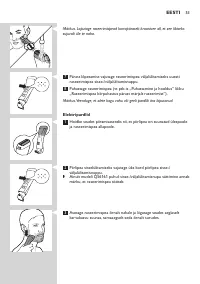
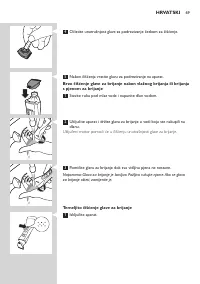
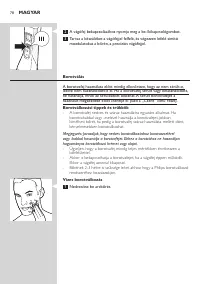
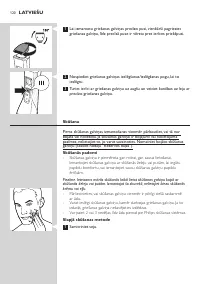
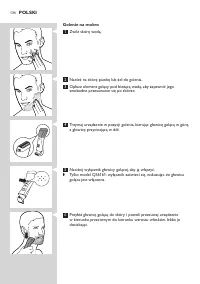
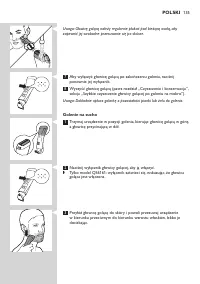
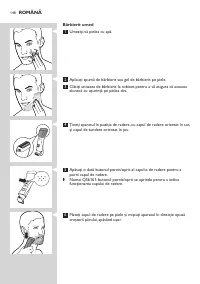
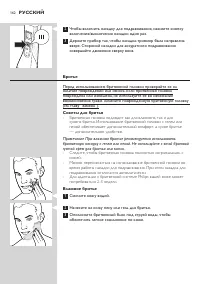
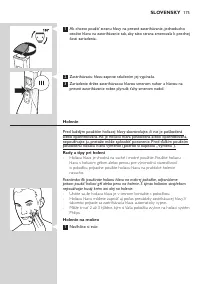
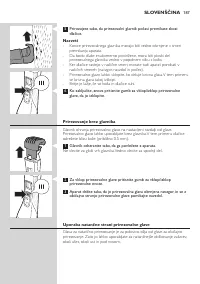
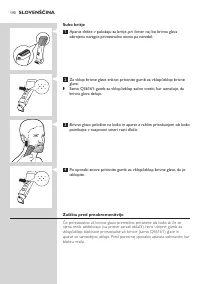
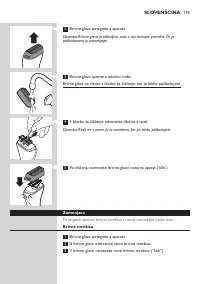
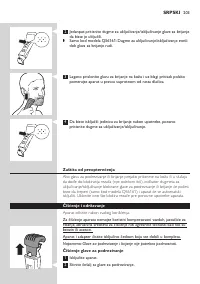
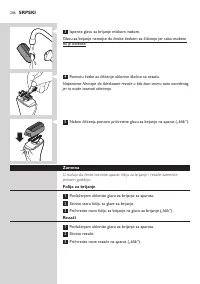
- 162 Примечание При влажном бритье рекомендуется использовать; Влажное бритье
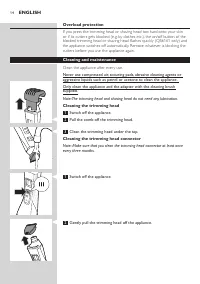
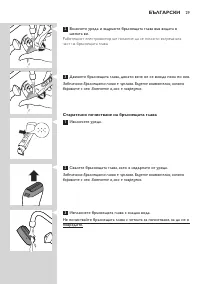
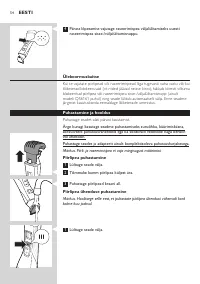
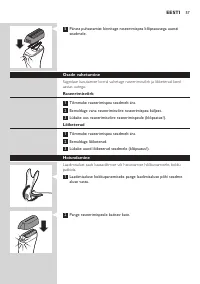
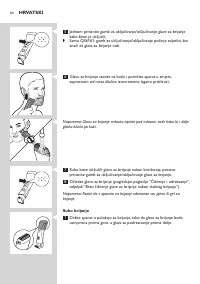
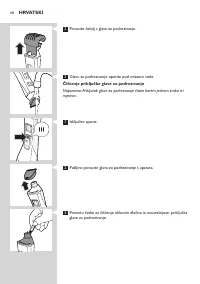
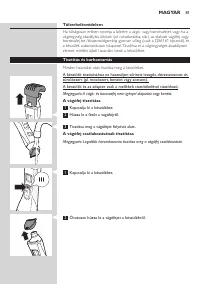
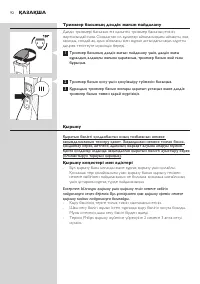
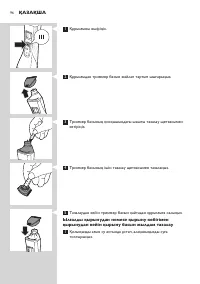
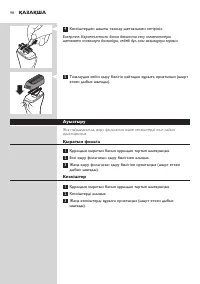
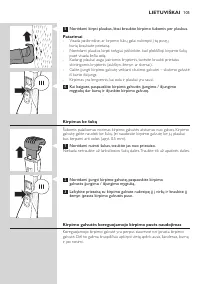
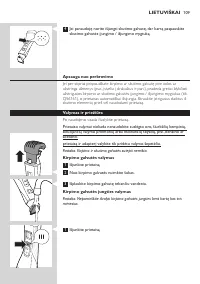
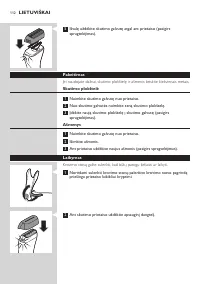
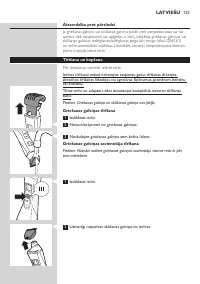
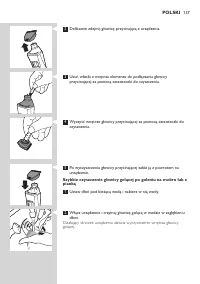
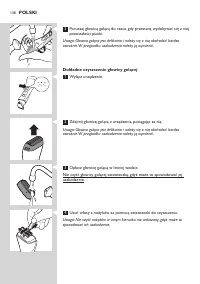
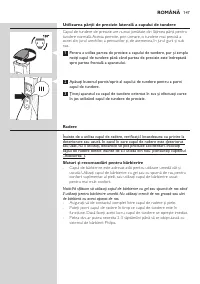
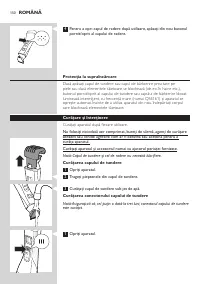
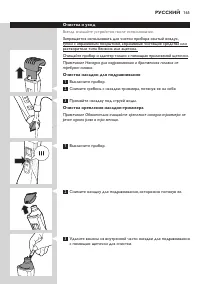
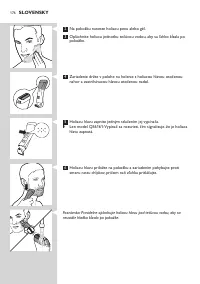
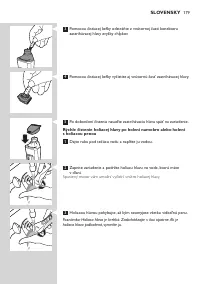
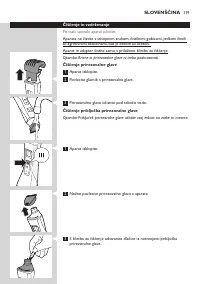
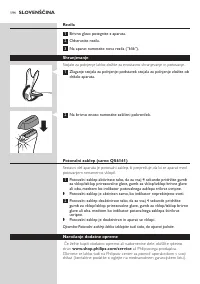
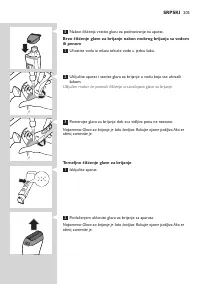
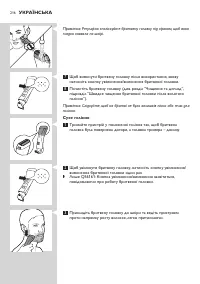
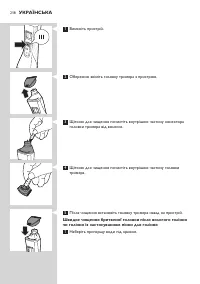
- 165 Очистка и уход; Всегда очищайте устройство после использования.; Очистка насадки для подравнивания; Примечание Обязательно очищайте крепление насадки-триммера не
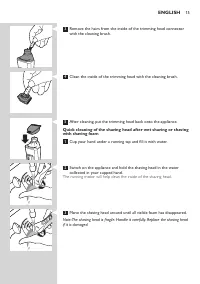
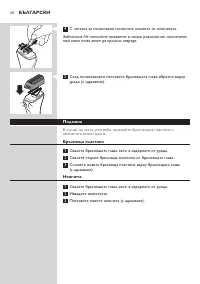
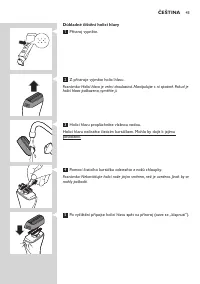
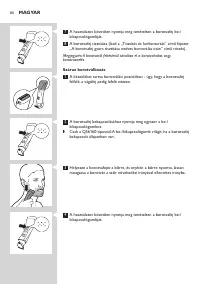
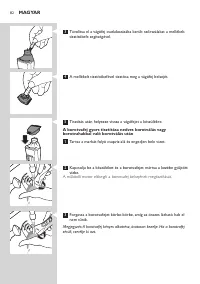
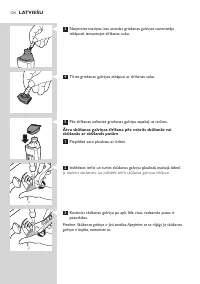
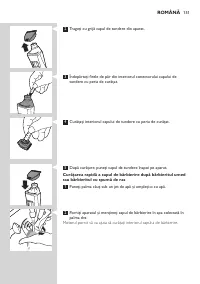
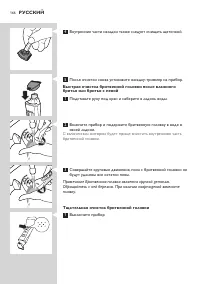
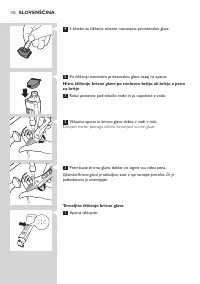
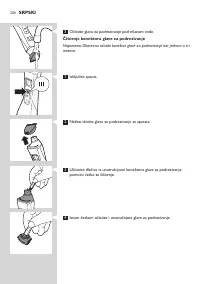
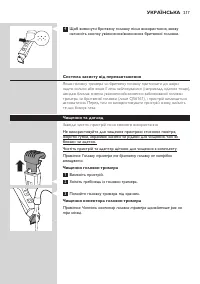
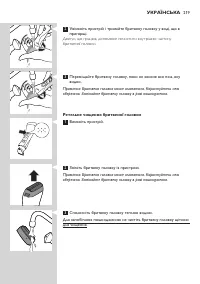
- 166 С включенным мотором будет проще очистить внутреннюю часть; Тщательная очистка бритвенной головки
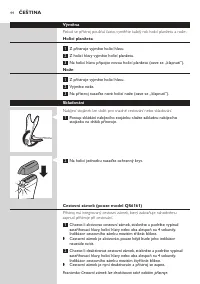
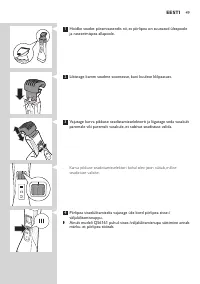
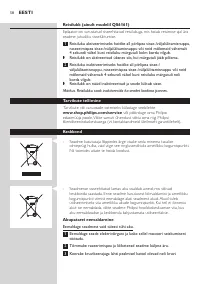
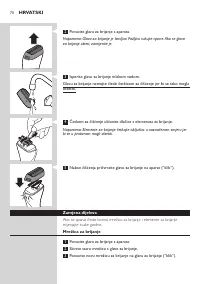
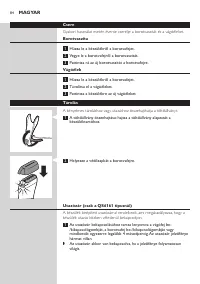
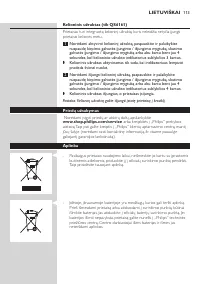
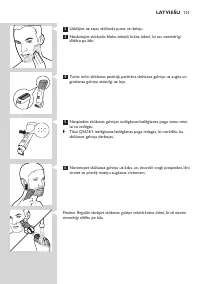
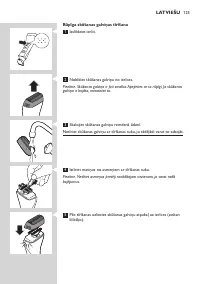
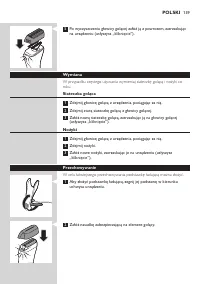
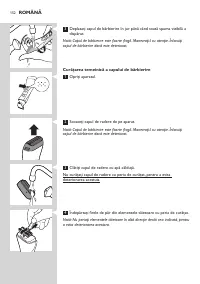
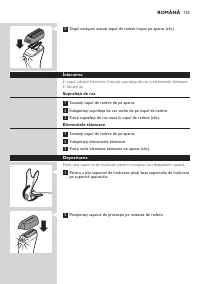
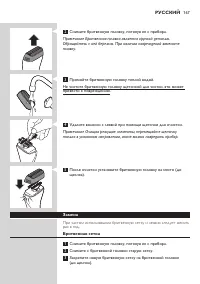
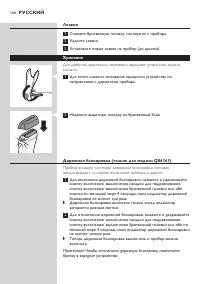
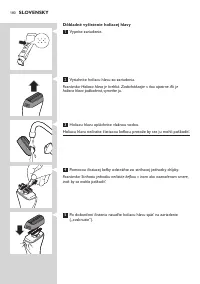
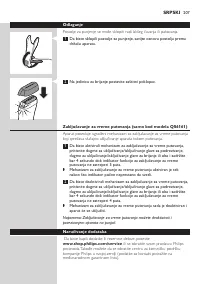
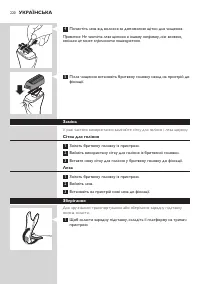
- 167 Замена
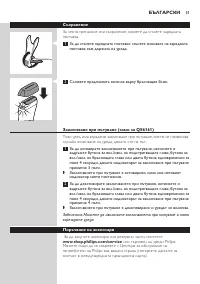
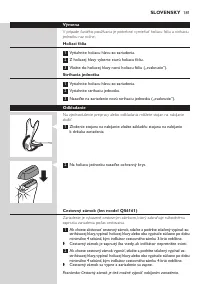
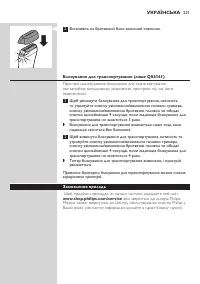
- 168 Для удобства хранения и перевозки зарядное устройство можно; Дорожная блокировка (только для модели QS6161); Прибор оснащен системой дорожной блокировки, которая


