Машинки для стрижки Philips QS6140/15 - инструкция пользователя по применению, эксплуатации и установке на русском языке. Мы надеемся, она поможет вам решить возникшие у вас вопросы при эксплуатации техники.
Если остались вопросы, задайте их в комментариях после инструкции.
"Загружаем инструкцию", означает, что нужно подождать пока файл загрузится и можно будет его читать онлайн. Некоторые инструкции очень большие и время их появления зависит от вашей скорости интернета.


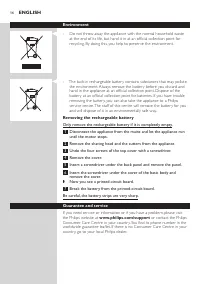


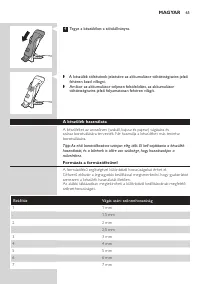


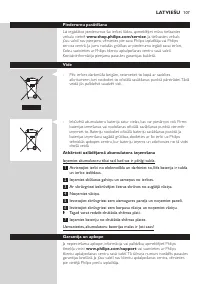


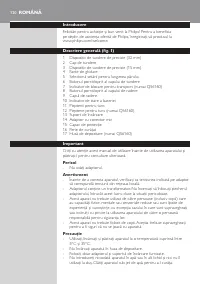


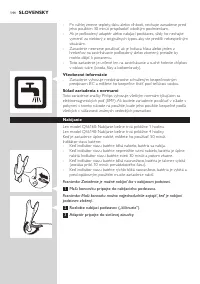


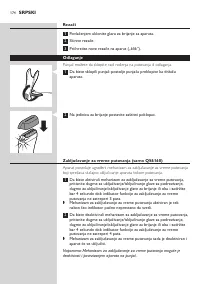


- If the appliance is subjected to a major change in temperature, pressure
or humidity, let the appliance acclimatise for 30 minutes before you use it.
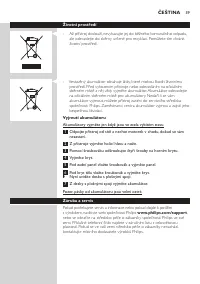
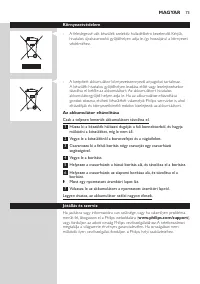
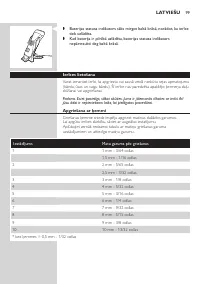
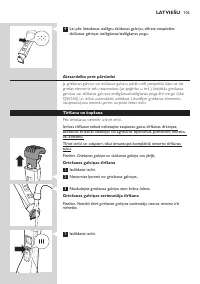
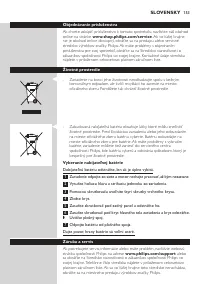
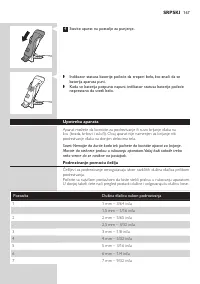
- If the adapter or the charging stand is damaged, always have it replaced
with one of the original types in order to avoid a hazard.
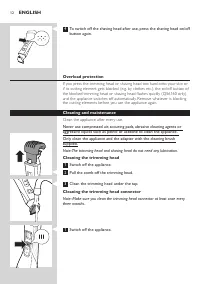
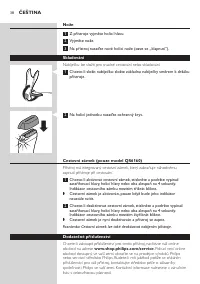
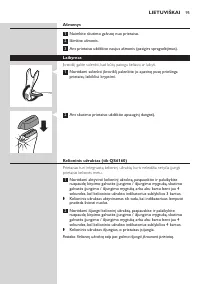
- Do not use the appliance if the shaving head or one of the trimming
combs is damaged or broken, as this may cause injur y.
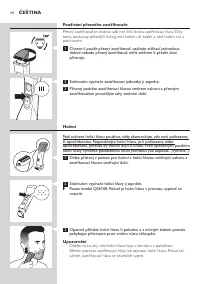
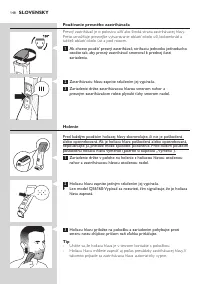
- This appliance is only intended for trimming and dr y shaving facial hair
(beard, moustache and sideburns).
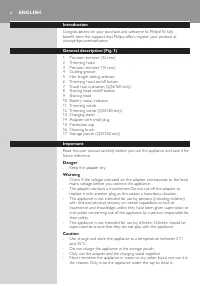
general
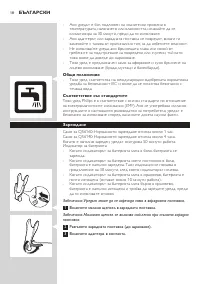
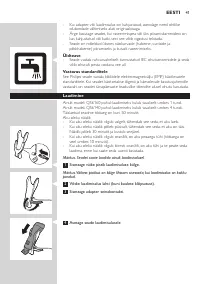
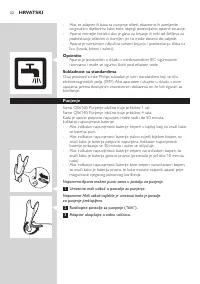
- The appliance complies with the internationally approved IEC safety
regulations and can be safely cleaned under the tap.
Compliance with standards
This Philips appliance complies with all standards regarding electromagnetic
fields (EMF). If handled according to the instructions in this user manual, the
appliance is safe to use based on scientific evidence available today.
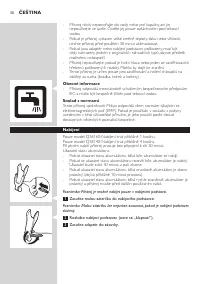
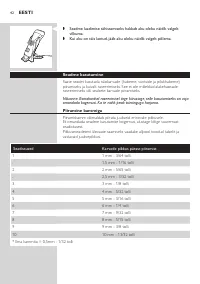
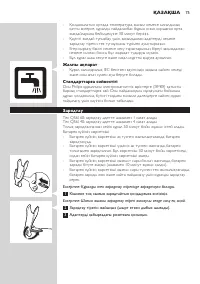
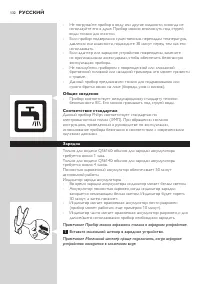
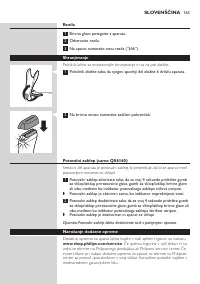
Charging
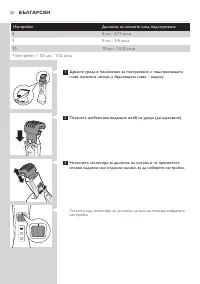
QS6160 only: Charging normally takes approx. 1 hour.
QS6140 only: Charging normally takes approx. 4 hours.
When the appliance is fully charged, it has an operating time of 50 minutes.
Batter y status indicator :
-
When the batter y status indicator flashes white, the batter y is being
charged.
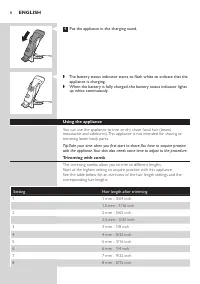
- When the batter y status indicator lights up white continuously, the
batter y is fully charged. This indication is shown for 30 minutes and
then the batter y status indicator goes out.
-
When the batter y status indicator flashes orange, the batter y is almost
empty (approx. 10 minutes of operating time left).
-
When the batter y status indicator flashes orange quickly, the batter y
is empty and you have to charge the appliance before you can use it
again.
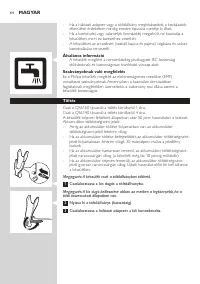
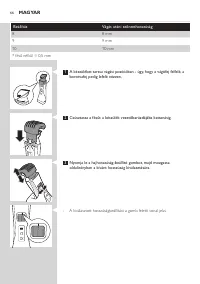
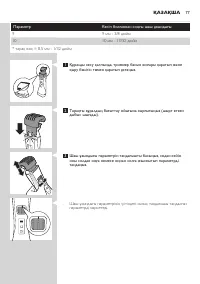
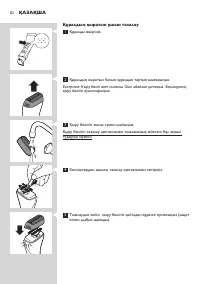
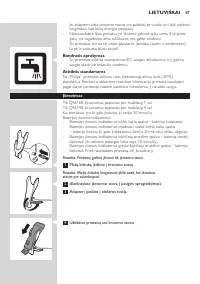
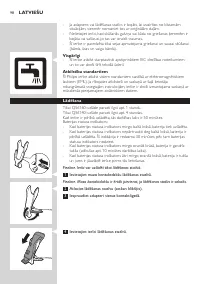
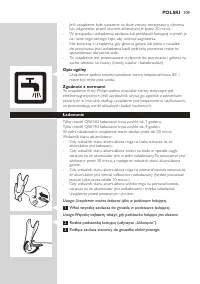
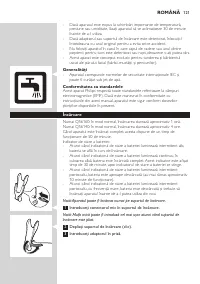
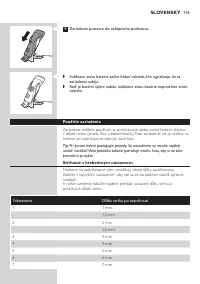
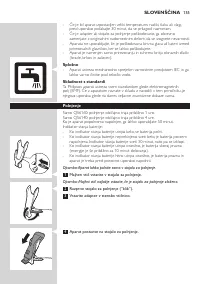
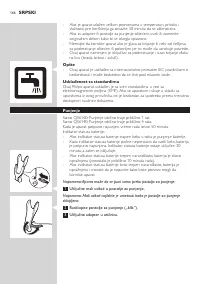
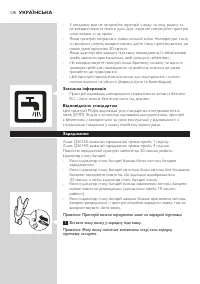
Note: The appliance can only be charged in the charging stand.
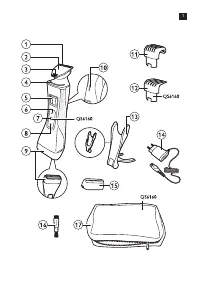
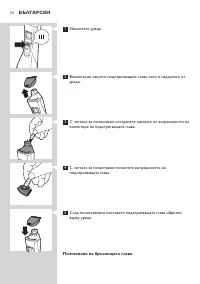
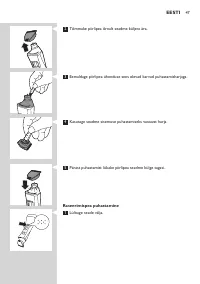
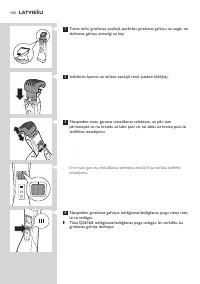
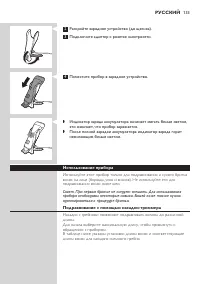
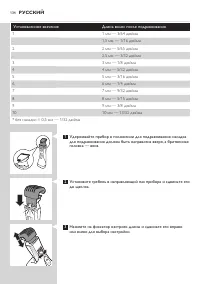
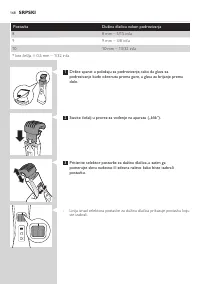
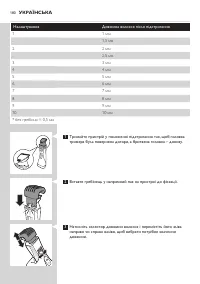
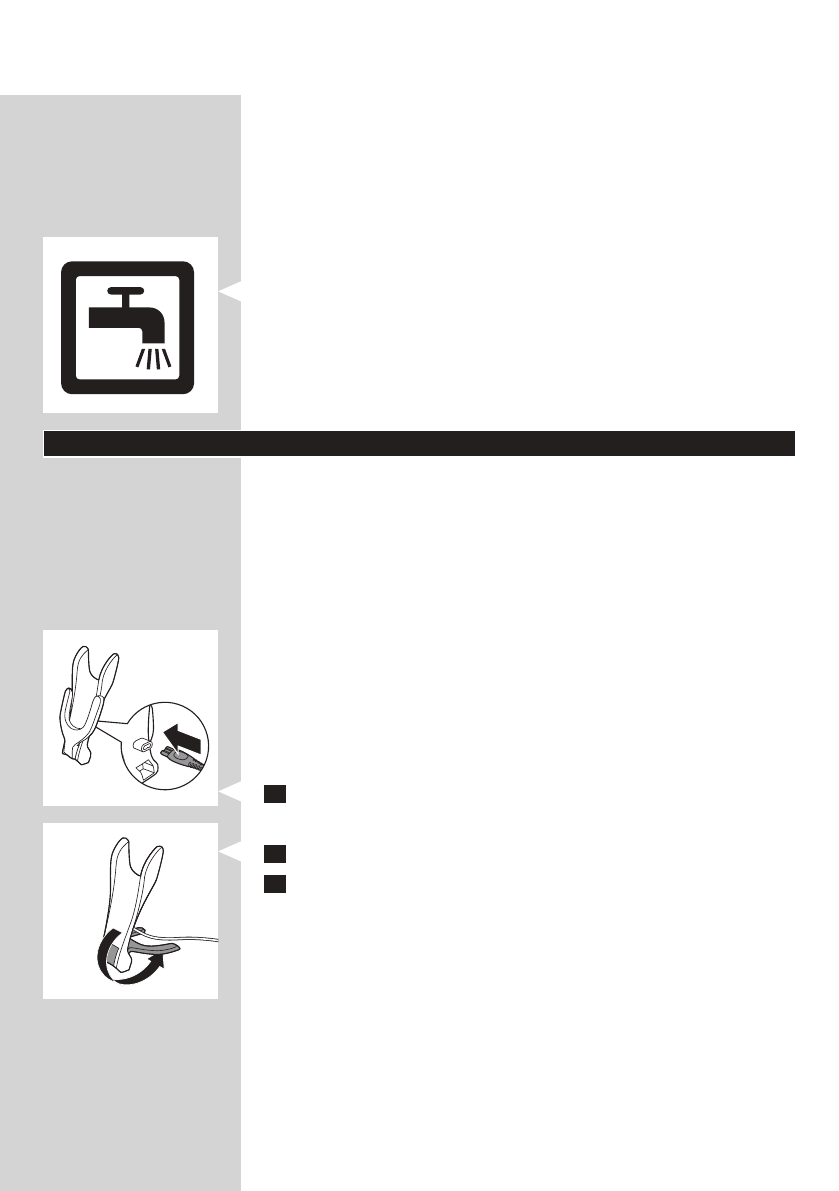
1
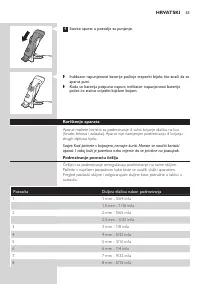
Insert the small plug into the charging stand.
Note: The small plug is easiest to insert when the charging stand is folded.
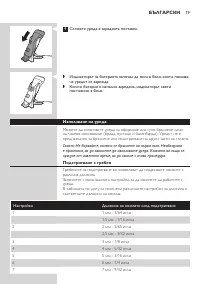
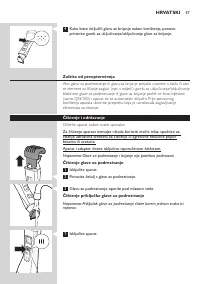
2
Unfold the charging stand (‘click’).
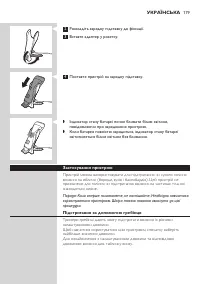
3
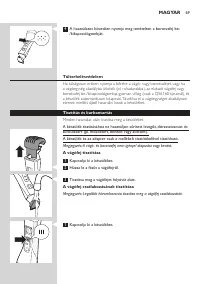
Put the adapter in the wall socket.
EngliSh
7
Содержание
- 132 Примечание Прибор можно заряжать только в зарядном устройстве.
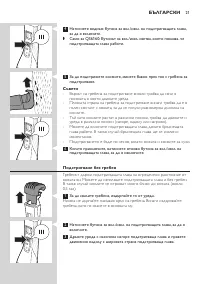
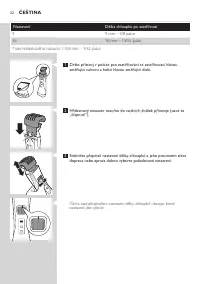
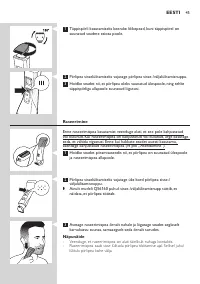
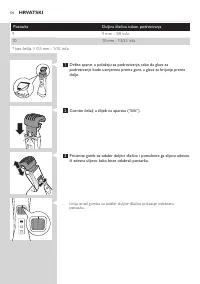
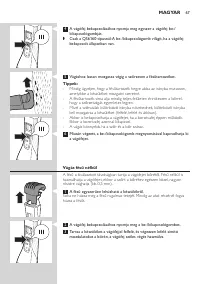
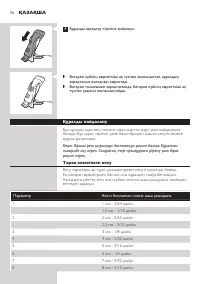
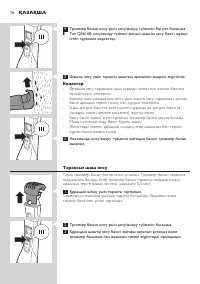
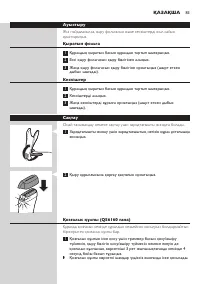
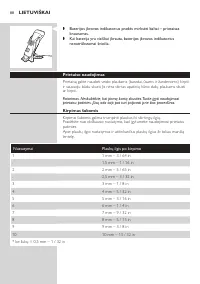
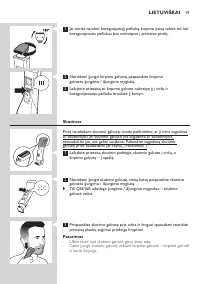
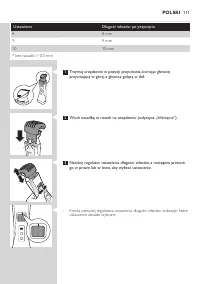
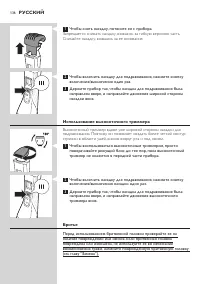
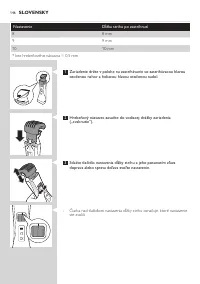
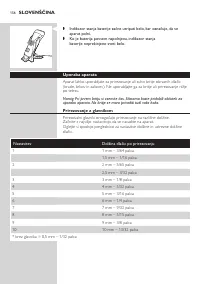
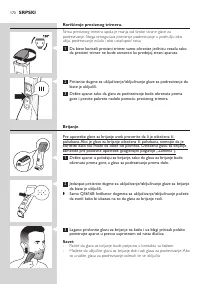
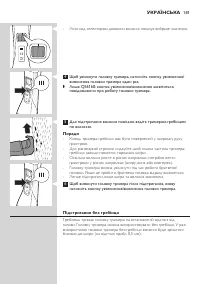
- 133 использование прибора; Совет. При первом бритье не следует спешить. Для использования; Подравнивание с помощью насадки-триммера
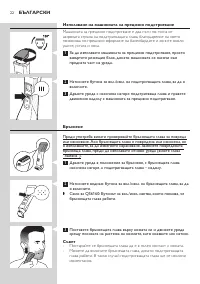
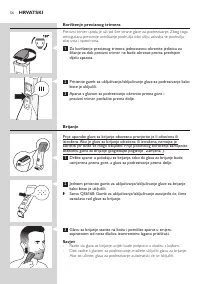
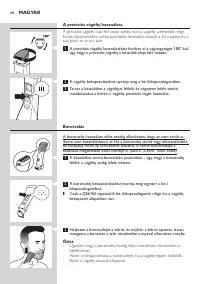
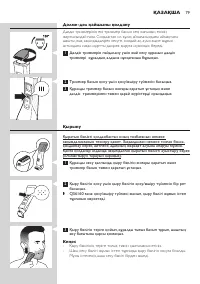
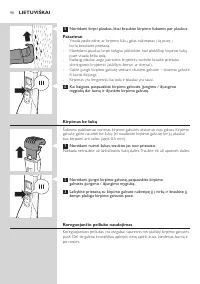
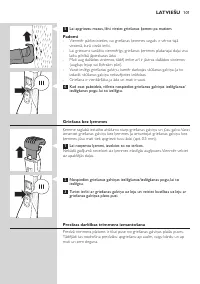
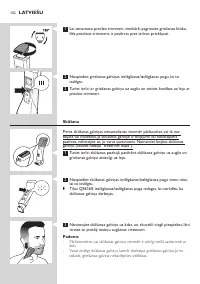
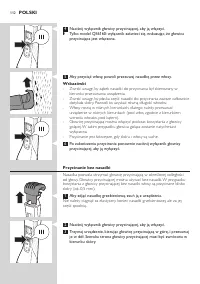
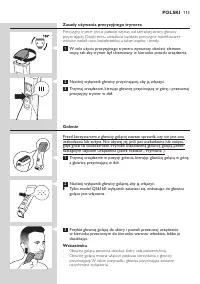
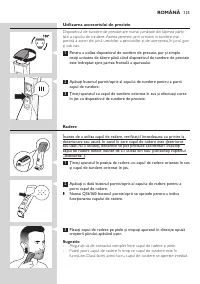
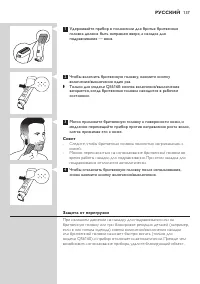
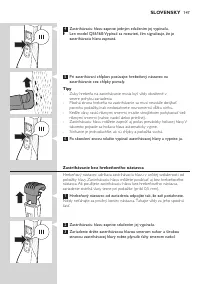
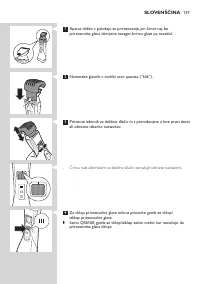
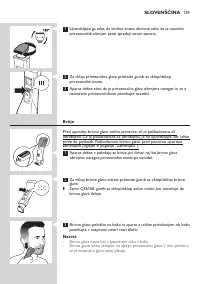
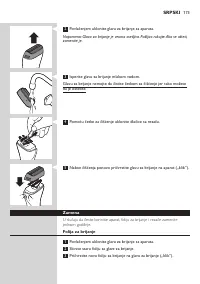
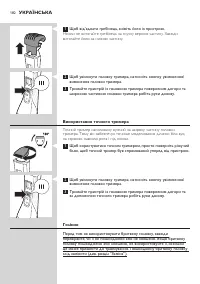
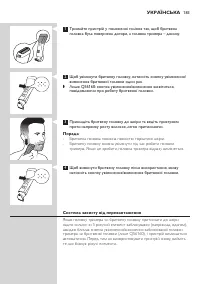
- 136 использование высокоточного триммера; Высокоточный триммер вдвое уже широкой стороны насадки для; Бритье
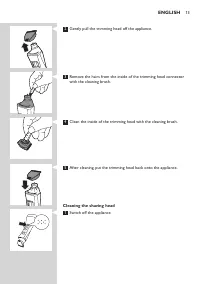
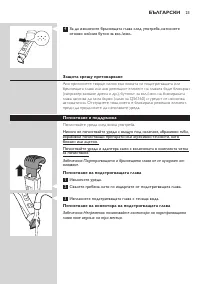
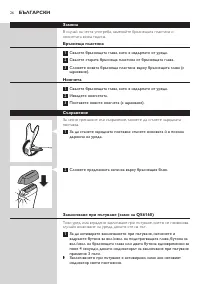
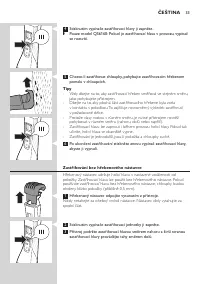
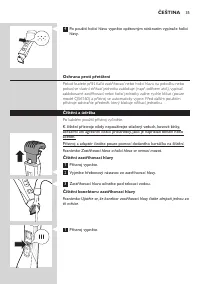
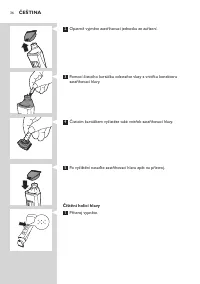
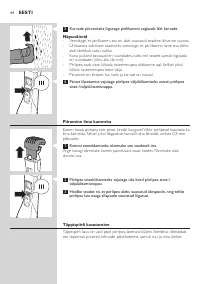
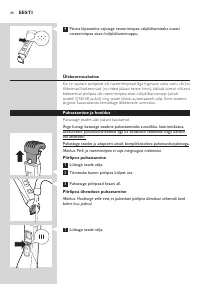
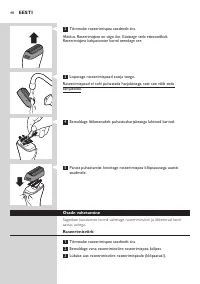
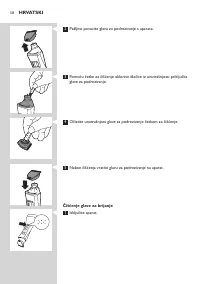
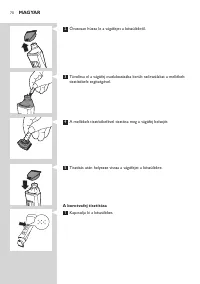
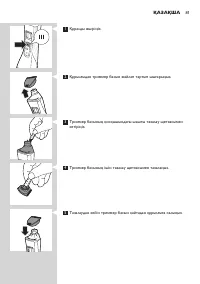
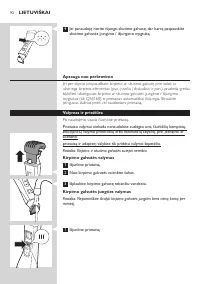
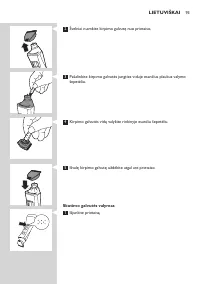
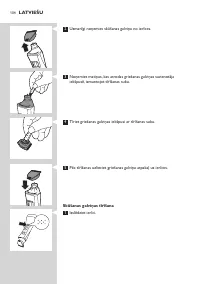
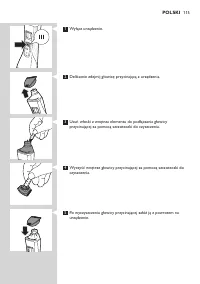
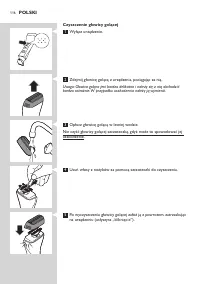
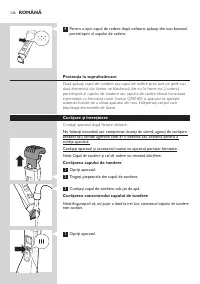
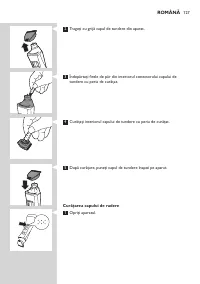
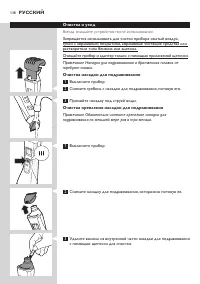
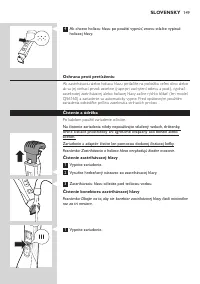
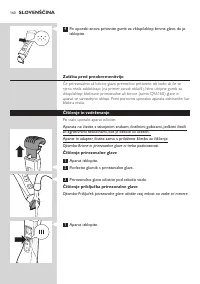
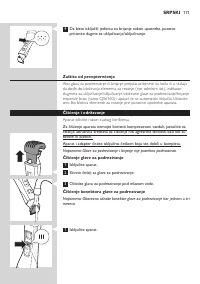
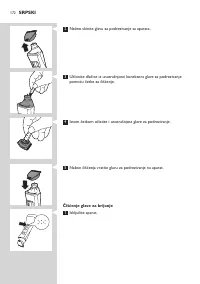
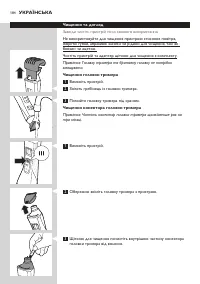
- 138 Очистка и уход; Всегда очищайте устройство после использования.; Очистка насадки для подравнивания; Примечание Обязательно чистите крепление насадки для
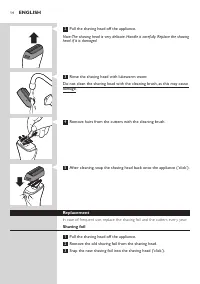
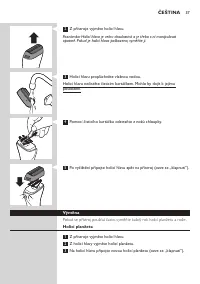
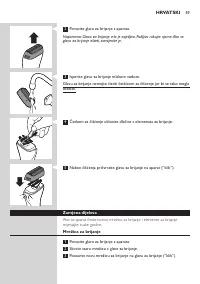
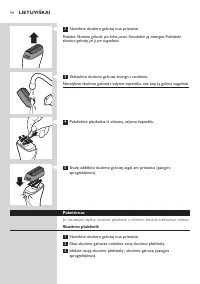
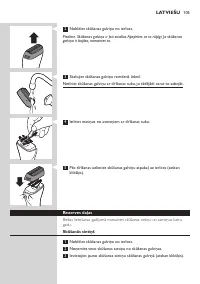
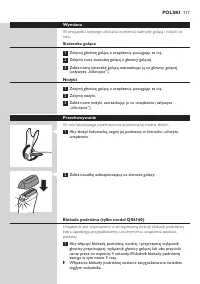
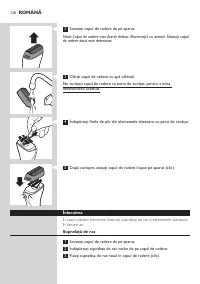
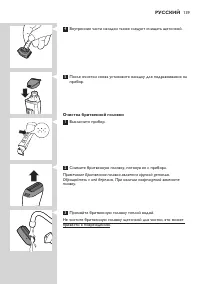
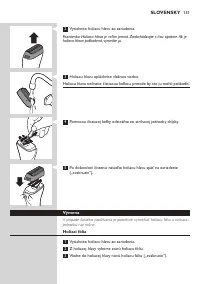
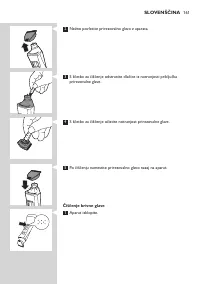
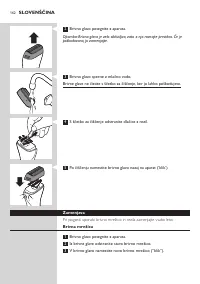
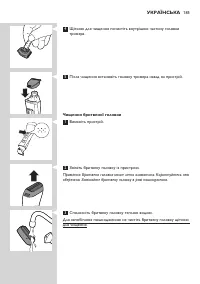
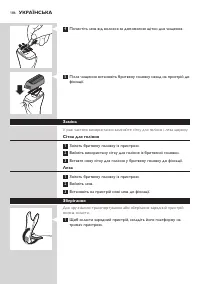
- 139 Очистка бритвенной головки; Примечание Бритвенная головка является хрупкой деталью.
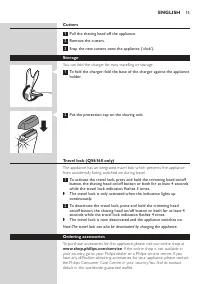
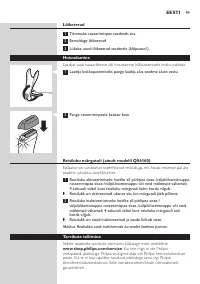
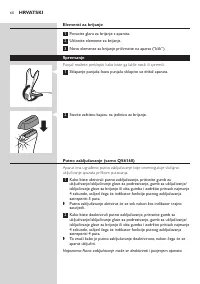
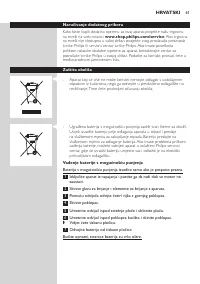
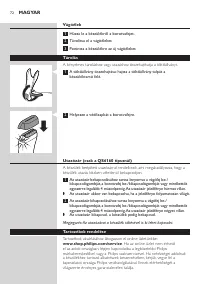
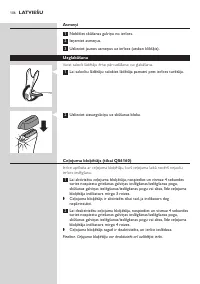
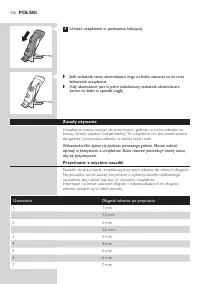
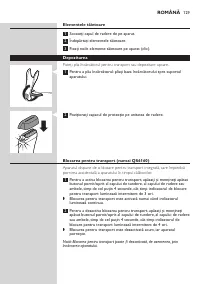
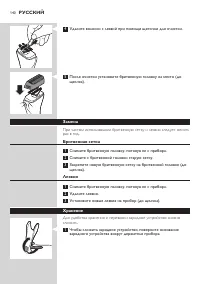
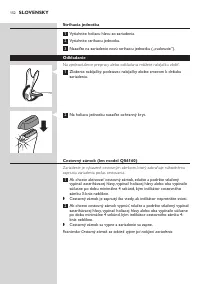
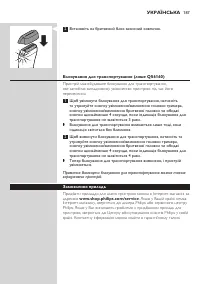
- 140 Для удобства хранения и перевозки зарядное устройство можно
- 141 Дорожная блокировка (только для модели Qs6160); Примечание Дорожную блокировку также можно отключить, поставив; Заказ дополнительных принадлежностей


