Машинки для стрижки Philips QC5132/15 - инструкция пользователя по применению, эксплуатации и установке на русском языке. Мы надеемся, она поможет вам решить возникшие у вас вопросы при эксплуатации техники.
Если остались вопросы, задайте их в комментариях после инструкции.
"Загружаем инструкцию", означает, что нужно подождать пока файл загрузится и можно будет его читать онлайн. Некоторые инструкции очень большие и время их появления зависит от вашей скорости интернета.


Electromagnetic fields (EMF)
This Philips appliance complies with all applicable standards and regulations
regarding exposure to electromagnetic fields.
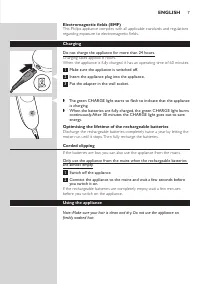
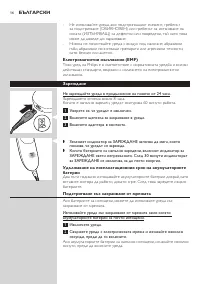
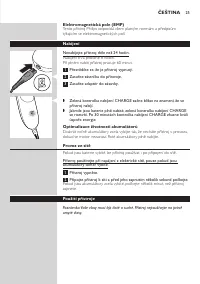
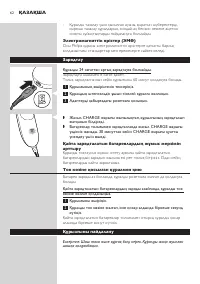
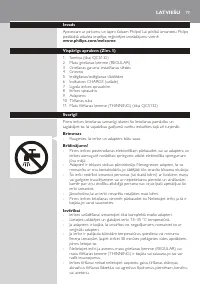
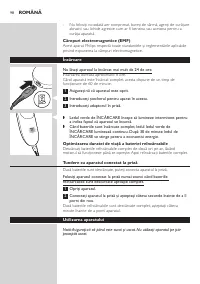
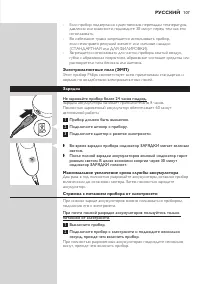
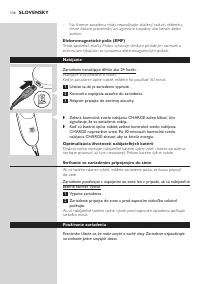
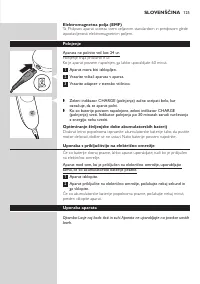
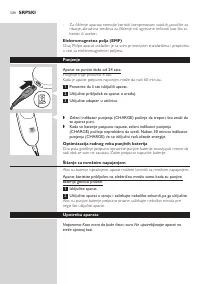
Charging
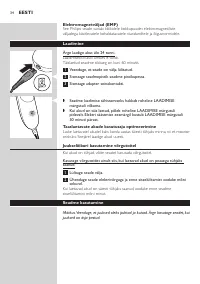
Do not charge the appliance for more than 24 hours.
Charging takes approx. 8 hours.
When the appliance is fully charged, it has an operating time of 60 minutes.
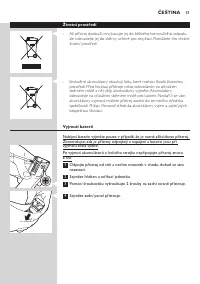
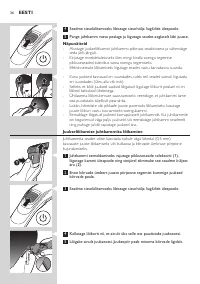
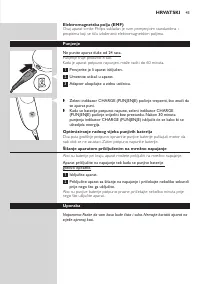
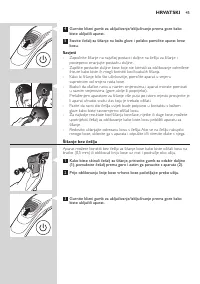
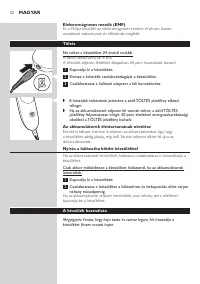
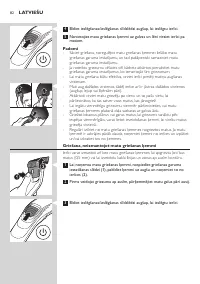
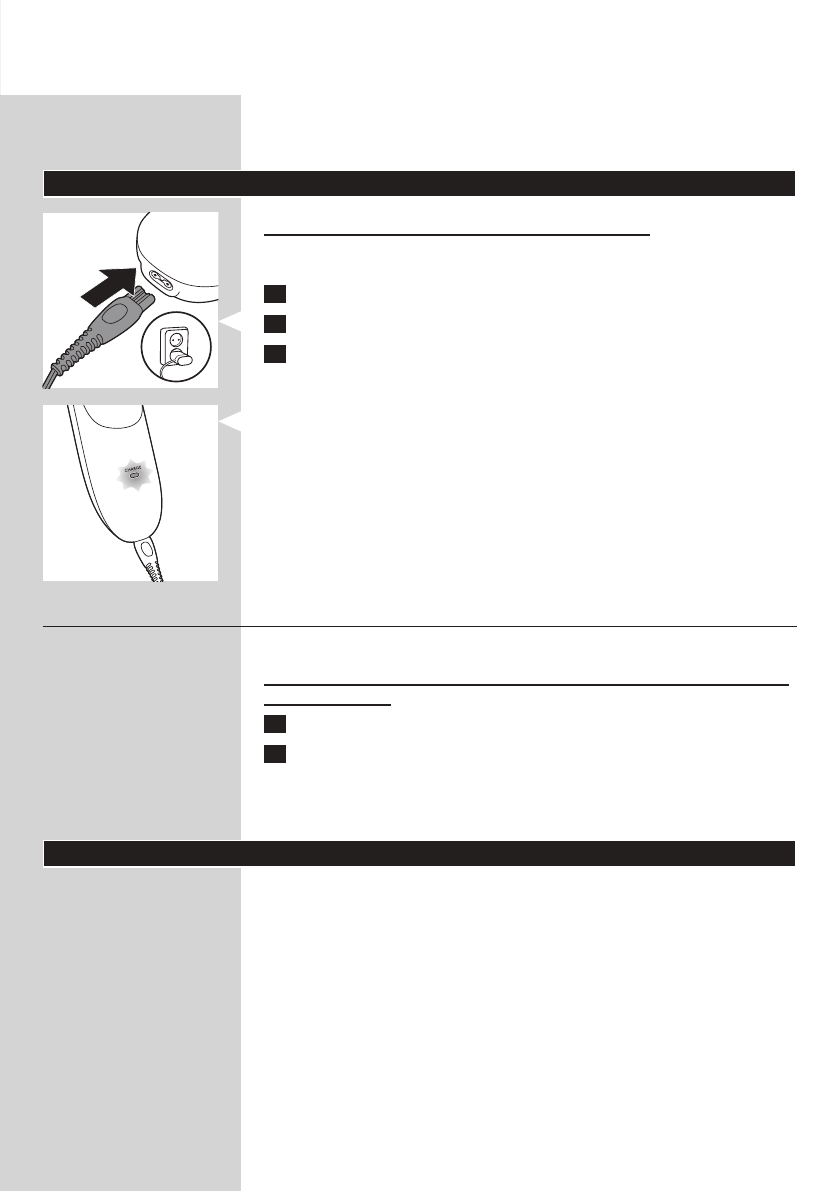
1
Make sure the appliance is switched off.
2
Insert the appliance plug into the appliance.
3
Put the adapter in the wall socket.
,
The green CHARGE light starts to flash to indicate that the appliance
is charging.
,
When the batteries are fully charged, the green CHARGE light burns
continuously. After 30 minutes the CHARGE light goes out to save
energy.
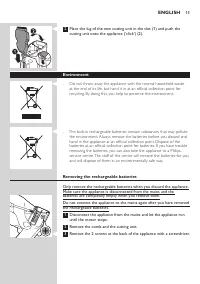
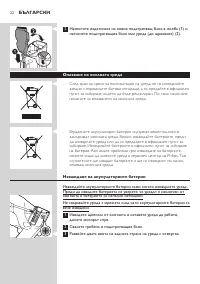
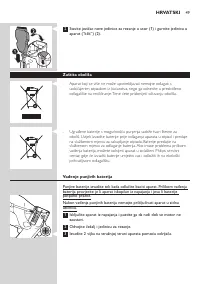
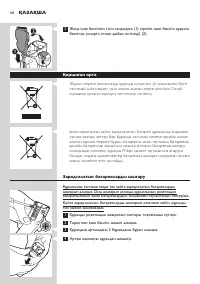
Optimising the lifetime of the rechargeable batteries
Discharge the rechargeable batteries completely twice a year by letting the
motor run until it stops. Then fully recharge the batteries.
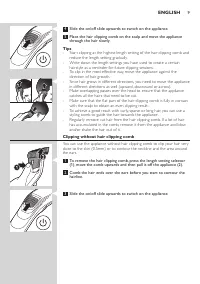
Corded clipping
If the batteries are low, you can also use the appliance from the mains.
Only use the appliance from the mains when the rechargeable batteries
are almost empty.
1
Switch off the appliance.
2
Connect the appliance to the mains and wait a few seconds before
you switch it on.
If the rechargeable batteries are completely empty, wait a few minutes
before you switch on the appliance.
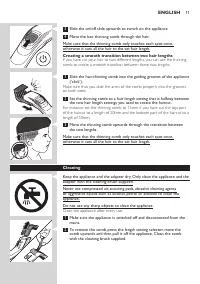
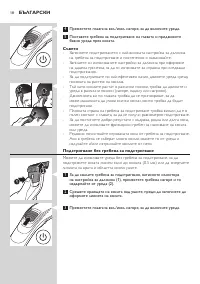
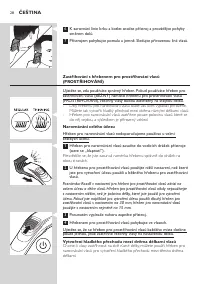
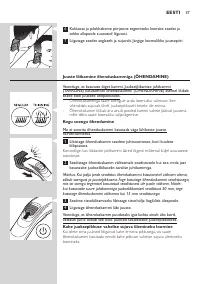
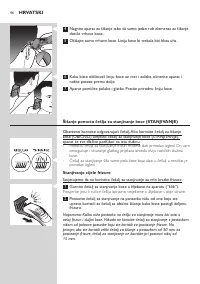
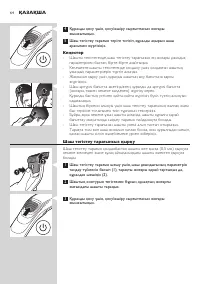
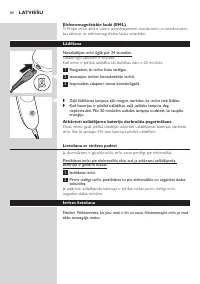
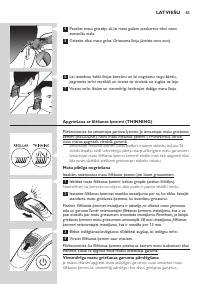
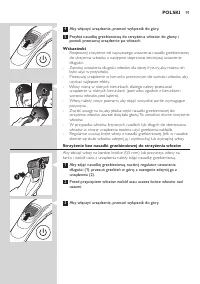
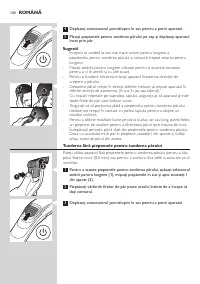
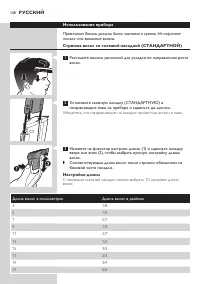
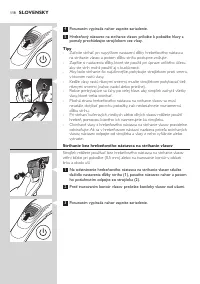
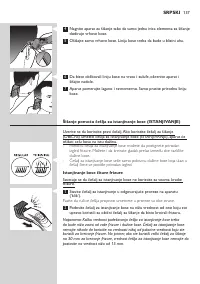
Using the appliance
Note: Make sure your hair is clean and dry. Do not use the appliance on
freshly washed hair.
ENGLISH
7
Содержание
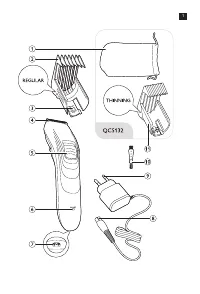
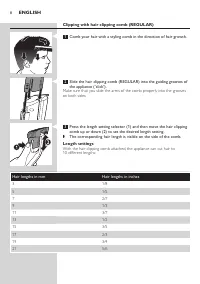
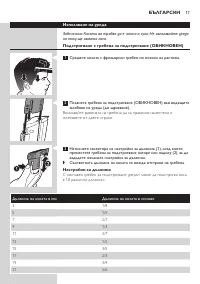
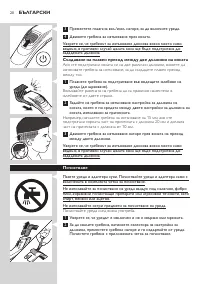
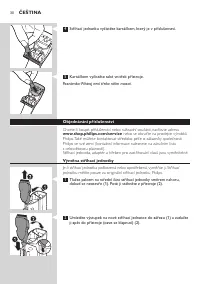
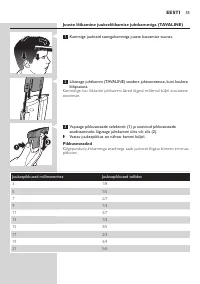
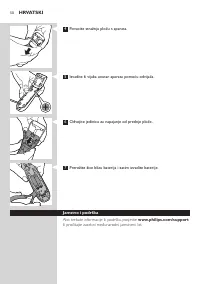
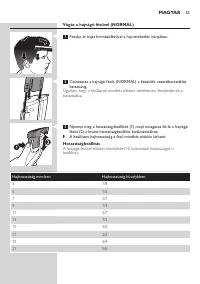
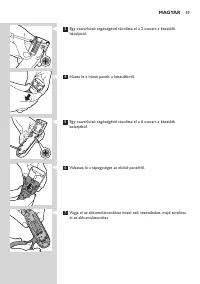
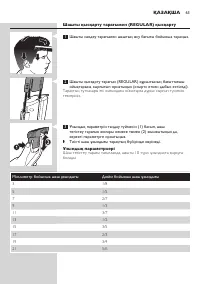
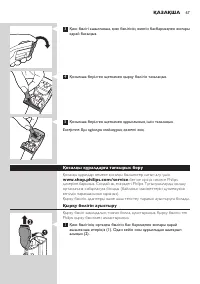
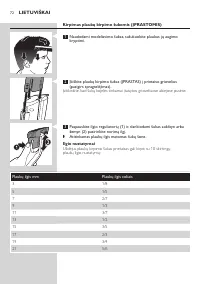
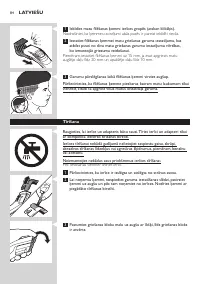
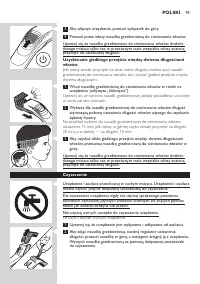
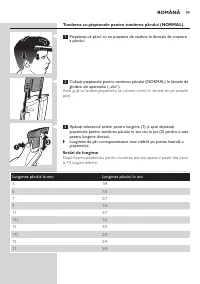
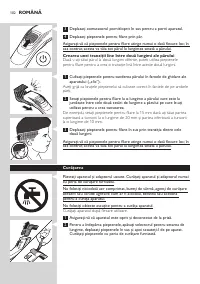
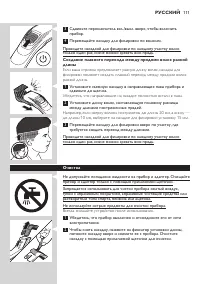
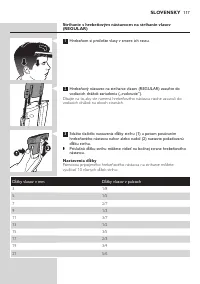
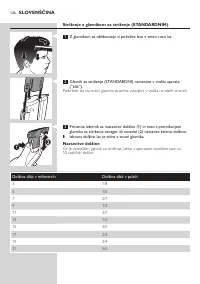
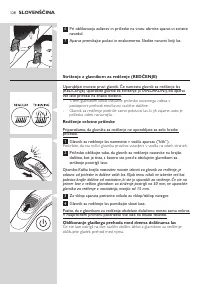
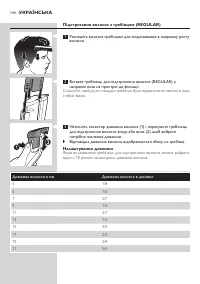
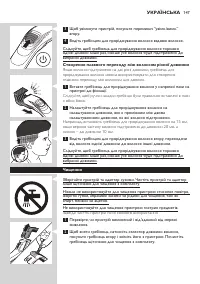
- 108 Использование прибора; Примечание Волосы должны быть чистыми и сухими. Не стригите; Стрижка волос со съемной насадкой (СТАНДАРТНОЙ); Убедитесь, что направляющие на насадке полностью встали в пазы.; Настройки длины; С помощью съемной насадки можно выбрать 10 настроек длины
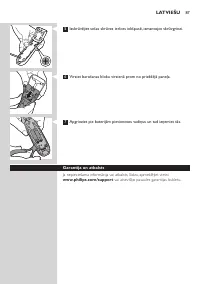
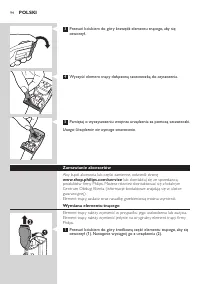
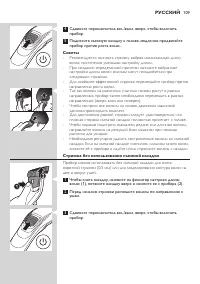
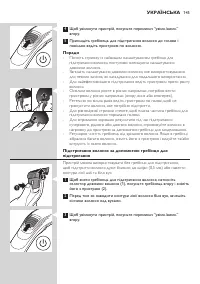
- 109 Советы; Чтобы снять насадку, нажмите на фиксатор настроек длины
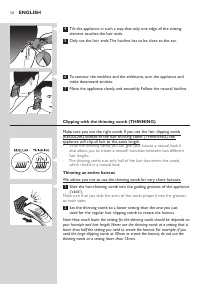
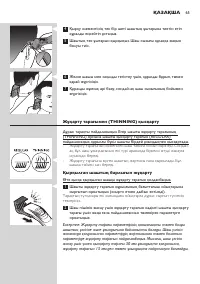
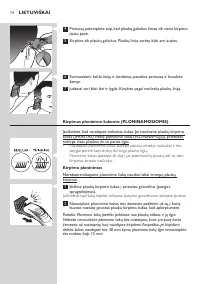
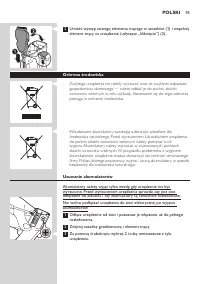
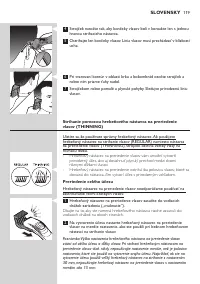
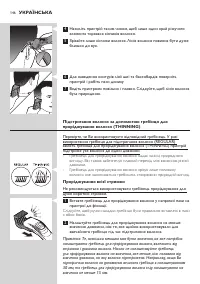
- 110 Примечание Разница длины для стрижки и филировки зависит от
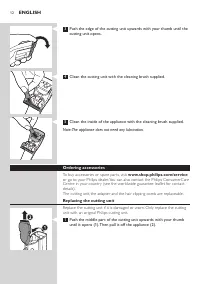
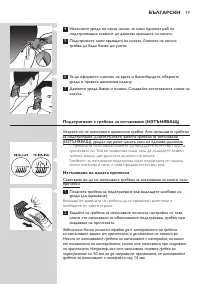
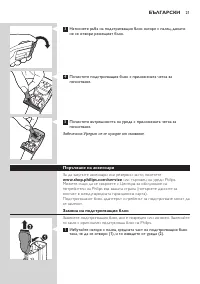
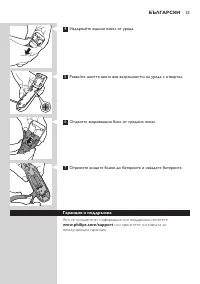
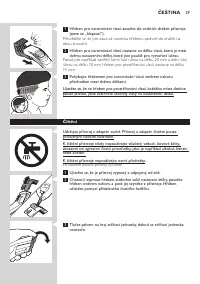
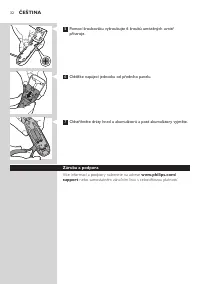
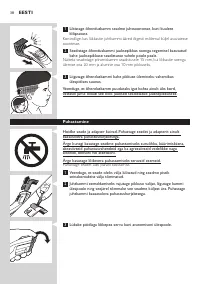
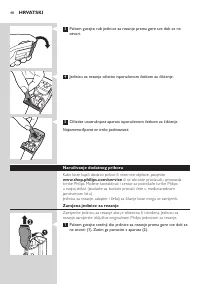
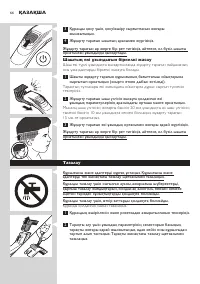
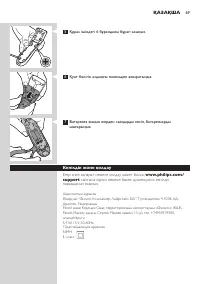
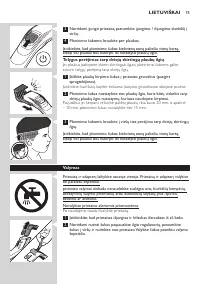
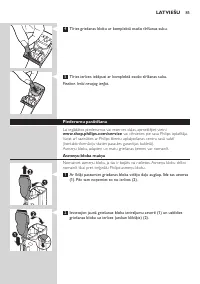
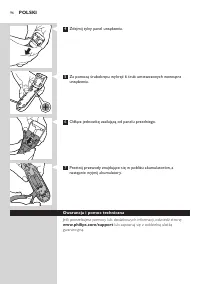
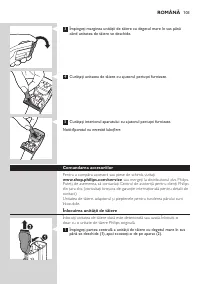
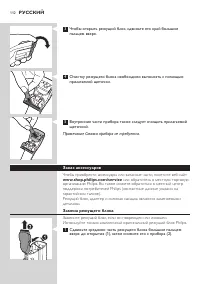
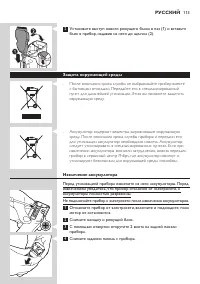
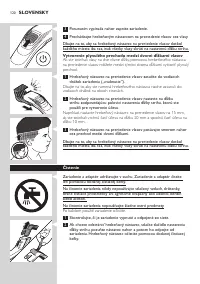
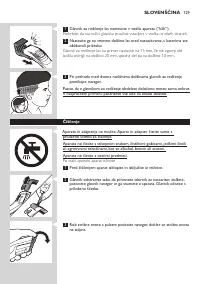
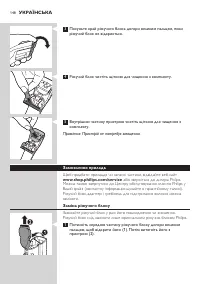
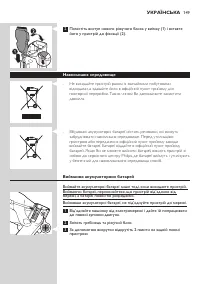
- 112 Заказ аксессуаров; или обратитесь в местную торговую; Замена режущего блока; Замените режущий блок, если он поврежден или изношен.
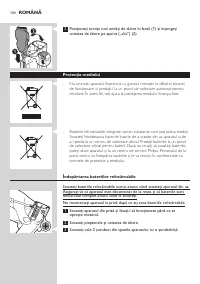
- 114 Гарантия и поддержка; Для получения поддержки или информации посетите веб-сайт


