Магнитолы Sony CDX-GT617UE - инструкция пользователя по применению, эксплуатации и установке на русском языке. Мы надеемся, она поможет вам решить возникшие у вас вопросы при эксплуатации техники.
Если остались вопросы, задайте их в комментариях после инструкции.
"Загружаем инструкцию", означает, что нужно подождать пока файл загрузится и можно будет его читать онлайн. Некоторые инструкции очень большие и время их появления зависит от вашей скорости интернета.


12
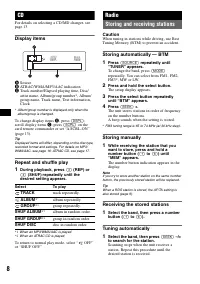
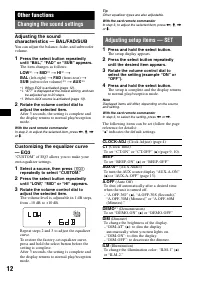
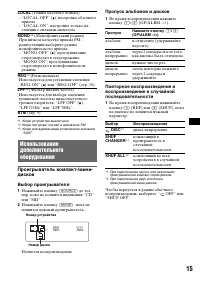
Other functions
Changing the sound settings
Adjusting the sound
characteristics — BAL/FAD/SUB
You can adjust the balance, fader, and subwoofer
volume.
1
Press the select button repeatedly
until “BAL,” “FAD” or “SUB” appears.
The item changes as follows:
LOW
*
1
t
MID
*
1
t
HI
*
1
t
BAL
(left-right)
t
FAD
(front-rear)
t
SUB
(subwoofer volume)*
2
t
AUX
*
3
*1
When EQ3 is activated (page 12).
*2
“ATT” is displayed at the lowest setting, and can
be adjusted up to 20 steps.
*3
When AUX source is activated (page 13).
2
Rotate the volume control dial to
adjust the selected item.
After 3 seconds, the setting is complete and
the display returns to normal play/reception
mode.
With the card remote commander
In step 2, to adjust the selected item, press
<
,
M
,
,
or
m
.
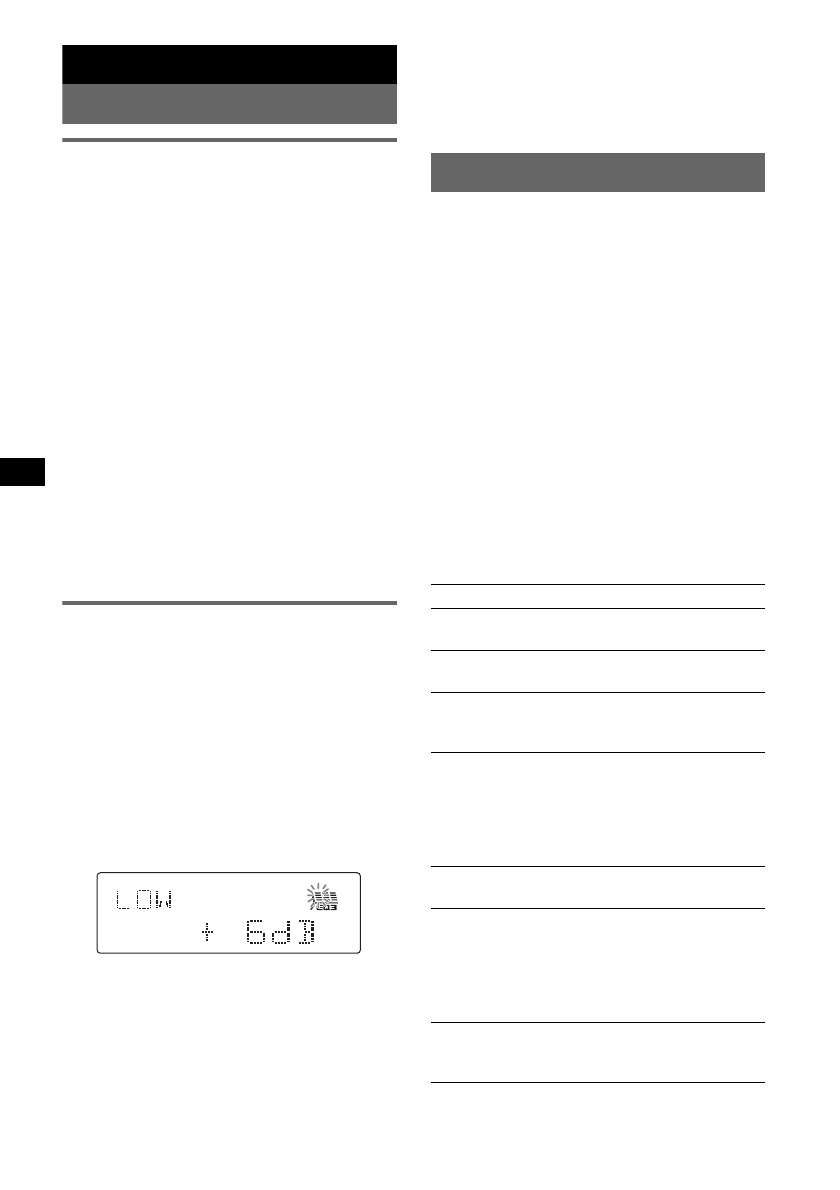
Customizing the equalizer curve
— EQ3
“CUSTOM” of EQ3 allows you to make your
own equalizer settings.
1
Select a source, then press
(EQ3)
repeatedly to select “CUSTOM.”
2
Press the select button repeatedly
until “LOW,” “MID” or “HI” appears.
3
Rotate the volume control dial to
adjust the selected item.
The volume level is adjustable in 1 dB steps,
from –10 dB to +10 dB.
Repeat steps 2 and 3 to adjust the equalizer
curve.
To restore the factory-set equalizer curve,
press and hold the select button before the
setting is complete.
After 3 seconds, the setting is complete and
the display returns to normal play/reception
mode.
Tip
Other equalizer types are also adjustable.
With the card remote commander
In step 3, to adjust the selected item, press
<
,
M
,
,
or
m
.
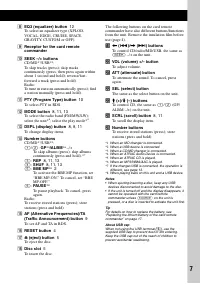
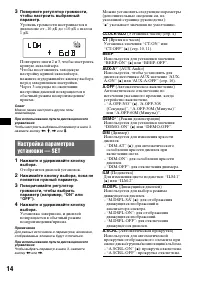
Adjusting setup items — SET
1
Press and hold the select button.
The setup display appears.
2
Press the select button repeatedly
until the desired item appears.
3
Rotate the volume control dial to
select the setting (example “ON” or
“OFF”).
4
Press and hold the select button.
The setup is complete and the display returns
to normal play/reception mode.
Note
Displayed items will differ, depending on the source
and setting.
With the card remote commander
In step 3, to select the setting, press
<
or
,
.
The following items can be set (follow the page
reference for details):
“
z
” indicates the default settings.
CLOCK-ADJ
(Clock Adjust) (page 4)
CT
(Clock Time)
To set “CT-ON” or “CT-OFF” (
z
BEEP
To set “BEEP-ON” (
z
) or “BEEP-OFF.”
AUX-A
*
1
(AUX Audio)
To turn the AUX source display “AUX-A-ON”
(
z
) or “AUX-A-OFF” (page 13).
A.OFF
(Auto Off)
To shut off automatically after a desired time
when the unit is turned off.
– “A.OFF-NO” (
z
), “A.OFF-30S (Seconds),”
“A.OFF-30M (Minutes)” or “A.OFF-60M
(Minutes).”
DEMO
*
1
(Demonstration)
To set “DEMO-ON” (
z
) or “DEMO-OFF.”
DIM
(Dimmer)
To change the brightness of the display.
– “DIM-AT” (
z
): to dim the display
automatically when you turn lights on.
– “DIM-ON”: to dim the display.
– “DIM-OFF”: to deactivate the dimmer.
ILM
(Illumination)
To change the illumination color: “ILM-1” (
z
)
or “ILM-2.”
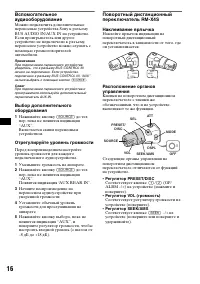
Содержание
- 23 Содержание; Начало работы; Автоматическое сохранение; Устройства USB; Подстройка характеристик звука; Дополнительная информация; Примечания относительно
- 24 Установка часов; Тип диска
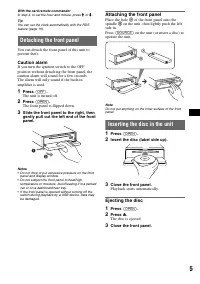
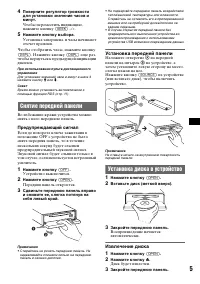
- 25 Снятие передней панели; Предупреждающий сигнал; Установка передней панели; Установка диска в устройство; Извлечение диска
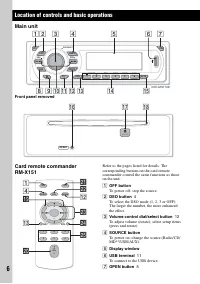
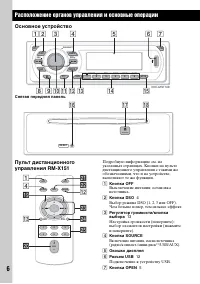
- 26 Расположение органов управления и основные операции; Основное устройство; Подключение к устройству USB.
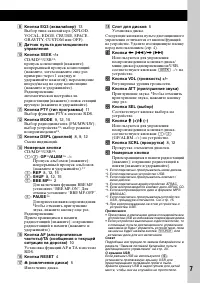
- 28 Для; Индикация на дисплее; Выбор
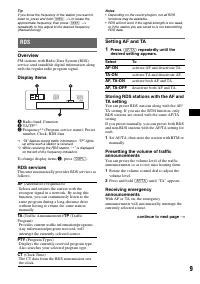
- 29 Радиоприемник; Предупреждение; Нажимайте кнопку; Сохранение вручную; Автоматическая настройка; Обзор; Надписи на дисплее; продолжение на следующей странице
- 30 слуги RDS; то устройство автоматически; Настройка AF и TA; — REG; AF; (Сообщения о текущей ситуации на; TP; (Программа о текущей; PTY
- 31 та функция позволяет настраиваться на; Выбор PTY; Тип программ; Установка CT
- 33 OFF” или; Другие функции; Настройка кривой эквалайзера
- 34 Отобразится дисплей установок.; ” указывает значения по умолчанию.; CT; Установка значения “CT-ON” или; BEEP; движущихся изображений.
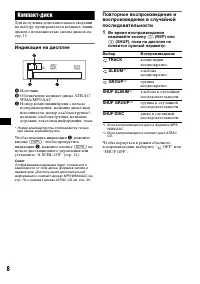
- 35 Пропуск
- 36 Отрегулируйте уровень громкости; Регулятор PRESET/DISC
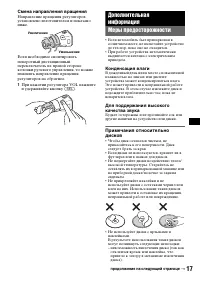
- 37 Смена направления вращения; аправление вращения регуляторов; Меры предосторожности; Конденсация влаги
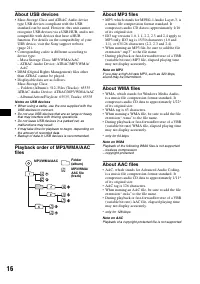
- 38 Об устройствах USB
- 39 О файлах MP3; О файлах WMA; О файлах AAC
- 40 Формат ATRAC3plus; Уход за устройством
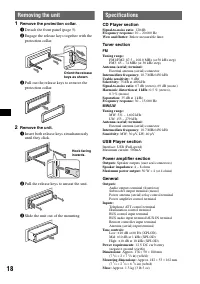
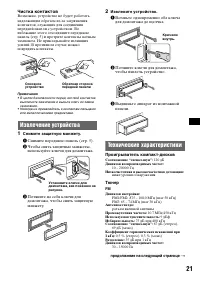
- 41 Чистка контактов; Извлечение устройства; Снимите защитную манжету.; Технические характеристики; Проигрыватель компакт-дисков; Тюнер
- 42 Проигрыватель USB; Общая информация
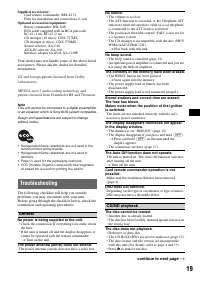
- 44 Прием радиостанций
- 46 Сайт для получения поддержки


