Магнитолы Kenwood KRC-37 - инструкция пользователя по применению, эксплуатации и установке на русском языке. Мы надеемся, она поможет вам решить возникшие у вас вопросы при эксплуатации техники.
Если остались вопросы, задайте их в комментариях после инструкции.
"Загружаем инструкцию", означает, что нужно подождать пока файл загрузится и можно будет его читать онлайн. Некоторые инструкции очень большие и время их появления зависит от вашей скорости интернета.


— 23 —
— 23 —
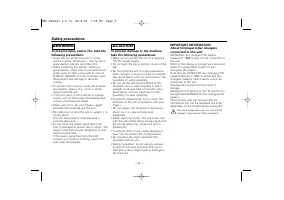
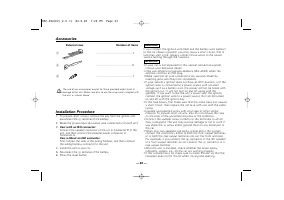
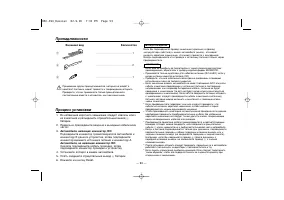
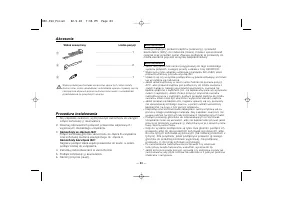
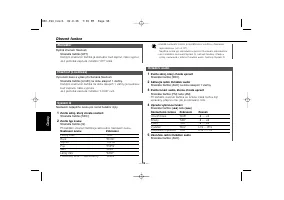
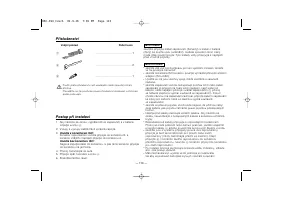
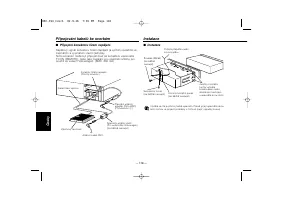
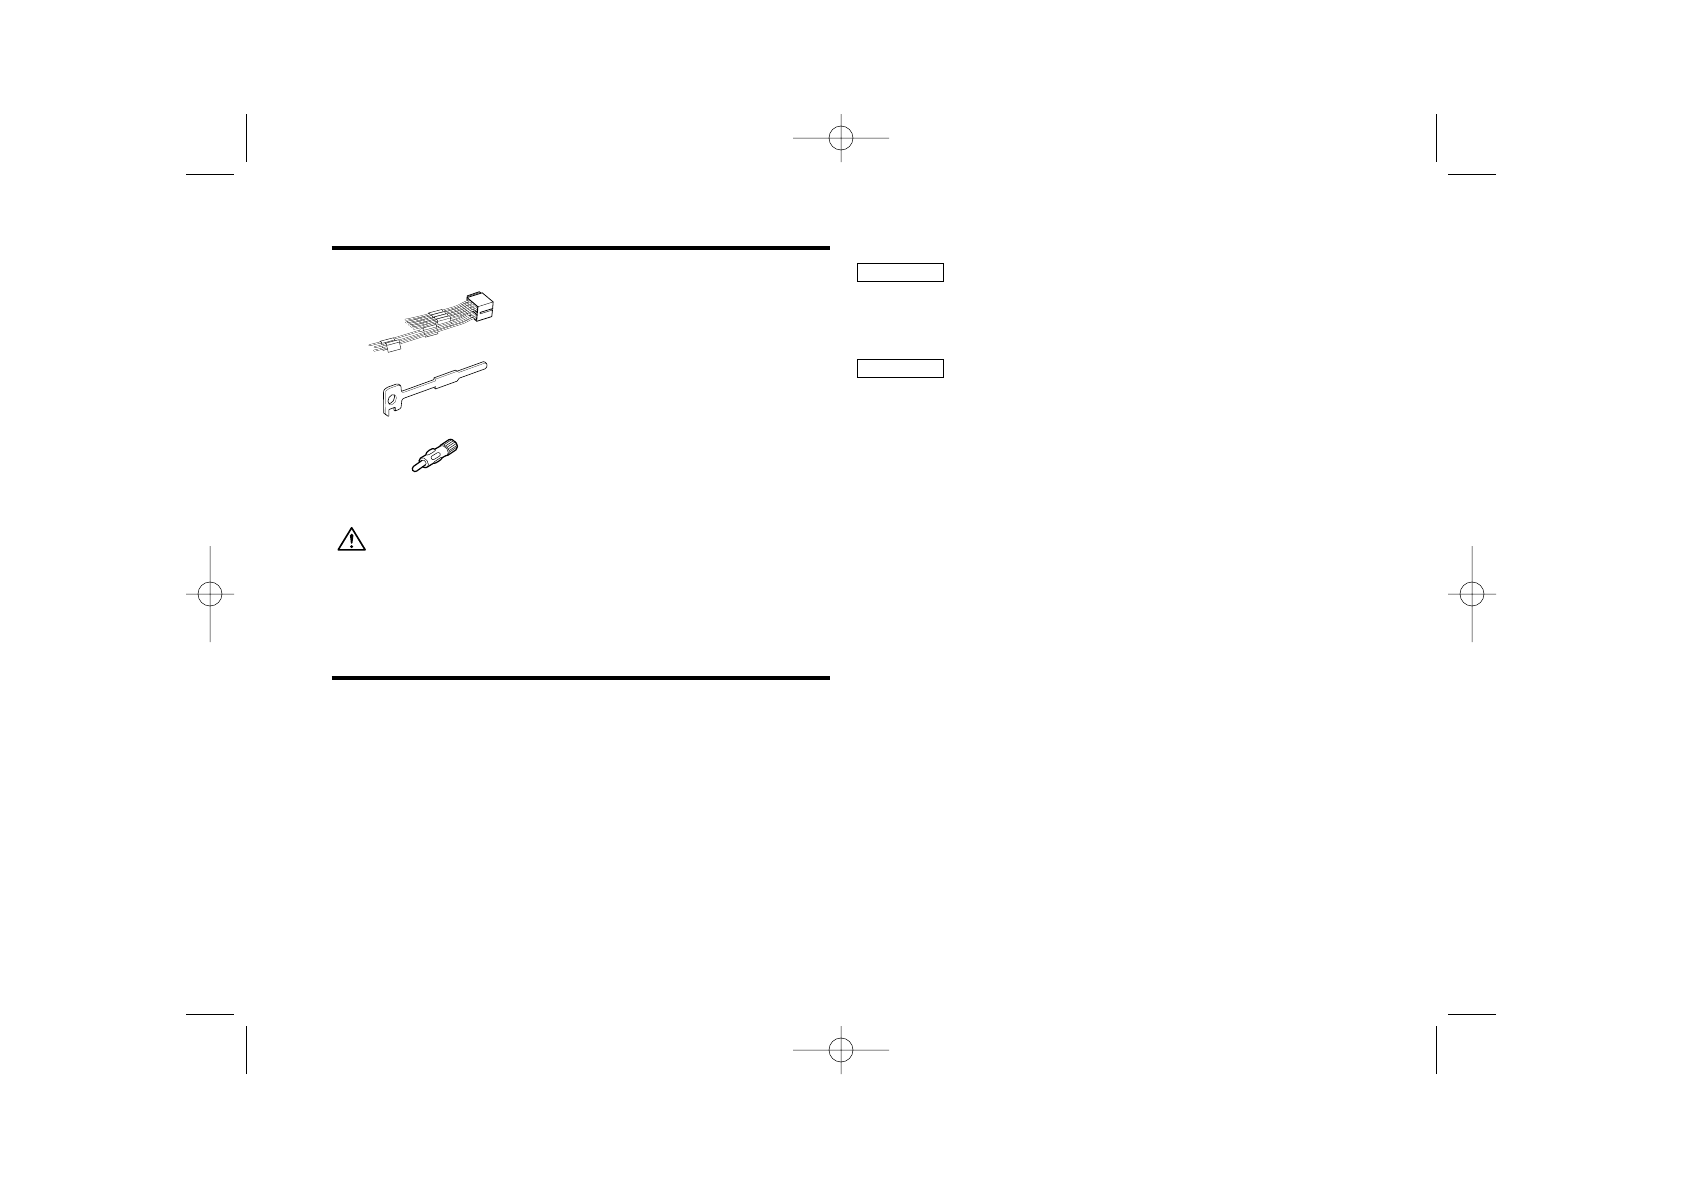
The use of any accessories except for those provided might result in
damage to the unit. Make sure only to use the accessories shipped with
the unit, as shown above.
..........................................1
..........................................2
..........................................1
1
2
3
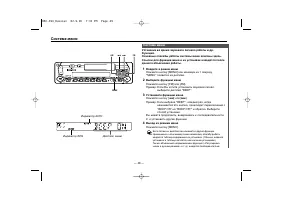
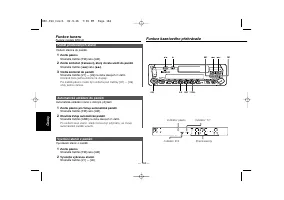
External view
Number of items
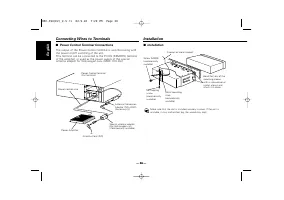
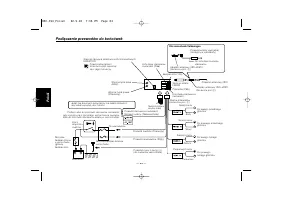
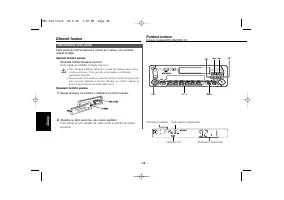
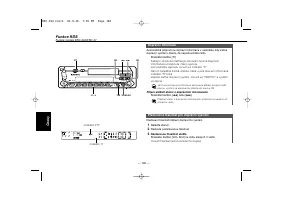
1. To prevent short circuits, remove the key from the ignition and
disconnect the
-
terminal of the battery.
2. Make the proper input and output wire connections for each unit.
3.
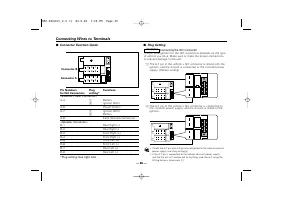
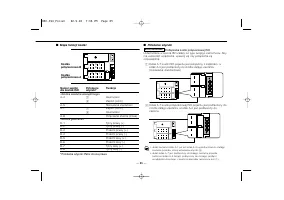
Cars with an ISO connector:
Connect the speaker connector of the car to Connector B of the
unit, and then connect the external power connector to
Connector A.
Cars without an ISO connector:
First connect the wire of the wiring harness, and then connect
the wiring harness connector to the unit.
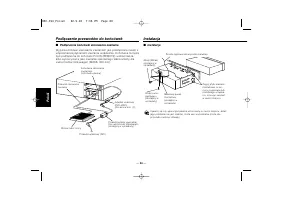
4. Install the unit in your car.
5. Reconnect the
-
terminal of the battery.
6. Press the reset button.
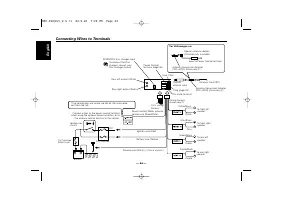
If you connect the ignition wire (red) and the battery wire (yellow)
to the car chassis (ground), you may cause a short circuit, that in
turn may start a fire. Always connect those wires to the power
source running through the fuse box.
• If your car is not prepared for this special connection-system,
consult your Kenwood dealer.
• Only use antenna conversion adapters (ISO-JASO) when the
antenna cord has an ISO plug.
• Make sure that all wire connections are securely made by
inserting jacks until they lock completely.
• If your vehicle's ignition does not have an ACC position, or if the
ignition wire is connected to a power source with constant
voltage such as a battery wire, the power will not be linked with
the ignition (i.e., it will not turn on and off along with the
ignition). If you want to link the unit's power with the ignition,
connect the ignition wire to a power source that can be turned
on and off with the ignition key.
• If the fuse blows, first make sure that the wires have not caused
a short circuit, then replace the old fuse with one with the same
rating.
• Insulate unconnected wires with vinyl tape or other similar
material. To prevent short circuits, also do not remove the caps
on the ends of the unconnected wires or the terminals.
• Connect the speaker wires correctly to the terminals to which
they correspond. The unit may receive damage or fail to work if
you share the
-
wires and/or ground them to any metal part in
the car.
• When only two speakers are being connected to the system,
connect the connectors either to both the front output terminals
or to both the rear output terminals (do not mix front and rear).
For example, if you connect the
+
connector of the left speaker
to a front output terminal, do not connect the
-
connector to a
rear output terminal.
• After the unit is installed, check whether the brake lamps,
indicators, wipers, etc. on the car are working properly.
• If the console has a lid, make sure to install the unit so that the
faceplate does not hit the lid when closing and opening.
2
CAUTION
2
WARNING
Accessories
Installation Procedure
KRC-394(E2)_U.S r1 02.9.26 7:29 PM Page 23
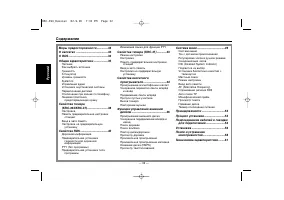
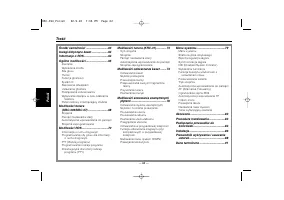
Содержание
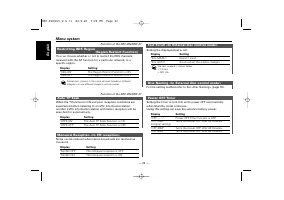
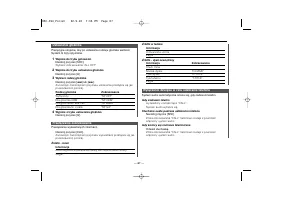
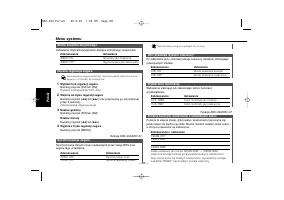
- 32 Cодержание; Cвойства тюнера
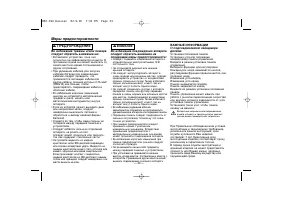
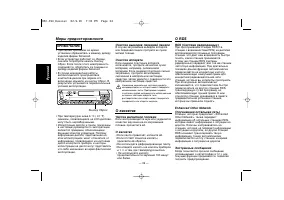
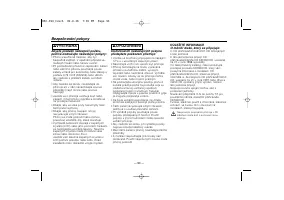
- 33 ПРEДУПРEЖДEHИE; BHИMAHИE; Меры предосторожности
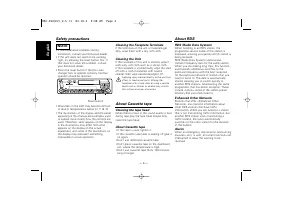
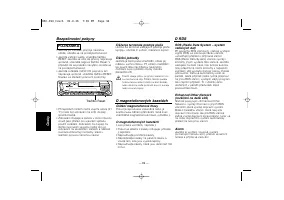
- 34 ПРИМEЧАНИE; Kнопку Cброс; Очистка выводов передней панели; Экстренные сообщения; O RDS; Чистка магнитной головки; О кассетах
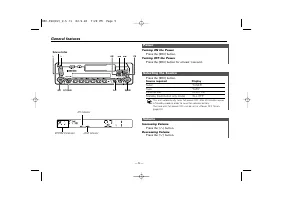
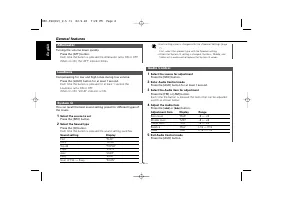
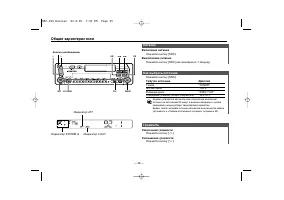
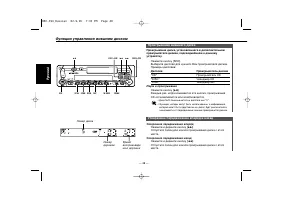
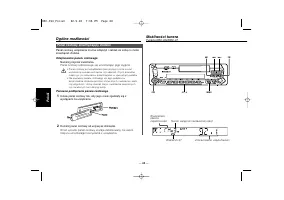
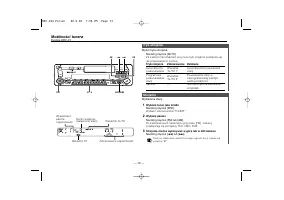
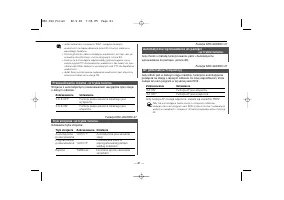
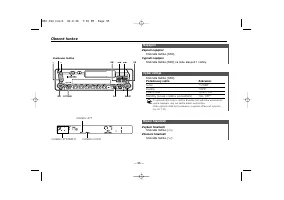
- 35 Громкость; Трбутся источник; Тюнер; Как выбрать источник; Включение питания; Питание; Общие характеристики; Индикатор ATT; Kнопка освобождения
- 36 Управление аудио; Py
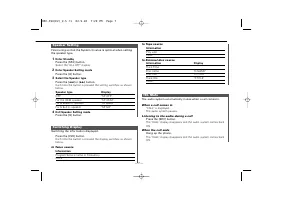
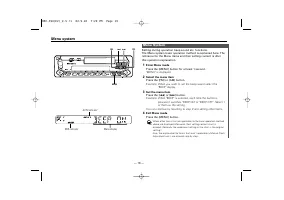
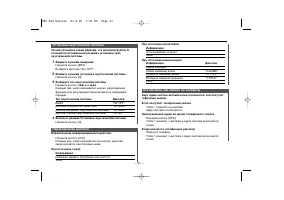
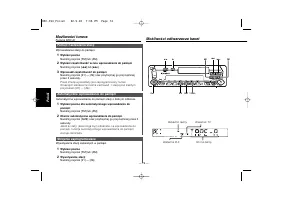
- 37 Отключение при звонке по телефону; Исходное название диска; Пераключение дисплея; ВЫКЛ; Установка акустической системы
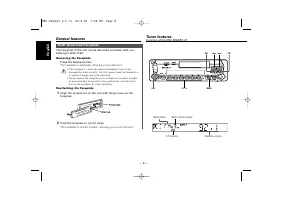
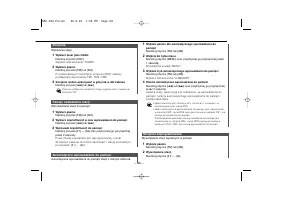
- 38 Снятие лицевой пластинки; Установка лицевой пластинки; Лицевая пластинка, предотвращающая кражу; Индикатор ST
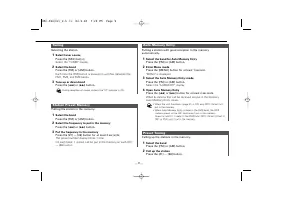
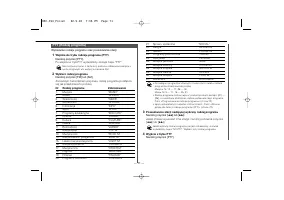
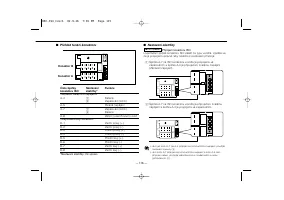
- 39 Настройка на предварительную установку; Ввод в авто память
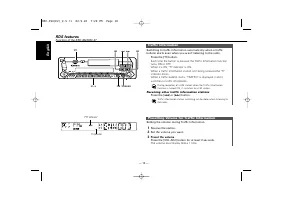
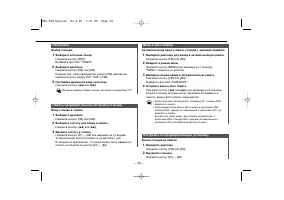
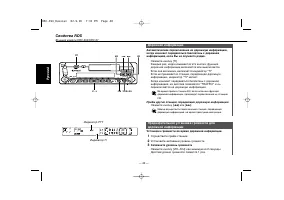
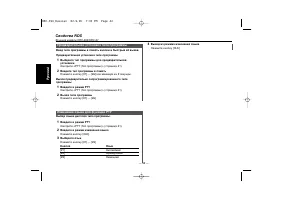
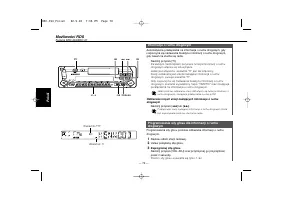
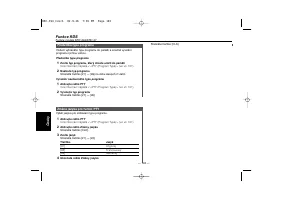
- 40 Установка громкости во время дорожной информации.; Осуществите приём станции.; Запомните уровень громкости; Приём других станций, передающих дорожную информацию; Дорожная информация; Cвойства RDS; Индикатор PTY
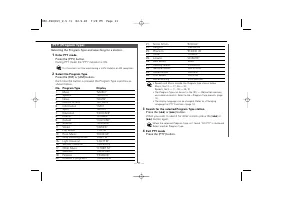
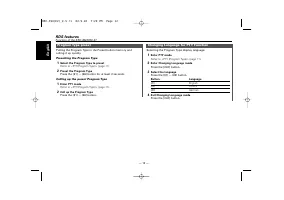
- 42 Изменение языка для функции PTY; Предварительная установка типа программы
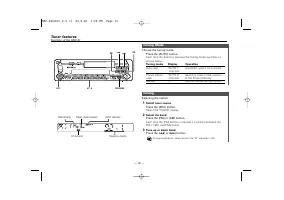
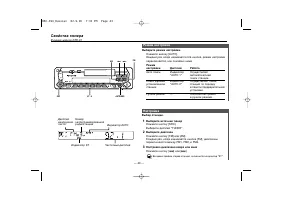
- 43 Настройка; Функция модели KRC-31; Режим настройки
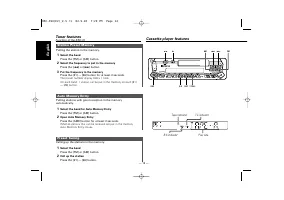
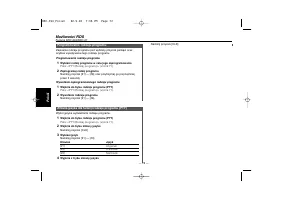
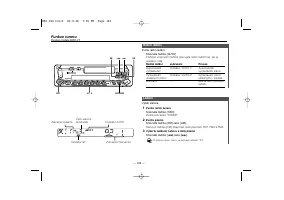
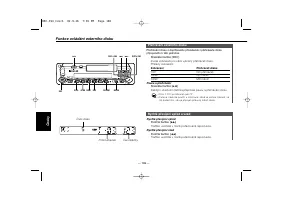
- 44 Cвойства кассетного проигрывателя; Сторона ленты
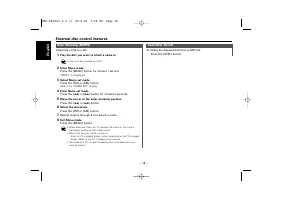
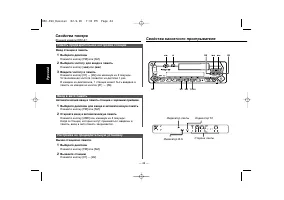
- 45 Повтор проигрываемой песни.
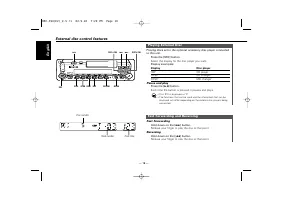
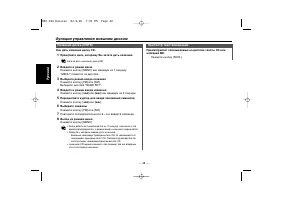
- 46 Ускоренное передвижение вперёд и назад; Дисплей; Проигрыватель CD; Проигрывание внешнего диска; Функции управления внешним диском; Номер диска
- 47 Произвольное проигрывание магазина; Произвольное проигрывание; Начните просмотр дорожек; Просмотр дорожек; Выбор диска, который Вы хотите прослушать.; Поиск дорожек; Повторное проигрывание; Повтор дорожки
- 48 Просмотр текста/названий; Повторите последовательности 5 – 6 и введите название.
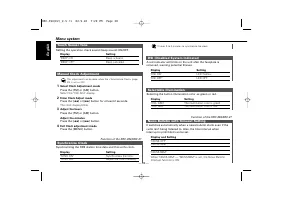
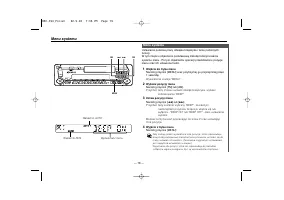
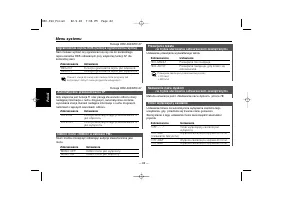
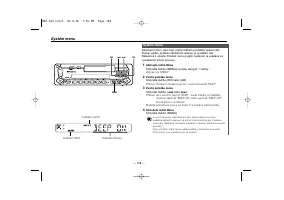
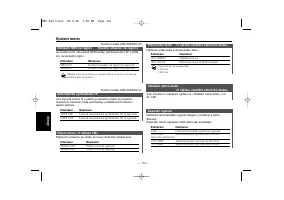
- 49 Система меню; Индикатор AUTO
- 50 Установка бюллетеня новостей с тайм-аутом
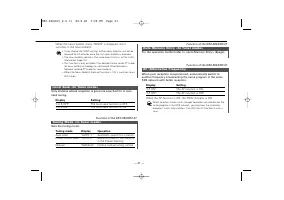
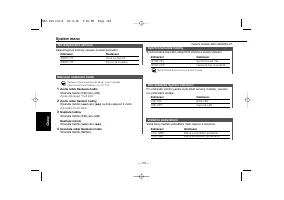
- 52 Таймер отключения питания; Авто поиск TP
- 53 Во избежание короткого замыкания следует извлечь ключ; Принадлежности
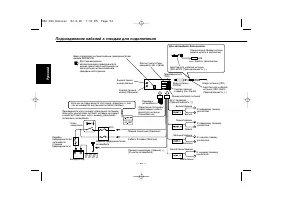
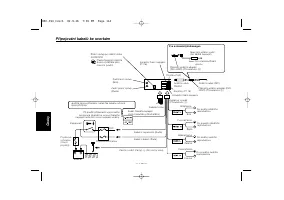
- 54 Подсоединение кабелей к гнездам для подключения; Для автомобиля Фольксваген
- 55 Разъем A; Присоединение разъема ISO; Cтандартная настройка); Номера штырей; Аккумулятор
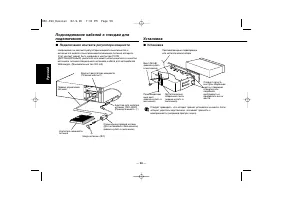
- 56 Подключения контакта регулятора мощности; Установка
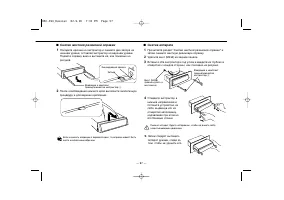
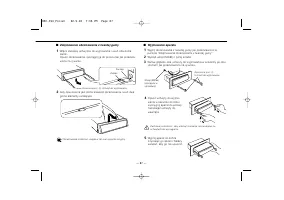
- 57 Cнятие жесткой резиновой оправки; Cнятие аппарата
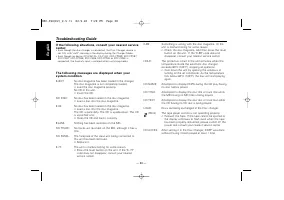
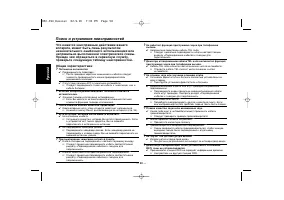
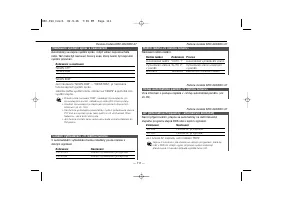
- 58 Поиск и устранение неисправностей
- 59 Источник тюнера; Это не установленная громкость для дорожной информации.; Источник магнитофона; Не может вывести кассету.; Источник диска; Не происходит проигрывание определенной дорожки.
- 60 Поиск дорожки нельзя осуществить.; Eod
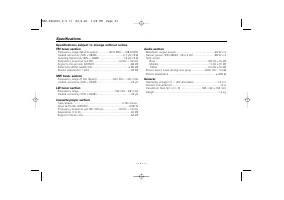
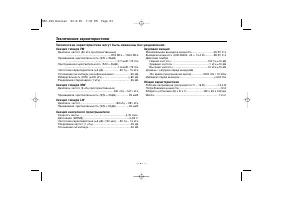
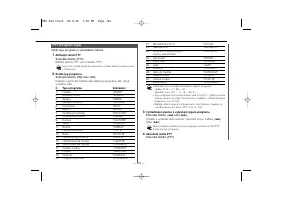
- 61 Технические характеристики; Диапазон частот (50 кГц пространственных)


