Кондиционеры Timberk AC TIM 09HDN S8R - инструкция пользователя по применению, эксплуатации и установке на русском языке. Мы надеемся, она поможет вам решить возникшие у вас вопросы при эксплуатации техники.
Если остались вопросы, задайте их в комментариях после инструкции.
"Загружаем инструкцию", означает, что нужно подождать пока файл загрузится и можно будет его читать онлайн. Некоторые инструкции очень большие и время их появления зависит от вашей скорости интернета.


www.timberk.com • Electric air conditioner
8
«SUPer» mode (TUrbO)
When pressing the «TURBO» button on the remote control board, the
conditioner will start working in turbo mode – for maximum cooling (in cool
mode) or for maximum heating (in heat mode).
TImer mode
Procedure of timing:
– If the conditioner is off, then press the “TIMER” button to activate the
automatic turning on. Pressing this button once again, set the time for
turning the conditioner on in the set time interval. To cancel the timer mode,
press the “TIMER” button once again.
–If the conditioner is working, then press the “TIMER” button to activate
the automatic turning off. Pressing this button once again, set the time for
turning the conditioner off in the set time interval. To cancel the timer mode,
press the “TIMER” button once again.
«SLeeP» mode
Button «SLEEP» (Night Care). Using this button, you may turn the sleep
mode on and off. In this mode, if working for cooling, the conditioner will
increase temperature by 1 °С an hour from the specified one within two
hours. If working for heating, the conditioner will decrease temperature by
1 °С an hour from the specified one within two hours. After 10 hours of
operation the conditioner will turn off automatically.
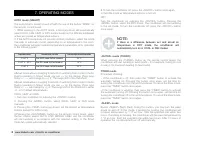
AUTO mode (SmArT)
The auto mode is turned on and off with the use of the button “MODE” on
the remote control board.
1. While working in the AUTO mode, a microprocessor will automatically
select COOL, FAN, HEAT or DRY modes based on the difference between
actual and preset air temperature indoors.
2. If the AUTO mode does not provide comfort conditions, select the mode
manually. In automatic mode, depending on air temperature in the room,
the conditioner will select needed temperature parameters of its operation
in the following order:
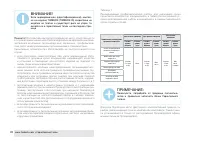
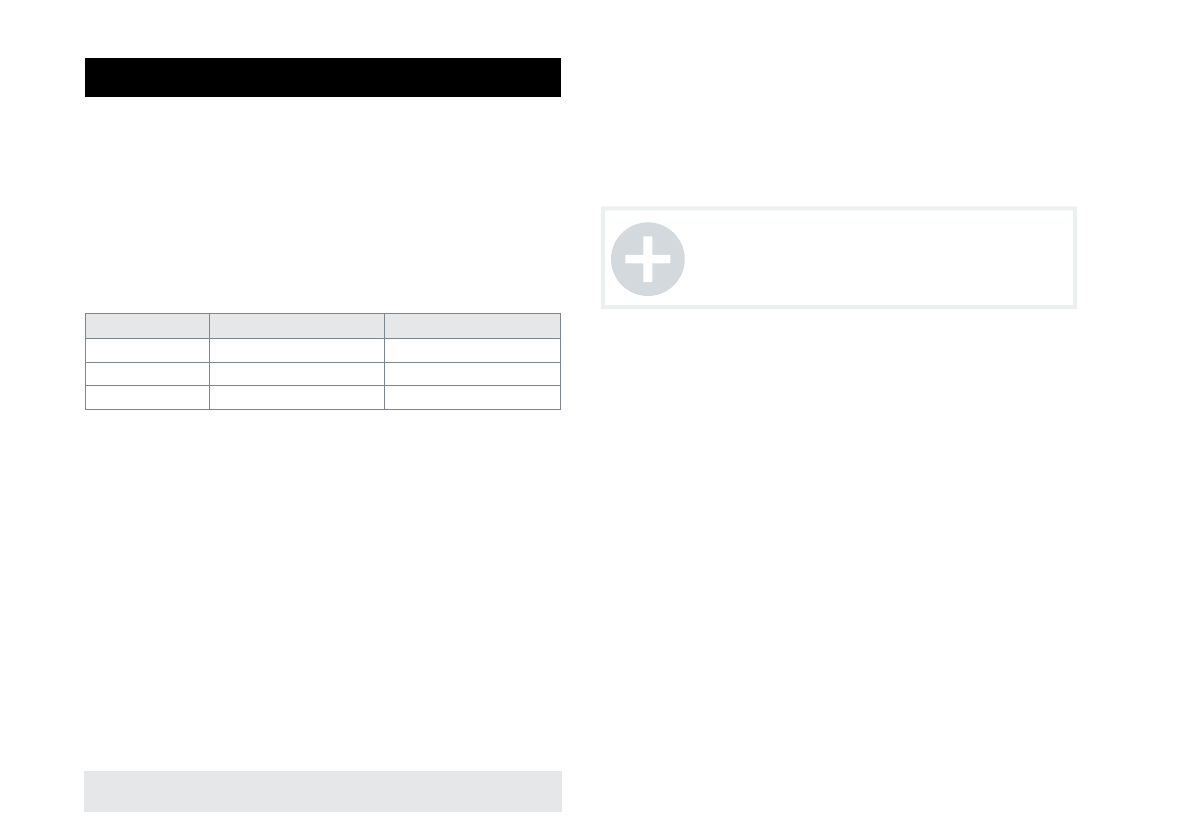
7. OPERATING MODES
Temperature indoors
Automatic mode sele ction
Automatically maintained temperature
if <20° С
then HEAT mode shall be turned on
23° С
if <20° С - 26° С
then DRY mode shall be turned on
18° С
if <26° С
then COOL mode shall be turned on
23° С
ASmart mode allows changing threshold of switching from mode to mode.
During operation in Smart mode you see «-» on the display. Press keys
Temp +/-. «-» will change by +(-) 2. The range shift of this threshold
ASmart mode allows changing threshold of switching from mode to mode.
During operation in Smart mode you see «-» on the display. Press keys
Temp +/-. «-» will change by +(-) 2. The range shift of this threshold is within
-2...+2 of default temperatures.
COOL, HEAT and FAN
1. Turn the conditioner on pressing the «ON/OFF» button.
2. Pressing the «MODE» button, select COOL, HEAT or FAN mode
manually.
3. Pressing the «TEMP» button (up-down), set the desired air temperature
indoors (except for FAN mode).
4.Pressing the «FAN SPEED» button on the remote control board, select
the fan rotation speed: AUTO, LOW, MIDDLE, HIGH, and the conditioner
will start working in accordance with the selected setting. In the Smart
mode fan speed automatically selected.
NOTE:
If there is a difference between set and actual air
temperature in DRY mode, the conditioner will
automatically turn on in COOL or FAN modes.
5.To turn the conditioner off, press the «ON/OFF» button once again.
In the FAN mode air temperature indoors is not set.
DRY
Turn the conditioner on pressing the «ON/OFF» button. Pressing the
«MODE» button, select the DRY mode. The conditioner will start working
in the set mode. To turn the conditioner off, press the «ON/OFF» button
once again.
Содержание
- 11 Уважаемый покупатель!; Благодарим Вас за удачный выбор и приобретение бытового
- 12 МЕРЫ ПРЕДОСТОРОЖНОСТИ; жденный сетевой шнур должен меняться только в авторизованных
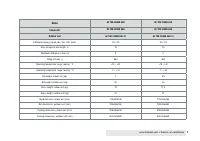
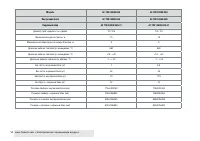
- 13 ТЕХНИЧЕСКИЕ ХАРАКТЕРИСТИКИ; Модель
- 14 Максимальная длина трассы, м
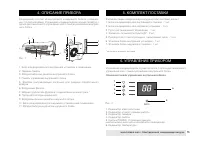
- 15 УПРАВЛЕНИЕ ПРИБОРОМ; Описание панели управления внутреннего блока
- 16 Описание пульта дистанционного управления; Работа с пультом ДУ
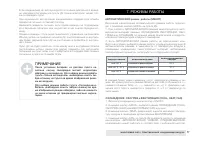
- 17 ПРИМЕЧАНИЕ
- 18 Ночной режим работы
- 19 УХОД И ОБСЛУЖИВАНИЕ
- 20 ГАРАНТИЙНЫЙ ТАЛОН
- 21 Гарантийные обязательства
- 25 Бланк гарантийного талона.; Без подписи покупателя на странице 26 Гарантийный талон яв-
- 27 Заполняется фирмой-продавцом
- 32 • в частично признанной
- 33 Если вы заметили ошибку в руководстве по эксплуатации,


