Компьютерные мыши MSI GM20 - инструкция пользователя по применению, эксплуатации и установке на русском языке. Мы надеемся, она поможет вам решить возникшие у вас вопросы при эксплуатации техники.
Если остались вопросы, задайте их в комментариях после инструкции.
"Загружаем инструкцию", означает, что нужно подождать пока файл загрузится и можно будет его читать онлайн. Некоторые инструкции очень большие и время их появления зависит от вашей скорости интернета.

Korekta wagi
1. Należy popchnąć i odsunąć górną pokrywę.
2. Zgodnie z potrzebą dodać lub wyjąć ciężarek.
3. Założyć i zamknąć górną pokrywę.
Omówienie
5. Przycisk boczny 1
(Ustawienie domyślne: Następna strona)
6. Przycisk boczny 2
(Ustawienie domyślne: Poprzednia strona)
7. Boczny uchwyt antypoślizgowy
8. Dioda LED Dragon
1. Lewy przycisk
2. Prawy przycisk
3. Kółko przewijania
4. Przełącznik DPI
Regulacja wskaźników LED
Należy powtarzać naciskanie kombinacji poniższych przycisków aż do dokonania
właściwego wyboru.
•
DPI + prawy przycisk = jasność
•
DPI + kółeczko do przewijania = tryb pracy
•
DPI + przycisk boczny 1 = szybkość
•
DPI + przycisk boczny 2 = kierunek lub kolor
※ Więcej informacji można znaleźć na oficjalnej stronie MSI.
Ajustar o peso
1. Empurre e deslize para fora a tampa superior.
2. Coloque ou tire o peso, conforme necessário.
3. Instale e feche a tampa superior.
Visão geral
1. Botão esquerdo
2. Botão direito
3. Roda deslizante
4. Interruptor DPI
Ajuste dos indicadores LED
Use a seguinte combinação de botões repetidamente até ser efetuada uma seleção.
•
DPI + Botão direito = Brilho
•
DPI + Roda deslizante = Modo
•
DPI + Botão lateral 1 = Velocidade
•
DPI + Botão lateral 2 = Direção ou Cor
※ Para mais informações, visita o site oficial da MSI.
FCC Compliance Statement
This device complies with Part 15 of the FCC Rules. Operation is subject to the following
two conditions: (1) this device may not cause harmful interference, and (2) this device must
accept any interference received, including interference that may cause undesired operation.
This equipment has been tested and found to comply with the limits for a Class B digital
device, pursuant to Part 15 of the FCC Rules. These limits are designed to provide
reasonable protection against harmful interference in a residential installation.
This equipment generates, uses and can radiate radio frequency energy and, if not installed
and used in accordance with the instructions, may cause harmful interference to radio
communications. However, there is no guarantee that interference will not occur in a
particular installation.
If this equipment does cause harmful interference to radio or television reception, which can
be determined by turning the equipment off and on, the user is encouraged to try to correct
the interference by one or more of the following measures:
-- Reorient or relocate the receiving antenna.
-- Increase the separation between the equipment and receiver.
-- Connect the equipment into an outlet on a circuit different from that to which the receiver is
connected.
-- Consult the dealer or an experienced radio/TV technician for help.
Any changes or modification not expressly approved by the party responsible for compliance
could void the user's authority to operate the device. Where shielded interface cables have
been provided with the product or specified additional components or accessories elsewhere
defined to be used with the installation of the product, they must be used in order to ensure
compliance with FCC regulations.
Anpassung des Gewichts
1. Drücken und schieben Sie die obere Abdeckung nach hinten.
2. Platzieren oder entnehmen Sie das Gewicht je nach Bedarf.
3. Bringen Sie die obere Abdeckung an und schließen Sie sie.
Übersicht
5. Seitentaste 1 (Standardeinstellung: Nächste Seite)
6. Seitentaste 2 (Standardeinstellung: Vorherige Seite)
7. Anti-Rutsch-Seitengriff
8. Drachen LED
1. Linke Taste
2. Rechte Taste
3. Scrollrad
4. DPI-Schalter
Einstellung der LED-Anzeigen
Verwenden Sie die folgenden Kombinationstasten wiederholt, bis eine richtige
Auswahl getroffen wurde.
•
DPI + Rechte Taste = Helligkeit
•
DPI + Scrollrad = Modus
•
DPI + Seitentaste 1 = Geschwindigkeit
•
DPI + Seitentaste 2 =Richtung oder Farbe
※ Weitere Informationen finden Sie auf der MSI Webseite.
Ajuster le poids
1. Poussez et faites glisser la coque supérieure.
2. Placez ou retirez les poids selon vos préférences.
3. Replacez la coque supérieure.
Vue d’ensemble
5. Bouton latéral 1 (Réglage par défaut : Page suivante)
6. Bouton latéral 2 (Réglage par défaut : Page précédente)
7. Grip latéral antidérapant
8. LED Dragon
1. Bouton gauche
2. Bouton droit
3. Molette
4. Bouton DPI
Réglage du rétroéclairage LED
Utilisez les combinaisons de touches suivantes de manière répétée jusqu’à ce
que la sélection appropriée soit effectuée.
•
DPI + bouton droit = Luminosité
•
DPI + molette = Changer de mode
•
DPI + bouton latéral 1 = Vitesse
•
DPI + bouton latéral 2 = Direction ou Couleur
※ Pour plus d'informations, veuillez visiter le site web officiel de MSI.
Регулировка веса мыши
1. Сдвиньте и удалите верхнюю крышку.
2. Добавьте или снимите грузики по мере необходимости.
3. Установите и закройте верхнюю крышку.
Обзор
5. Боковая кнопка 1 (функция по умолчанию: Вперед)
6. Боковая кнопка 2 (функция по умолчанию: Назад)
7. Нескользящий боковой захват
8. Подсветка логотипа
1. Левая кнопка
2. Правая кнопка
3. Колесо прокрутки
4. Переключатель DPI
Регулировка светодиодной подсветки
Используйте следующие сочетания клавиш для регулировки подсветки.
•
DPI + правая кнопка = яркость
•
DPI + колесо = режим
•
DPI + боковая кнопка 1 = скорость
•
DPI + боковая кнопка 2 = направление или цвет
※ Чтобы узнать больше о продукции компании, посетите официальный
веб-сайт MSI.
Ajustar el peso
1. Empuje y deslice la cubierta superior.
2. Coloque o saque el peso según sea necesario.
3. Instale y cierre la cubierta superior.
Información general
5. Botón lateral 1
(Configuración predeterminada: Siguiente página)
6. Botón lateral 2
(Configuración predeterminada: Página anterior)
7. Agarre lateral antideslizante
8. LED de dragón
1. Botón izquierdo
2. Botón derecho
3. Rueda de
desplazamiento
4. Interruptor DPI
LED-kijelzők beállítása
Use los siguientes botones de combinación varias veces hasta que se realice
una selección adecuada.
•
DPI + botón derecho = brillo
•
DPI + rueda de desplazamiento = modo
•
DPI + botón lateral 1 = velocidad
•
DPI + botón lateral 2 = dirección o color
※ Para más Información, visita la web oficial MSI es.msi.com
Regolare il peso
1. Spingere e far scivolare la copertura superiore.
2. Inserire o rimuovere il peso, secondo necessità.
3. Inserire e chiudere la copertura superiore.
Descrizione
5. Pulsante laterale 1
(Impostazione predefinita: Pagina seguente)
6. Pulsante laterale 2
(Impostazione predefinita: Pagina precedente)
7. Presa laterale in gomma antiscivolamento
8. Dragon LED
1. Pulsante di sinistra
2. Pulsante di destra
3. Rotella di scorrimento
4. Interruttore DPI
Regolazione degli indicatori LED
Usare più volte le seguenti combinazioni di pulsanti fino ad ottenere i risultati
desiderati.
•
DPI + pulsante destro = Luminosità
•
DPI + rotella di scorrimento = Modo
•
DPI + pulsante laterale 1 = Velocità
•
DPI + pulsante laterale 2 = Direzione o colore
※ Per maggiori informazioni, visitare il sito Web ufficiale di MSI.
Ağırlık Ayarı
1. Üst kapağı iterek kaydırın.
2. Gerektiği kadar ağırlığı yerleştirin veya çıkarın.
3. Üst kapağı takıp kapatın.
Genel Bakış
5. Yan Düğme 1 (Varsayılan Ayar: Sonraki Sayfa)
6. Yan Düğme 2 (Varsayılan Ayar: Önceki Sayfa)
7. Kaymaz Yan Kavrama
8. Ejderha LED'i
1. Sol Düğme
2. Sağ Düğme
3. Kaydırma Tekeri
4. DPI Anahtarı
LED Göstergelerin Ayarı
Doğru seçim yapılana kadar aşağıdaki düğme kombinasyonlarına art arda basın.
•
DPI + Sağ Düğme = Parlaklık
•
DPI + Kaydırma Tekeri = Mod
•
DPI + Yan Düğme 1 = Hız
•
DPI + Yan Düğme 2 = Yön veya Renk
※ Daha fazla bilgi için lütfen MSI resmi web sitesini ziyaret edin.
5. Botão lateral 1 (definição predefinida: Página seguinte)
6. Botão lateral 2 (definição predefinida: Página anterior)
7. Faixa lateral anti-deslizante
8. LED Dragon
Pas het Gewicht aan
1. Duwt het bovenklepje en schuif deze weg.
2. Plaats het gewicht of haal deze er indien nodig uit.
3. Installeer en sluit het bovenklepje.
Overzicht
5. Zijknop 1 (Standaardinstelling: Volgende Pagina)
6. Zijknop 2 (Standaardinstelling: Vorige Pagina)
7. Anti-sliprubber Zijhandgreep
8. Dragon LED
1. Linker knop
2. Rechter knop
3. Scrollwiel
4. DPI-schakelaar
LED Indicatoren instelling
Gebruik de volgende combinatieknoppen herhaaldelijk totdat een juiste
selectie is gemaakt.
•
DPI + Rechter Knop = Helderheid
•
DPI + Scrollwiel = Modus
•
DPI + Zijknop 1 = Snelheid
•
DPI + Zijknop 2 = Richting of Kleur
※ Bezoek voor meer informatie de officiële website van MSI.
Justere vekten
1. Trykk og skyv bort det øvre dekselet.
2. Sett inn eller ta ut vekter etter behov.
3. Installer og lukk det øvre dekselet.
Oversikt
5. Sideknapp 1 (standardinnstilling: Neste side)
6. Sideknapp 2 (standardinnstilling: Forrige side)
7. Sklisikkert sidegrep
8. Dragon LED
1. Venstre Knapp
2. Høyre Knapp
3. Rullehjul
4. DPI-bryter
LED-indikatorar justering
Bruk følgende kombinasjonsknapper gjentatte ganger inntil riktig valg er foretatt.
•
DPI + høyre knapp = Lysstyrke
•
DPI + rullehjul = Modus
•
DPI + sideknapp 1 = Hastighet
•
DPI + sideknapp 2 = Retning eller farge
※ For meir informasjon, besøk MSIs offisielle nettstad.
Juster vægten
1. Skub og glid det øverste dæksel væk.
2. Placer eller udtag vægt efter behov.
3. Monter og luk det øverste dæksel.
Oversigt
5. Sideknap 1 (Standardindstilling: Næste side)
6. Sideknap 2 (Standardindstilling: Forrige side)
7. Antislip-sidegreb
8. Dragon-lysdiode
1. Venstre knap
2. Højre knap
3. Rullehjul
4. DPI-knap
Justering af lysdioderne
Brug følgende kombination af knapper gentagne gange, indtil det rette er valgt.
•
DPI + højre knap = lysstyrke
•
DPI + rullehjul = tilstand
•
DPI + sideknap 1 = hastighed
•
DPI + sideknap 2 = retning eller farve
※ Flere oplysninger fås på MSI's officielle hjemmeside.
Налаштуйте вагу
1. Натисніть та посуньте верхню кришку.
2. Встановіть або витягніть важок за потреби.
3. Встановіть та закрийте верхню кришку.
Загальний огляд
5. Бічна кнопка 1
(Налаштування за замовчуванням:
Наступна сторінка)
6. Бічна кнопка 2
(Налаштування за замовчуванням:
Попередня сторінка)
7. Бічна накладка проти ковзання
8. Світлодіодне підсвічування у вигляді
дракона
1. Ліва кнопка
2. Права кнопка
3. Коліщатко прокручування
4. Перемикач DPI
Налаштування світлодіодних індикаторів
Використовуйте наступні комбінації кнопок повторно для виконання
відповідного вибору.
•
DPI + права кнопка = яскравість
•
DPI + коліщатко прокручування = режим
•
DPI + бічна кнопка 1 = швидкість
•
DPI + бічна кнопка 2 = напрямок кольору
※ Отримати більше інформації про продукт ви можете з офіційного
веб-сайту компанії MSI.
Úprava hmotnosti
1. Zatlačte a vysuňte horní kryt.
2. Podle potřeby vložte nebo odeberte závaží.
3. Nasaďte a zavřete horní kryt.
Přehled
5. Boční tlačítko 1 (výchozí nastavení: další strana)
6. Boční tlačítko 2 (výchozí nastavení: předchozí strana)
7. Protiskluzový postranní úchop
8. LED s obrázkem draka
1. Levé tlačítko
2. Pravé tlačítko
3. Kolečko
4. Přepínač DPI
Úprava LED indikátorů
Opakovaným stisknutím následujících kombinací kláves proveďte požadovaný
výběr.
•
DPI + pravé tlačítko = jas
•
DPI + kolečko = režim
•
DPI + boční tlačítko 1 = rychlost
•
DPI + boční tlačítko 2 = směr nebo barva
※ Pro vice informací navštivte oficiální stránky MSI.
Français
Deutsch
Русский
Español
Italiano
Polski
Português
Nederlands
Türkçe
Norsk
Українська
Čeština
Dansk
-
O
O
O
O
O
O
O
O
O
O
O
O
O
O
O
O
O
O
O
多溴二苯醚
(PBDE)
多溴聯苯
(PBB)
六價鉻
(Cr
+
6)
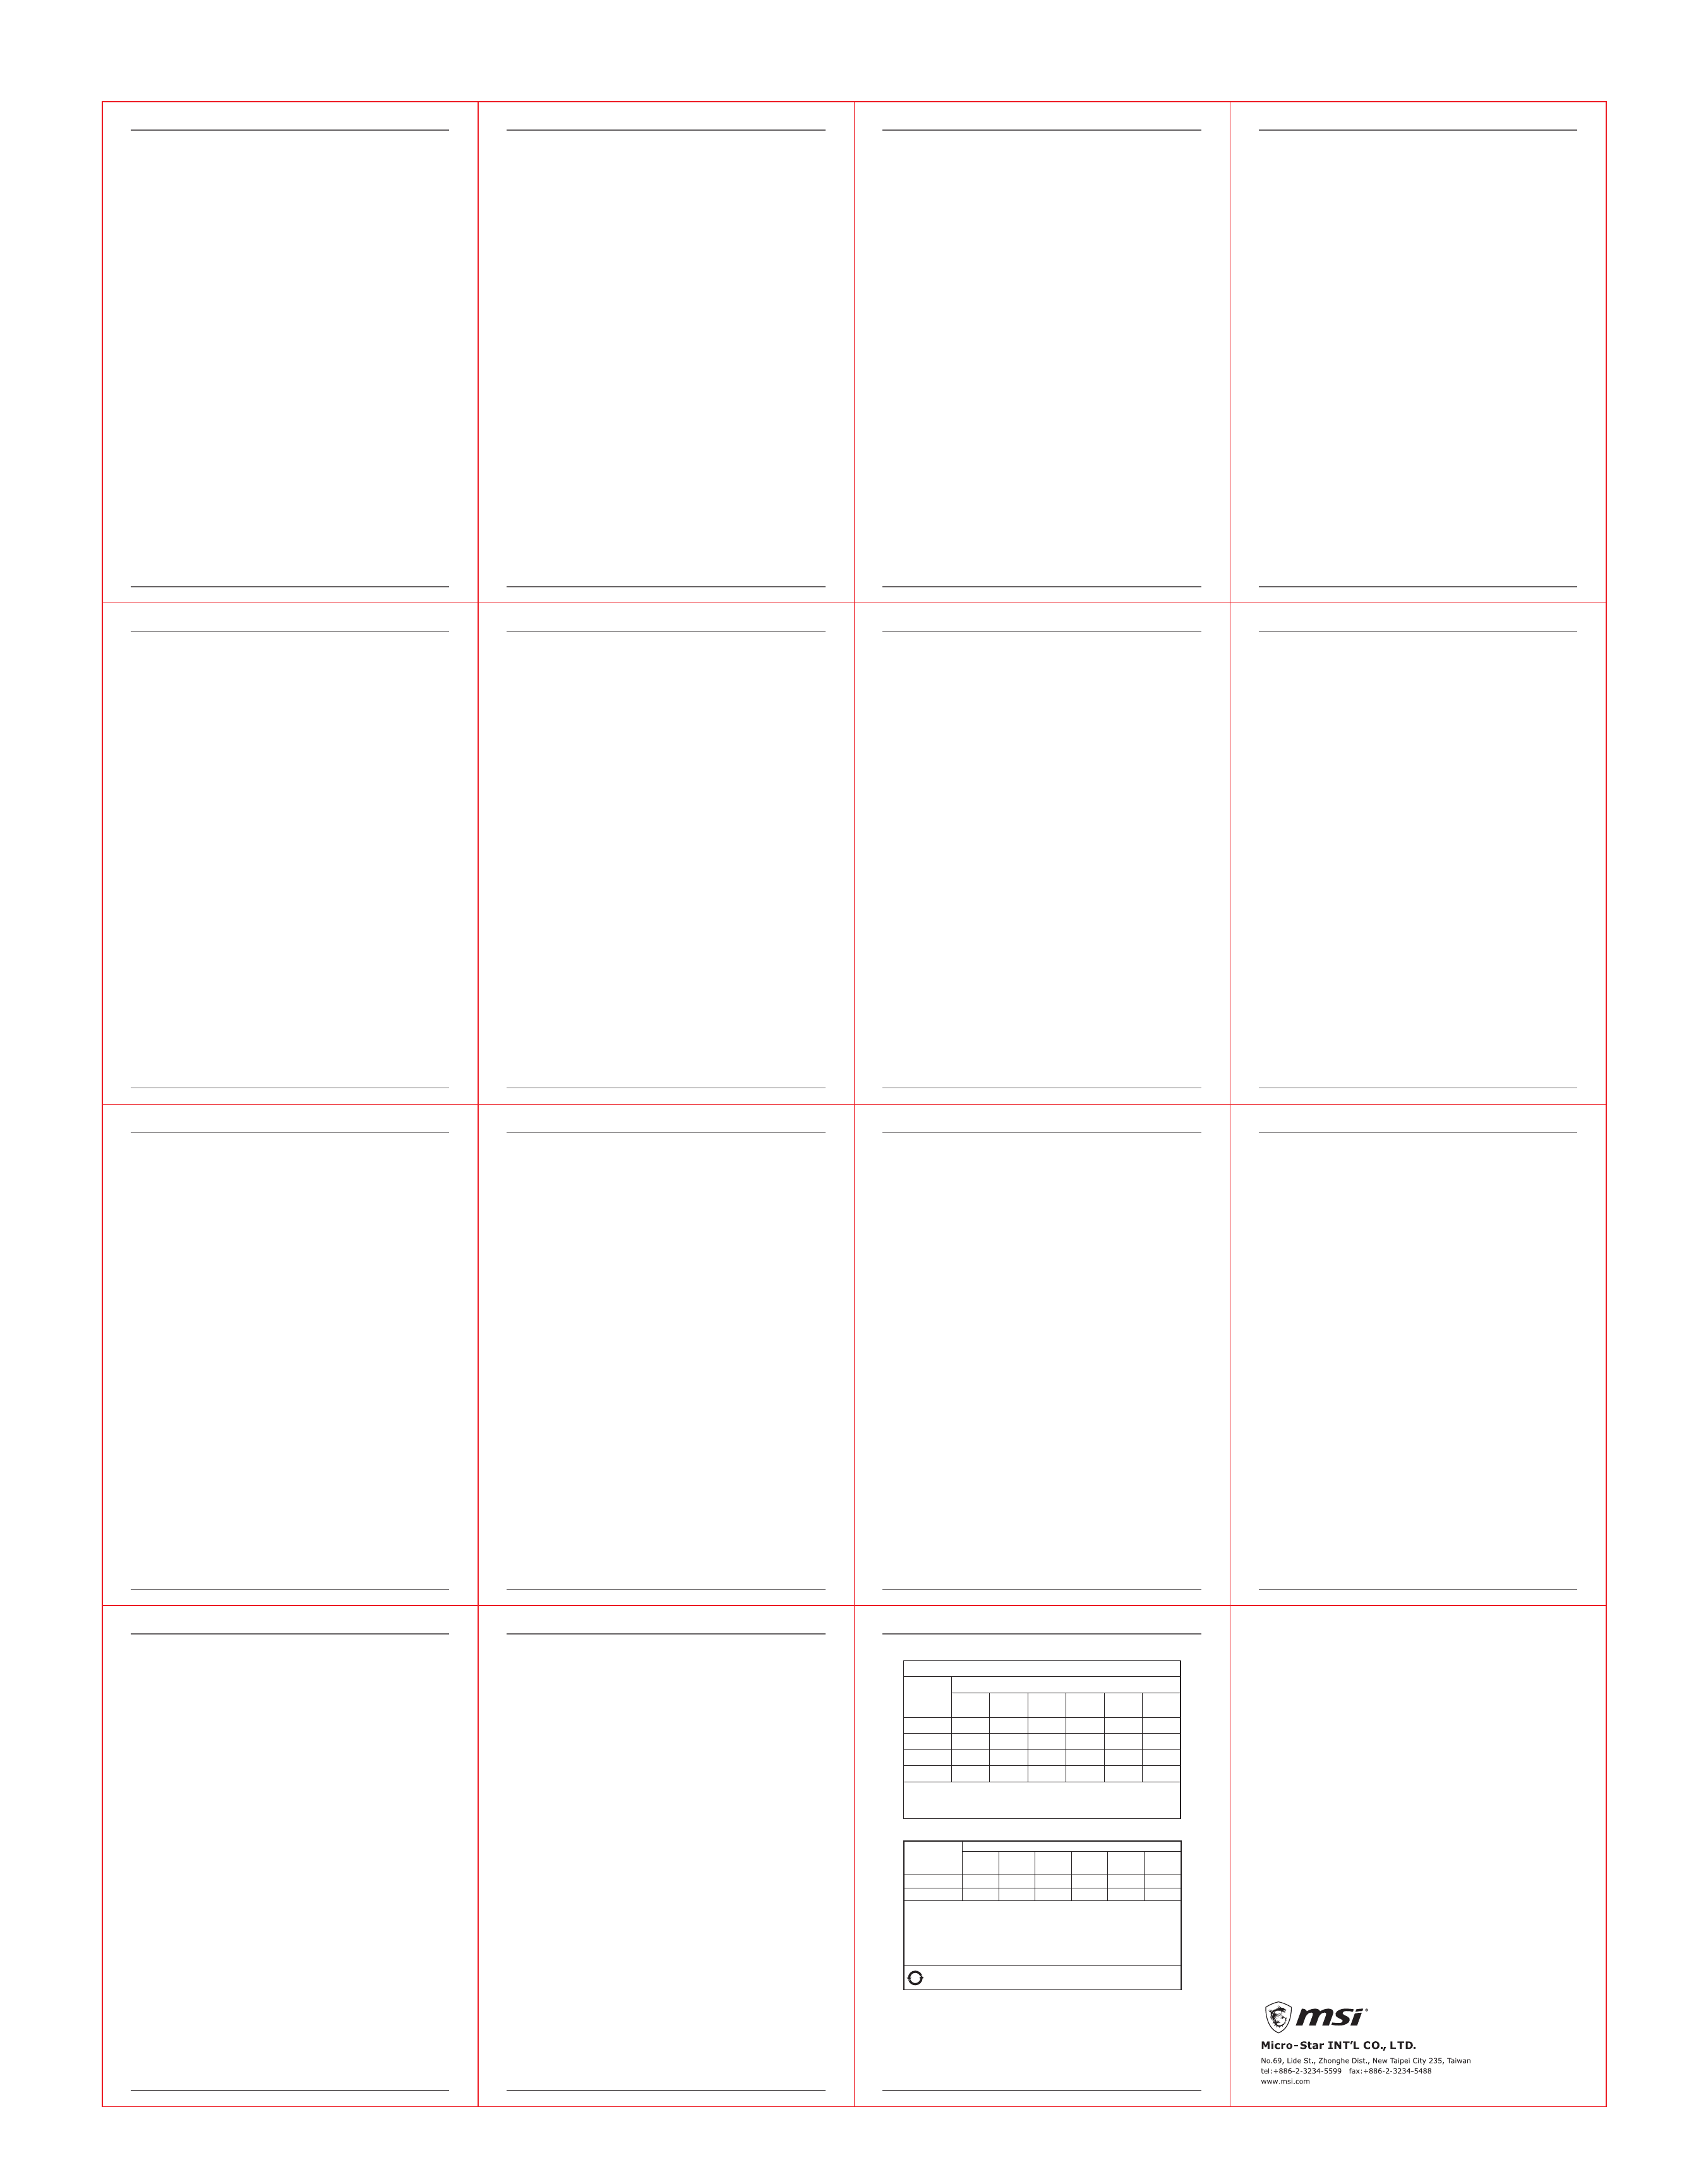
備考 1. 〝○〞係指該項限用物質之百分比含量未超出百分比含量基準值。
備考 2. 〝-〞係指該項限用物質為排除項目。
連接線
設備名稱:電競滑鼠 型號(型式):CLUTCH GM20 ELITE
單元
限用物質及其化學符號
鉛
(Pb)
汞
(Hg)
O
O
O
O
鎘
(Cd)
電路板組件
外殼
滾輪裝置
限用物質含有情況標示聲明書 RoHS Statements
产品中有毒有害物质或元素的名称及含量
O
O
O
O
O
印刷电路板组件*
O
O
O
O
O
O
外壳及附件
O
有害物质
多溴联苯
(PBB)
多溴二苯醚
(PBDE)
铅
(Pb)
汞
(
Hg
)
镉
(Cd)
六价铬
(Cr (VI))
部件名称
○:表示该有毒有害物质在该部件所有均质材料中的含量均在 SJ/T11363 2006 标准规定
的限量要求以下。
×:表示该有毒有害物质至少在该部件的某一均质材料中的含量超出 SJ/T11363 2006 标
准规定的限量要求。
* 印刷电路板组件: 包括印刷电路板及其零部件、电子元器件等。
表中标有 ”X”的所有部件都符合欧盟 ROHS 法规。
在中华人民共和国境内销售的电子信息产品必须标示此标志,标志内的数字表示在
正常的使用状态下的产品环保使用年限。
10
RoHS
Характеристики

Остались вопросы?Не нашли свой ответ в руководстве или возникли другие проблемы? Задайте свой вопрос в форме ниже с подробным описанием вашей ситуации, чтобы другие люди и специалисты смогли дать на него ответ. Если вы знаете как решить проблему другого человека, пожалуйста, подскажите ему :)


