
Коммутаторы D-Link DES-1024D/G1A - инструкция пользователя по применению, эксплуатации и установке на русском языке. Мы надеемся, она поможет вам решить возникшие у вас вопросы при эксплуатации техники.
Если остались вопросы, задайте их в комментариях после инструкции.
"Загружаем инструкцию", означает, что нужно подождать пока файл загрузится и можно будет его читать онлайн. Некоторые инструкции очень большие и время их появления зависит от вашей скорости интернета.


7
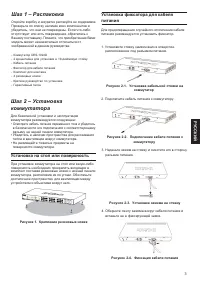
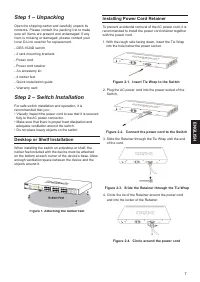
Step 1 – Unpacking
Open the shipping carton and carefully unpack its
contents. Pl ease consul t the packi ng l i st to make
sure al l i tems are present and undamaged. If any
i tem i s mi ssi ng or damaged, pl ease contact your
l ocal D-Li nk resel l er for repl acement.
- DES-1024D swi tch
- 2 rack mounti ng brackets
- Power cord
- Power cord retainer
-
4 rubber feet
- Qui ck instal l ati on guide
- Warranty card
Step 2 – Switch Installation
For safe switch installation and operation, it is
recommended that you:
• Visually inspect the power cord to see that it is secured
fully to the AC power connector.
• Make sure that there is proper heat dissipation and
adequate ventilation around the switch.
• Do not place heavy objects on the switch
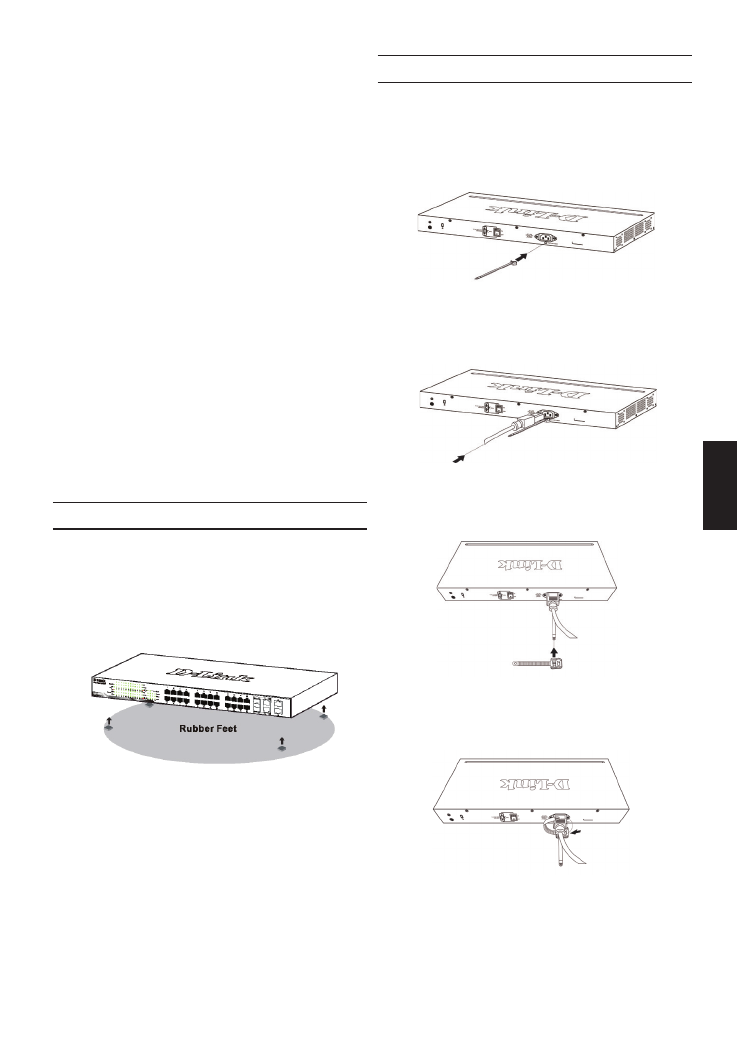
Desktop or Shelf Installation
When installing the switch on a desktop or shelf, the
rubber feet included with the device must be attached
on the bottom at each corner of the device’s base. Allow
enough ventilation space between the device and the
objects around it.
Figure 1. Attaching the rubber feet
E
N
G
L
IS
H
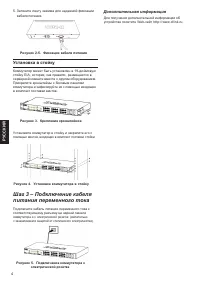
Installing Power Cord Retainer
To prevent accidental removal of the AC power cord, it is
recommended to install the power cord retainer together
with the power cord.
1. With the rough side facing down, insert the Tie Wrap
into the hole below the power socket.
Figure 2-1. Insert Tie Wrap to the Switch
2. Plug the AC power cord into the power socket of the
Switch.
Figure 2-2. Connect the power cord to the Switch
3. Slide the Retainer through the Tie Wrap until the end
of the cord.
Figure 2-3. Slide the Retainer through the Tie Wrap
4. Circle the tie of the Retainer around the power cord
and into the locker of the Retainer.
Figure 2-4. Circle around the power cord
- An accessory ki t
Содержание
- 2 ПРАВИЛА И УСЛОВИЯ БЕЗОПАСНОЙ ЭКСПЛУАТАЦИИ; для очистки. Избегайте попадания влаги в устройство.
- 3 Шаг 1 – Распаковка; Шаг 2 – Установка; Установка на стол или поверхность; Установка фиксатора для кабеля
- 4 Установка в стойку; Шаг 3 – Подключение кабеля; Рисунок; Дополнительная информация
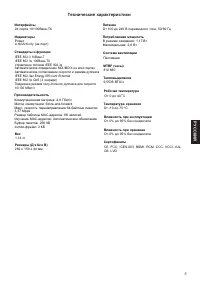
- 5 Технические характеристики
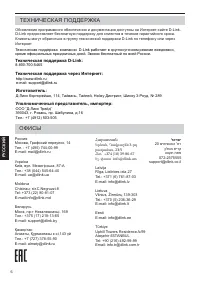
- 6 Техническая поддержка через Интернет:; Հայաստան; לארשי
Характеристики

Остались вопросы?Не нашли свой ответ в руководстве или возникли другие проблемы? Задайте свой вопрос в форме ниже с подробным описанием вашей ситуации, чтобы другие люди и специалисты смогли дать на него ответ. Если вы знаете как решить проблему другого человека, пожалуйста, подскажите ему :)


