Кофеварка Philips HD7761 - инструкция пользователя по применению, эксплуатации и установке на русском языке. Мы надеемся, она поможет вам решить возникшие у вас вопросы при эксплуатации техники.
Если остались вопросы, задайте их в комментариях после инструкции.
"Загружаем инструкцию", означает, что нужно подождать пока файл загрузится и можно будет его читать онлайн. Некоторые инструкции очень большие и время их появления зависит от вашей скорости интернета.


7
8
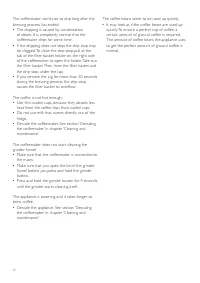
Let the coffeemaker operate until the flushing
process has been completed.
9
Press the on/off button to switch off the
coffeemaker.
10
Empty the jug.
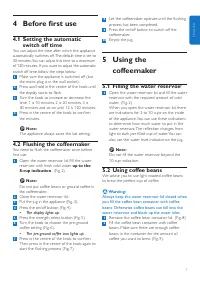
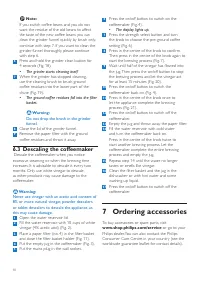
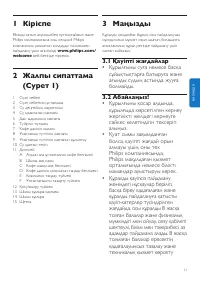
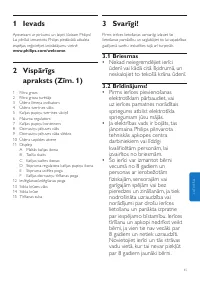
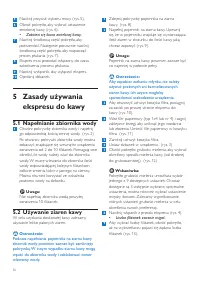
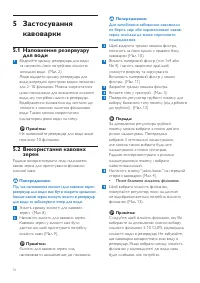
5 Using the
coffeemaker
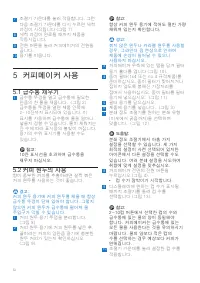
5.1 Filling the water reservoir
1
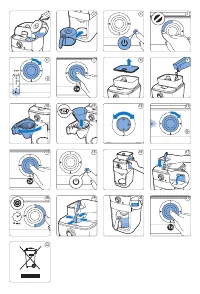
Open the water reser voir lid and fill the water
reser voir with the required amount of cold
water. (Fig. 2)
When you open the water reser voir lid, there
are indications for 2 to 10 cups on the inside
of the appliance. You can use these indications
to determine how much water to put in the
water reser voir. The reflection changes from
light to dark per filled cup of water. You can
also use the water level indicator on the jug.
D
Note:
Do not fill the water reser voir beyond the
10-cup indication.
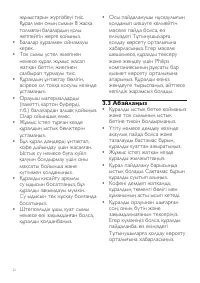
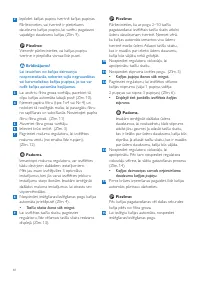
5.2 Using coffee beans
We advise you to use light roasted coffee beans
to brew the perfect cup of coffee.
B
Warning:
Always keep the water reservoir lid closed when
you fill the coffee bean container with coffee
beans. Otherwise coffee beans can fall into the
water reservoir and block up the water inlet.
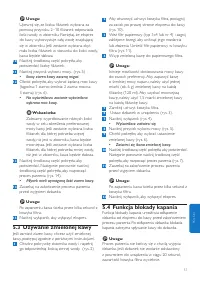
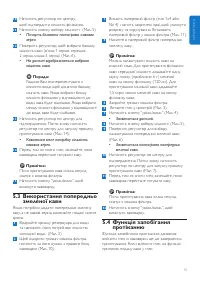
1
Remove the coffee bean container lid. (Fig. 8)
2
Fill the coffee bean container with coffee
beans. Make sure there are enough coffee
beans in the container for the amount of
coffee you want to brew (Fig. 9).
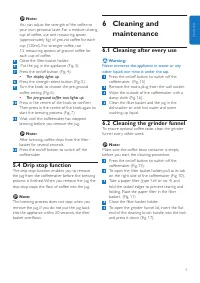
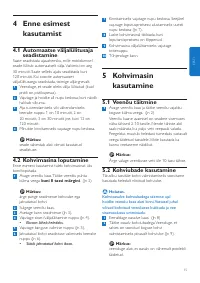
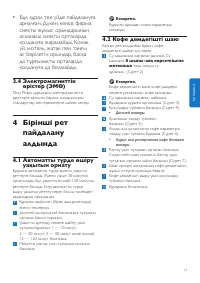
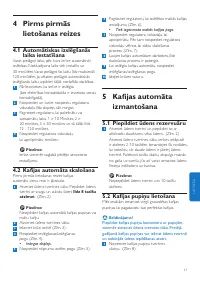
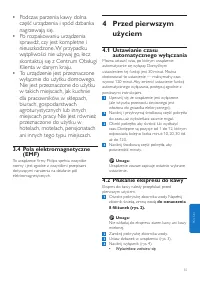
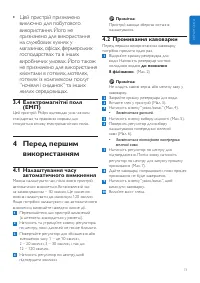
4 Before first use
4.1 Setting the automatic
switch off time
You can adjust the time after which the appliance
automatically switches off. The default time is set to
30 minutes. You can adjust this time to a maximum
of 120 minutes. If you want to adjust the automatic
switch off time, follow the steps below.
1
Make sure the appliance is switched off (but
the mains plug is in the wall socket).
2
Press and hold in the centre of the knob until
the display star ts to flash.
3
Turn the knob to increase or decrease the
time. 1 is 10 minutes, 2 is 20 minutes, 3 is
30 minutes and so on until 12 is 120 minutes.
4
Press in the centre of the knob to confirm
the minutes.
D
Note:
The appliance always saves the last setting.
4.2 Flushing the coffeemaker
You need to flush the coffeemaker once before
first use.
1
Open the water reser voir lid. Fill the water
reser voir with fresh cold water
up to the
8-cup indication
. (Fig. 2)
D
Note:
Do not put coffee beans or ground coffee in
the coffeemaker.
2
Close the water reser voir lid.
3
Put the jug in the appliance (Fig. 3).
4
Press the on/off button (Fig. 4).
• The display lights up.
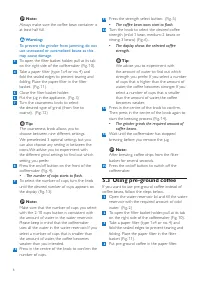
5
Press the strength select button (Fig. 5).
6
Turn the knob to choose the pre-ground
coffee setting (Fig. 6).
• The pre-ground coffee icon lights up.
7
Press in the centre of the knob to confirm.
Then press in the centre of the knob again to
star t the flushing process (Fig. 7).
ENGLISH


